Page 17 of 19 FA69386–2 English
Jun 2013
19
How To Use the Communications
Options
Linx 5900 & 7900
2.3 Configure the Ethernet setup
The Ethernet Setup page allows you to configure the parameters for Ethernet
communications. To configure Ethernet settings:
1 Select Menu > Setup > Communications at the Print Monitor page. The printer
displays the Communications page (see Figure 1 on page 3).
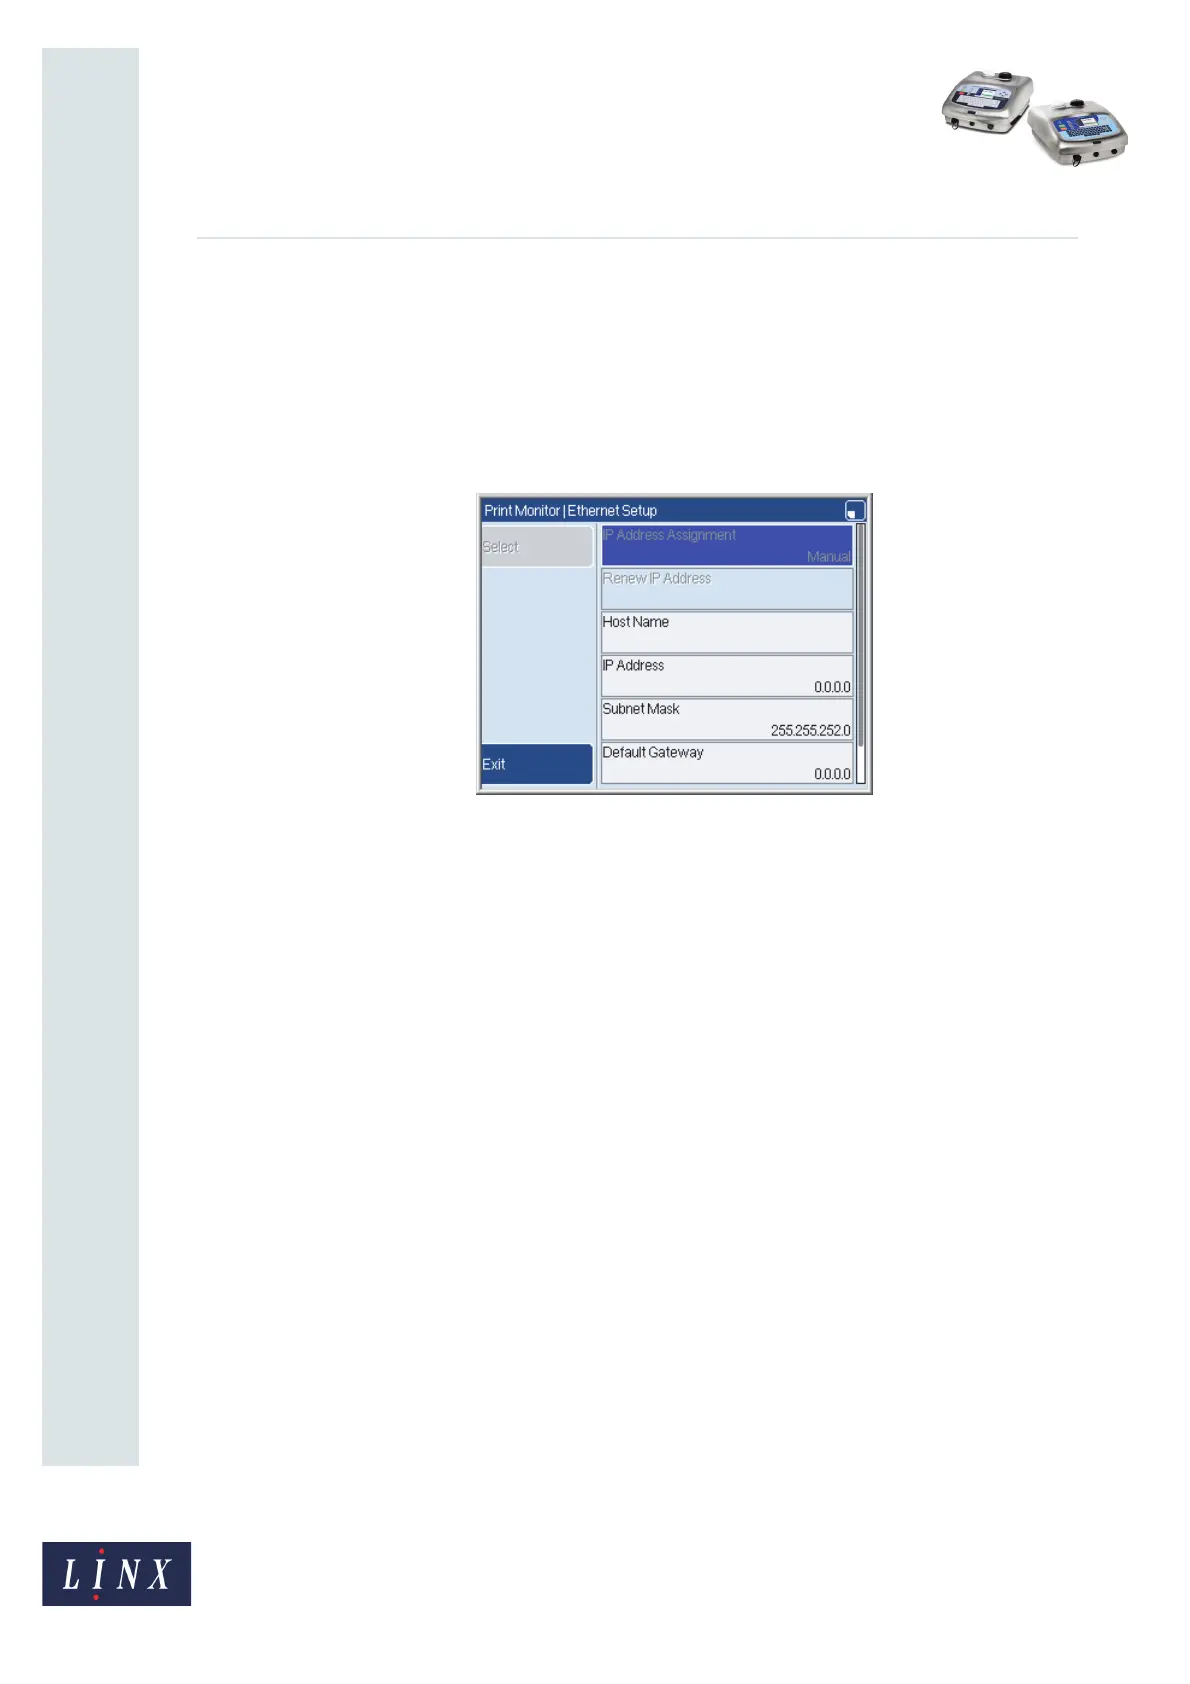
2 Select the Ethernet Setup option to display the Ethernet Setup page.
Figure 20. Ethernet Setup page
3 Highlight the required option and press the Select key to display the configuration
options. Use the scroll bar to display the MAC Address option.
IP Address Assignment
• Manual—this allows you to assign a static IP address for the printer. Your
network administrator supplies this IP address.
• DHCP (Dynamic Host Configuration Protocol)—the printer requests an IP
address from the host device during the printer power-up sequence.
If you select the ‘DHCP’ option, the Renew IP Address option becomes available.
Renew IP Address
This option causes the printer to select a new IP address from the server during the
power-up sequence.
NOTE: The ‘DHCP’ option for IP Address Assignment and the Renew IP Address
options are not in use on the 5900 and 7900 printers.
Host Name
You can assign an optional name to the printer. Enter the name in the field.
IP Address
This option is shown if the IP Address Assignment option is set to ‘Manual’. Your
network administrator assigns the IP address.
69475