14
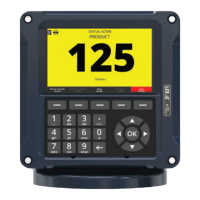
7. Lap Pad Connection
The “D” connector on the end of the Lap Pad’s coiled
cable should be plugged into the socket labeled “Lap
Pad” on the front of the supervisory console. Tighten
the two captive screws on the connector to hold it in
place.
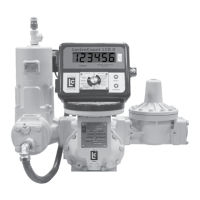
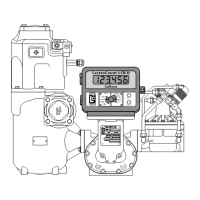
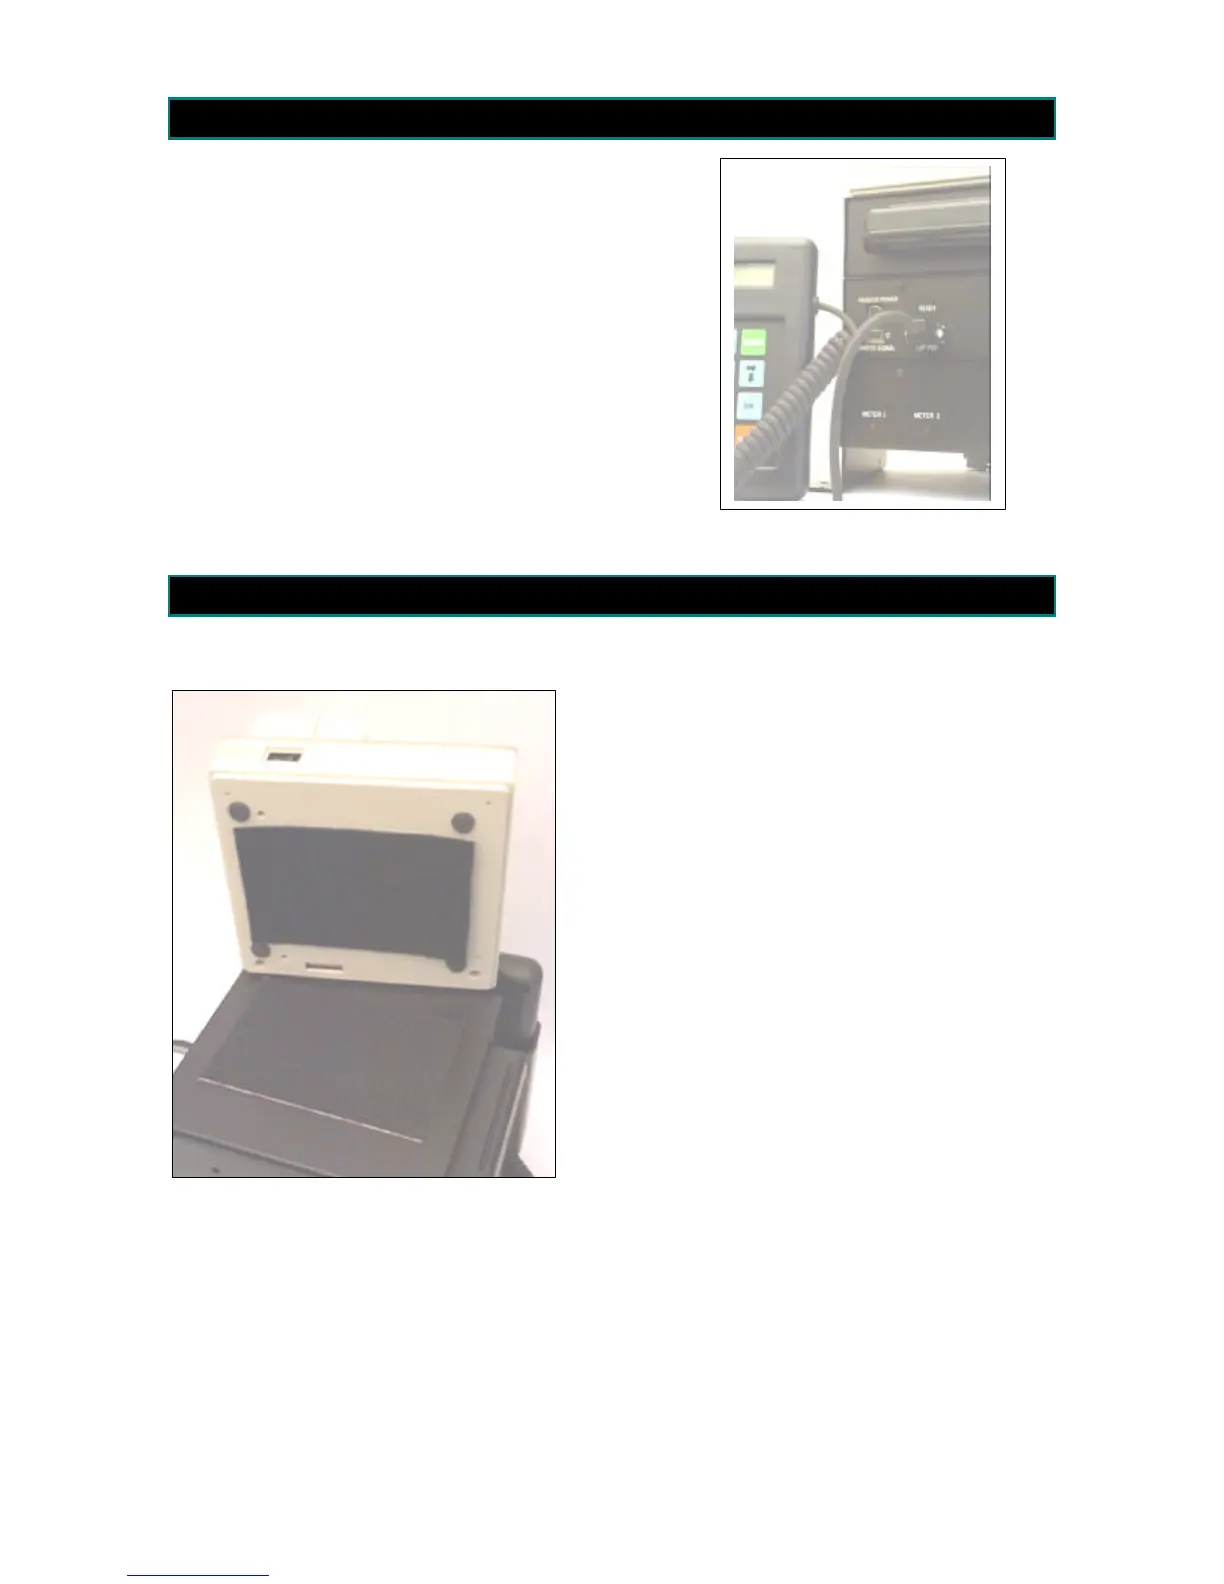
8. Printer Mounting
The printer is usually mounted on top of the top
module of the SCM bracket assembly. It can
also be mounted on the dash, the passenger
seat, or any other location in the cab that is:
• Level
• Not subject to physical abuse
• Easy for the driver to reach
• Within reach of the printer’s data and
power cables
Industrial strength Velcro (supplied with the
printer) is used to hold the printer in place.
Always place the same type of Velcro (hook or
loop) on the printer to enable easy replacement.
8.1 PRINTER CONNECTION
The printer is connected to the
supervisory console via data cable and
a power cable.
The data cable is terminated with a 25
Pin D-connector on the printer end.
This plugs into the socket labeled “RS-
232” on the back of the printer, and into
the socket labeled “Printer Signal” on
the supervisory console.