22
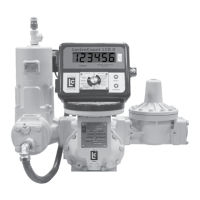
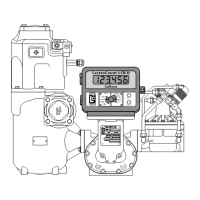
11.4 NEPTUNE TEMPERATURE COMPENSATED METER RETROFIT KIT
Remove the mechanical registration equipment and the mechanical Temperature
Volume Compensator from the top of the meter.
q Remove the cotter pin from the drive
shaft on the bottom of the RSCB,
taking care not to lose the washer.
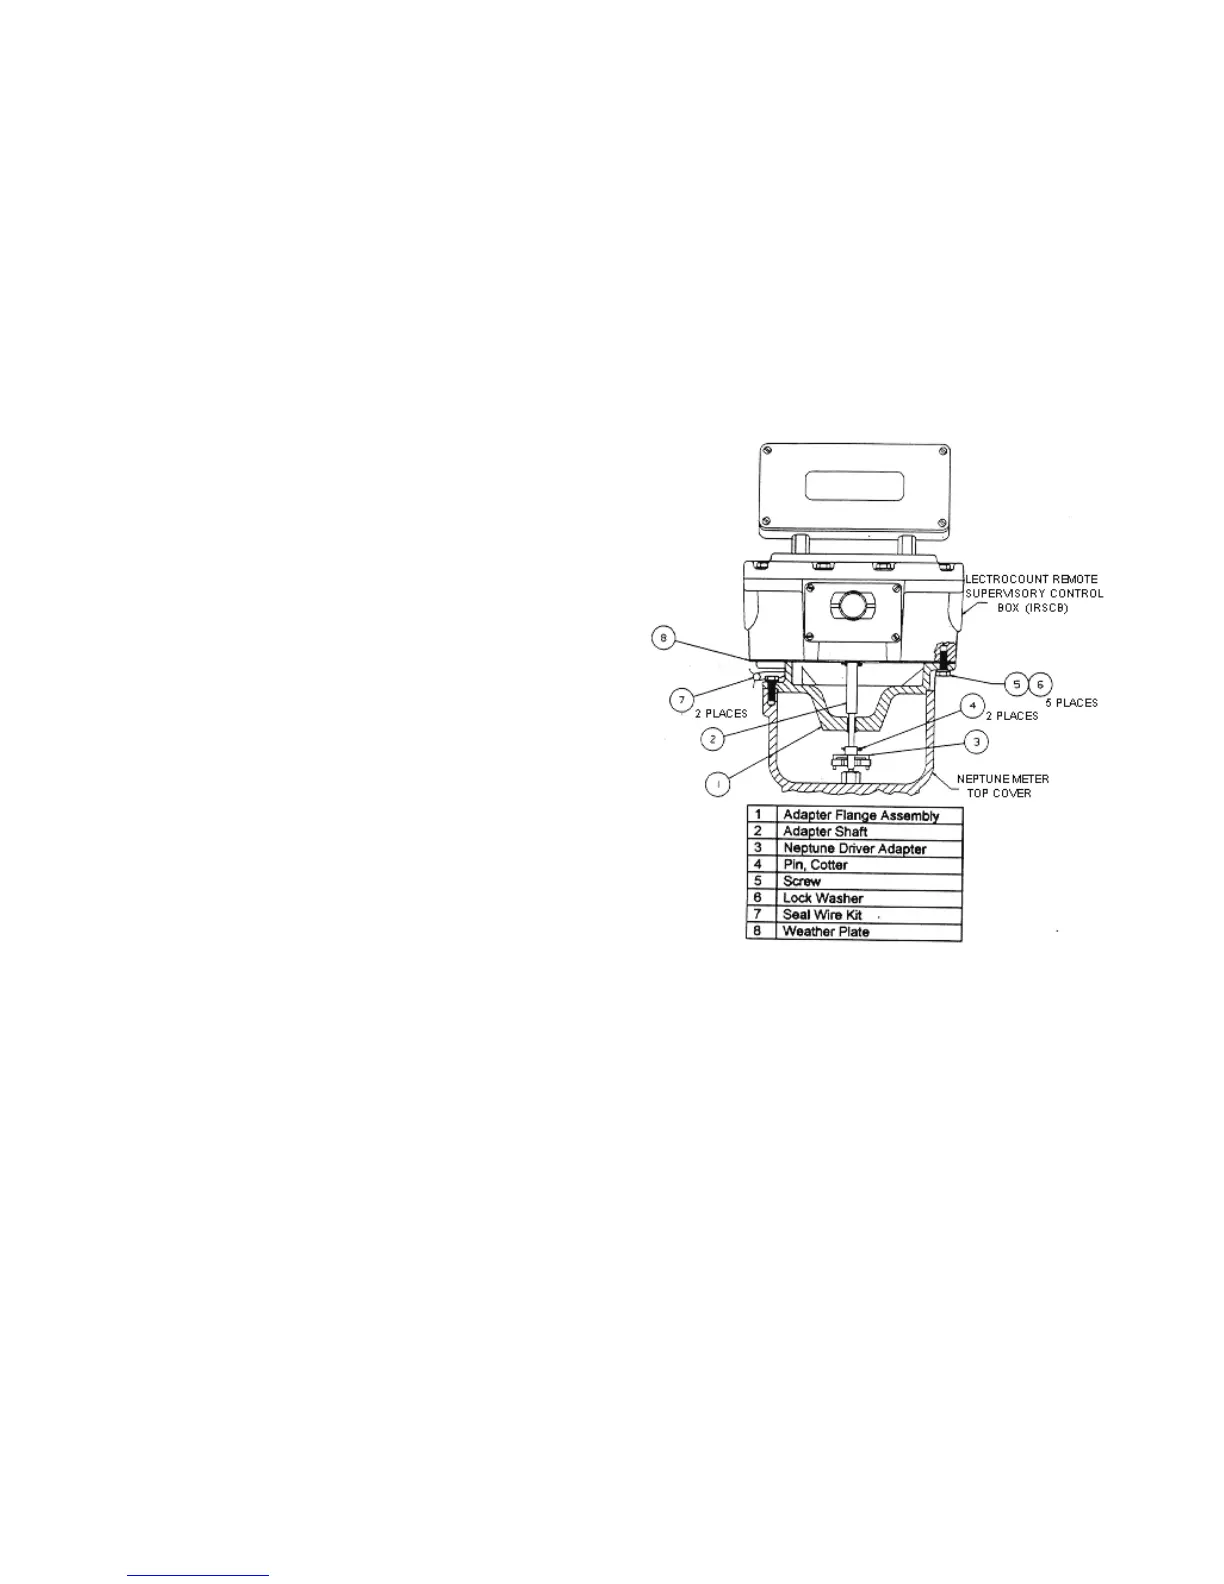
q Position the adapter shaft (item #2)
over the pulser shaft. Align the
cross-drilled holes. Secure them in
position with a cotter pin. Remove
the cotter pin from the drive shaft on
the bottom of the RSCB, taking care
not to lose the washer. Place the
driver, (item #5), onto the drive shaft
and secure with a cotter pin (item
#1). Avoid forcing the shaft into the
RSCB housing.
q Position the weather plate
(item #8) on the bottom of the
RSCB.
q Install the Adapter Flange Assembly,
(item #1), on the bottom of the
RSCB. Secure it and the weather
plate with four screws and washers.
q Attach the Neptune Driver Adapter
to the bottom of the adapter shaft
with a cotter pin.
q Position the adapter flange
assembly on top of the meter. Be
sure to center the four arms of the
driver adapter over the meter’s star
gear.
q Fasten the adapter flange to the
meter using 4 screws and washers.
RSCB Mounting Kit for Neptune
Meter with Mechanical
Temperature Compensation