Gocator Line Profile Sensors: User Manual
Gocator Web Interface • 118
Single Exposure
The sensor uses a fixed exposure in every scan. Single exposure is used when the target surface is
uniform and is the same for all targets.
To enable single exposure:
1. Place a representative target in view of the sensor.
The target surface should be similar to the material that will normally be measured.
2. Go to the Scan page.
3. Expand the Sensor panel by clicking on the panel header or the button.
4. Click the button corresponding to the sensor you want to configure.
The button is labeled Top, Bottom, Top-Left, or Top-Right, depending on the system.
Exposure is configured separately for each sensor.
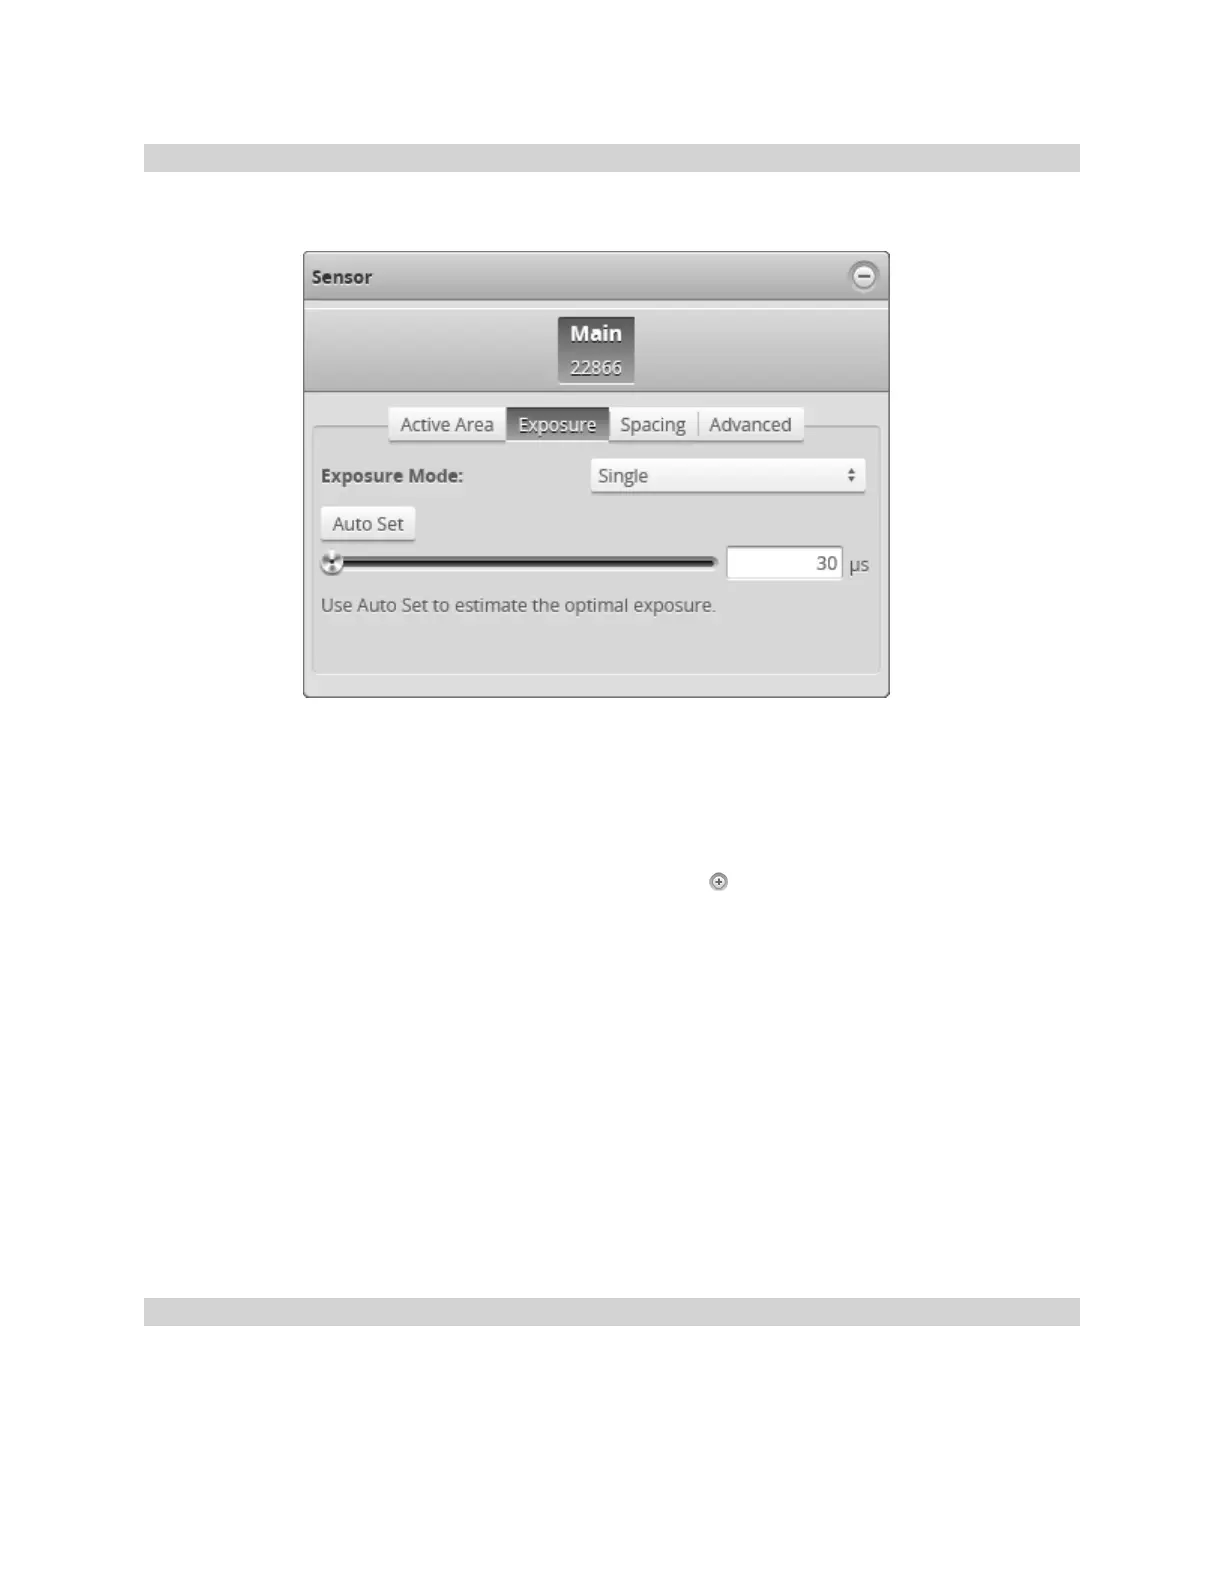
5. Click the Exposure tab.
6. Select Single from the Exposure Mode drop-down.
7. Edit the exposure setting by using the slider or by manually entering a value.
You can automatically tune the exposure by pressing the Auto Set button, which causes the sensor to turn
on and tune the exposure time.
8. Run the sensor and check that laser profiling is satisfactory.
If laser profiling is not satisfactory, adjust the exposure values manually. Switch to Video mode to use video
to help tune the exposure; see Exposure on the previous page for details.
Dynamic Exposure
The sensor automatically uses past profile information to adjust the exposure for subsequent exposures
to yield the best profile. This is used when the target surface changes from exposure to exposure (that is,
from scan to scan).
 Loading...