Do you have a question about the Logik LCHOBTC14 and is the answer not in the manual?
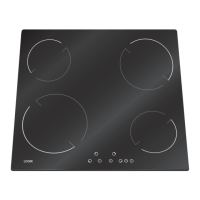
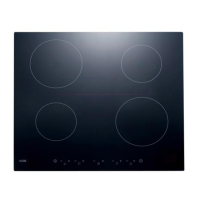
Shows the layout of the four cooking zones and control panel.
Details the buttons and indicators for operating the hob.
Guidance on selecting suitable pans for optimal performance and avoiding damage.
Explains the error indication when controls are covered or dirty.
Instructions on how to turn the hob on and off, including residual heat indicators.
How to choose which cooking zone to activate.
Steps to adjust the heat output for each cooking zone.
How to use the low-temperature setting for keeping food warm.
Information about the safety feature that turns off zones after a set time.
Procedure to turn off an individual cooking zone.
How to use the function for rapid heating of cooking zones.
Explanation of symbols indicating hot cooking zones.
How to activate the safety feature to prevent accidental use.
Steps to deactivate the child lock feature.
Describes how to attach the clips to the front and back of the hob.
Describes how to attach the clips to the sides of the hob.
| Number of Zones | 4 |
|---|---|
| Power Levels | 9 |
| Weight | 8.5 kg |
| Cut-out Dimensions (W x D) | 560 x 490 mm |
| Installation | Built-in |
| Color | Black |
| Type | Ceramic |
| Control Type | Touch |
| Width | 590 mm |
| Safety Features | Residual heat indicator |
| Dimensions (W x D) | 590 x 520 mm |
| Hob Surface Material | Ceramic glass |
| Total Power | 6800 W |