Do you have a question about the Lorex D242B Series and is the answer not in the manual?
Connect cameras to the DVR using extension cables and BNC connectors.
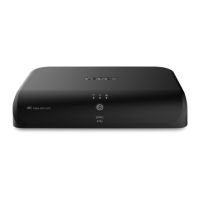
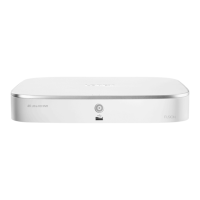
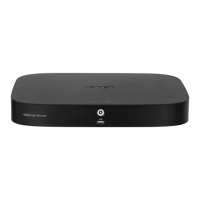
Connect the recorder to your router using an Ethernet cable for network access.
Connect the included USB mouse to the recorder's USB port for navigation.
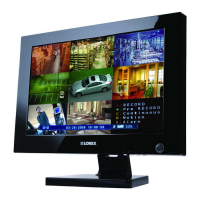
Connect the recorder to a monitor or TV using an HDMI or VGA cable.
Connect the recorder to a power outlet using the included power adapter.
Configure core system settings and create a secure password via the setup wizard.
Ensure you have a router, Internet, and updated firmware for remote viewing.
Download the Lorex Home app and add your DVR by scanning the QR code.
View live video feeds from your cameras on the Lorex Home mobile app.
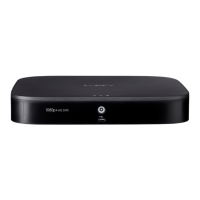
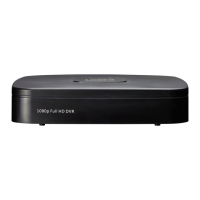
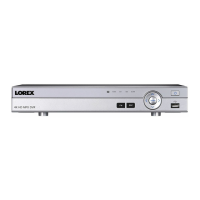
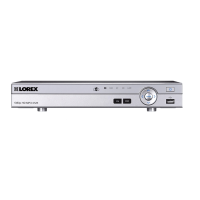
| Model | D242B Series |
|---|---|
| Video Resolution | Up to 1080p |
| Hard Drive Capacity Support | Up to 6TB |
| Compression Format | H.264 |
| Network Connectivity | Yes |
| Remote Viewing | Yes |
| Power Supply | 12V DC |
| Operating System | Embedded Linux |
| Video Channels | 4 |
| Video Output | HDMI, VGA |
| Network Interface | RJ45 |
| Operating Temperature | -10°C to 55°C (14°F to 131°F) |