Motion Detection12
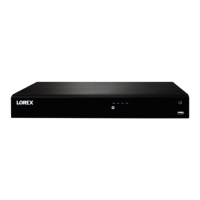
5. Click Setup next to Area to configure which areas of the image will be enabled for motion de-
tection. A grid will appear on the monitor:
• The camera image appears with a red grid overlay. This means the entire image is enabled
for motion detection.
• Click or click-and-drag to add / remove boxes from the active area. Cells that have been re-
moved from the active area appear transparent.
• Hover near the top of the image to reveal zone selection. You can set up to 4 different zones
with different sensitivity and threshold values.
• Right-click when finished.
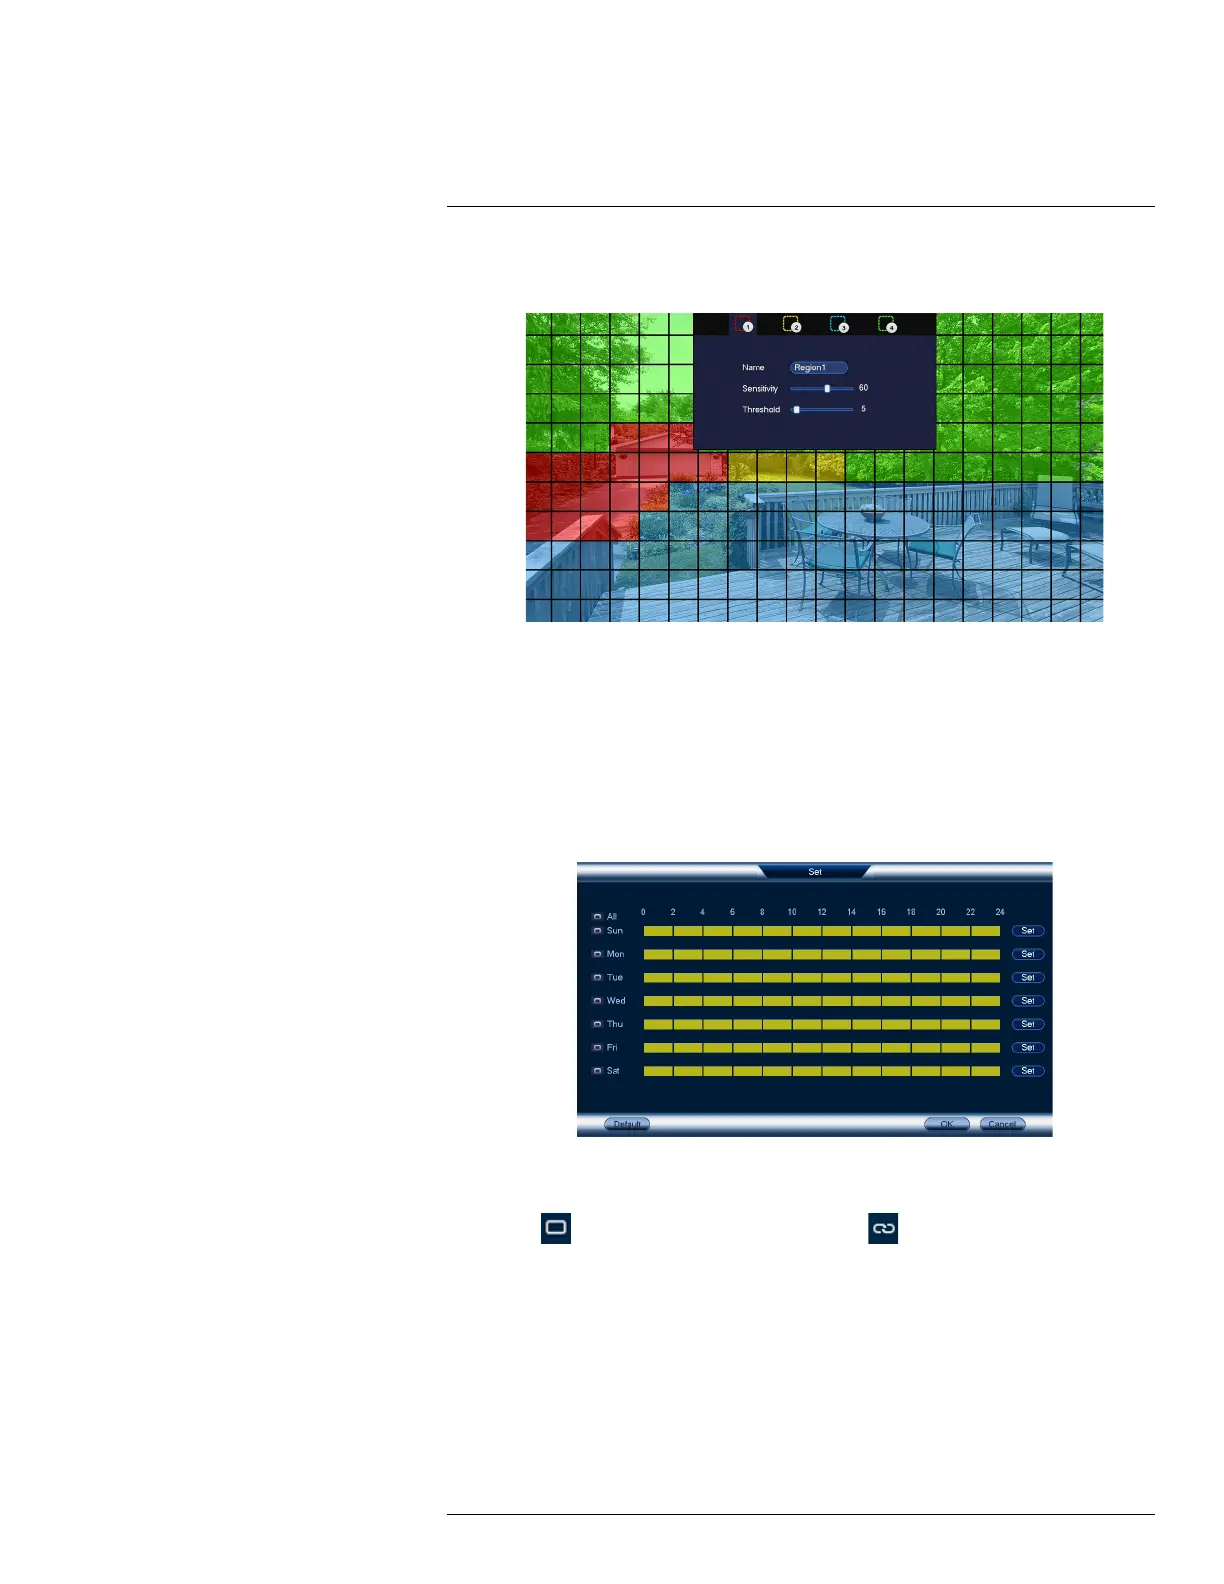
6. Click Setup next to Schedule to choose which days and times of the week to enable motion
detection:
• Click or click-and-drag along each of the yellow timelines to quickly add or remove time
from each day’s schedule in 15–minute segments.
• Click
beside 2 or more days to link schedules ( ). This allows you to quickly
change multiple schedules at once.
• To make fine adjustments to a schedule, click Set. This will allow you to set exact start and
end times for a schedule.
#LX400113; r. 2.0/56306/56316; en-US 43
 Loading...