18
Choosing a Print Profile
Choose your desired print quality or characteristics
with the Profile dropdown. Some specializd
filaments may only have a single profile.
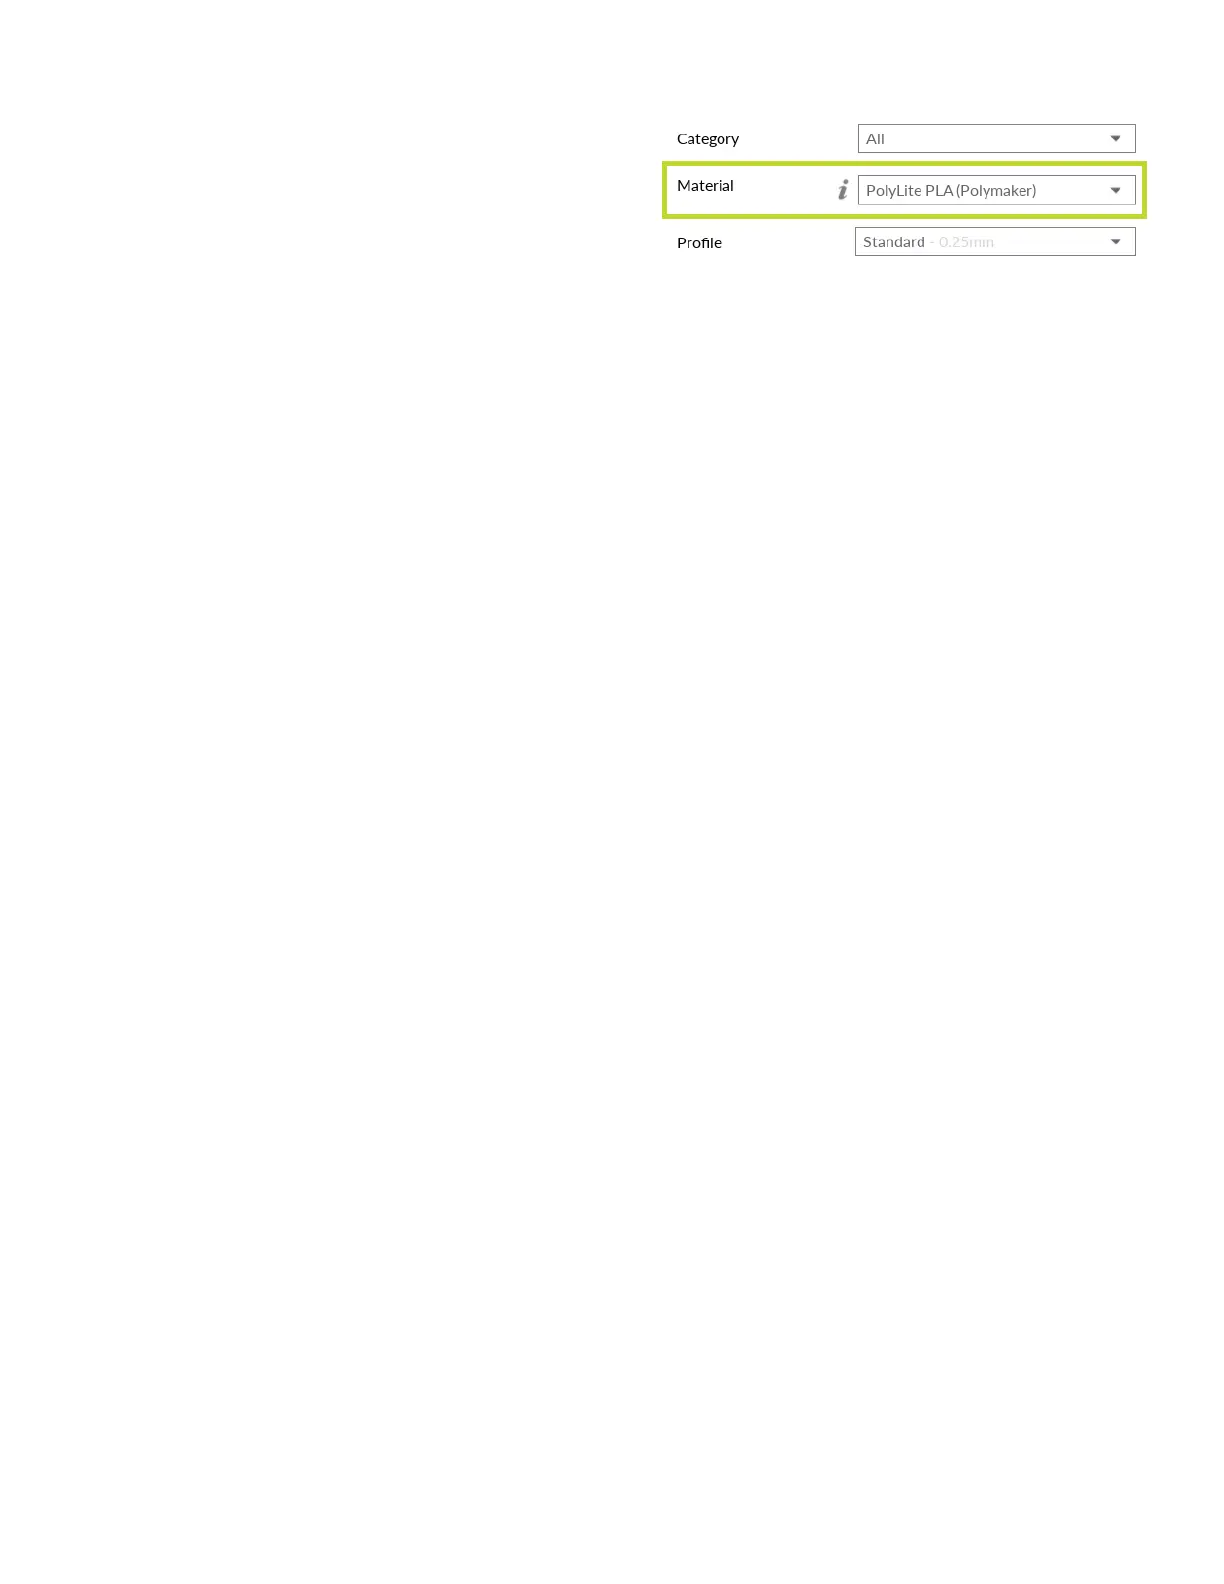
The value listed after the profile name is the
average layer height used for the print.
Standard: A balance of speed, surface finish, and detail, this setting is recommended for most
3D prints.
High Detail: A smaller layer height and slower speeds are used to maximize part appearance
while leading to longer print times.
High Speed: Perfect for prototypes, or when printing time matters most. These profiles use a
larger layer height.
High Strength: Strong, dependable parts can be achieved by balancing excellent layer adhesion
with wide extrusion widths and walls.
High Clarity: Translucent materials can look even better when printed at large, or even
excessively large layer heights.
Recommended vs Custom
These built-in recommended settings have been tested by 3D printing experts and are
designed to offer reliable, great looking prints, reel after reel, model after model.
At times, you may want to adjust specific settings to achieve challenging geometries or
features. Switching to Custom mode will display many of the hundreds of individual settings,
special modes, and experimental features. Switch back to Recommended mode to restore the
expert-developed built-in slicing profiles.
Tip: Access more information on each setting by hovering each setting.
Tip: Change only one setting at a time, and print your object to see the result. By minimizing
your variables, you’ll learn how each setting can influence your final print outcome.
Tip: Looking for a particular slicing setting among all the options? Use the search bar above the
list of settings to quickly find what you need.