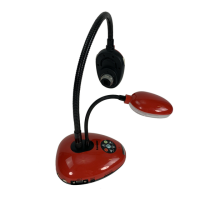
Connection Instructions
Connecting to a Projector or Monitor
1. Ensure your Document Camera the dedicated power cord, VGA cable, and/or HDMI cable. (To
connect Document Camera directly to a computer, the user will need a USB cable and download
proper Lumens Ladibug Software.)
2. Connect Document Camera power cable to document camera and plug into electrical outlet.
3. Connect VGA cable to Document Camera terminal labeled “VGA Out.” (If user has an HDMI
connection option on the projector/monitor, connect the HDMI cable to the terminal labeled
“HDMI Out”.)
4. Connect VGA/HDMI cable to projector/monitor terminal labeled VGA In, VGA 1 or 2, or HDMI In.
5. Once all connections are secure, turn on Document Camera and projector/monitor.
6. Depending on the projection device, the user may need to select which source/input the
Document Camera is connected to. Otherwise, the projection device should project an image
from the Document Camera.
Using as a computer camera/web camera
1. Ensure your Document Camera the dedicated power cord, and a USB cable.
2. Connect Document Camera power cable to document camera and plug into electrical outlet.
3. Connect USB cable to Document Camera. (The square end of the USB cable connects to the
Document Camera.)
4. Connect USB cable to computer. (The computer should automatically load the necessary drivers
for the two devices to communicate. A notification should appear from the bottom right of the
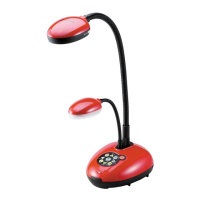
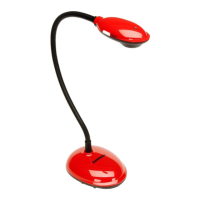
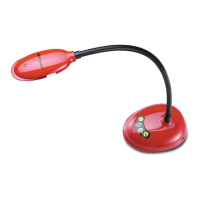
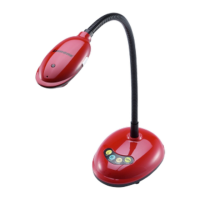
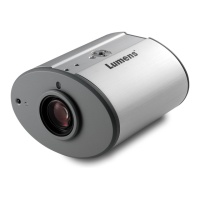
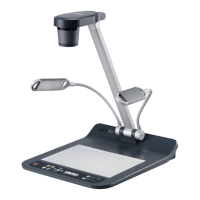
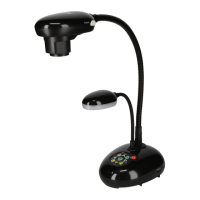
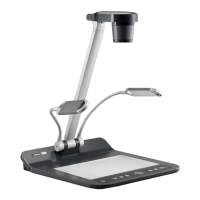
computer screen during the driver installation process. Note: The four models of Lumens
Document cameras are the most likely to install drivers properly on user computers. They are
also the models GCS has approved for the Lumens Ladibug Software.)
5. Once drivers have been installed, download the proper Lumens Ladibug Software to allow
Document Camera projection on computer. Software can be downloaded from the Software
Center Application on GCS Issued Computer, or directly from the Lumens website.
a. Lumens Ladibug 2.07 Software
b. Lumens Ladibug 3.0.5 Software
 Loading...