1.Please adjust the resolution on DIP SWITCH prior to installation.
(Please refer to )
2.Fix the metal plate A on the machine base with 4 M3 silver screws.
2. Instruction on DIP SWITCH setting
3.Lock the metal plate B on ceiling mounted hanger
*Caution:
(1) Please use the hanger that has obtained UL security approval.
(2) Please reserve the hole for the connecting wires of the camera.
4.Combine the metal plate A and the metal plate B
▼Push the metal plate A up to the ceiling and then to the right to latch
the metal plate B.
▼And then secure with 2 M3 silver screws and 1 M3 black screw.
black
screw
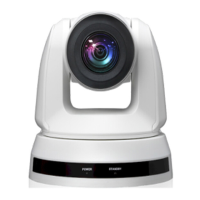
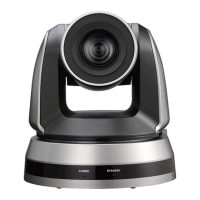
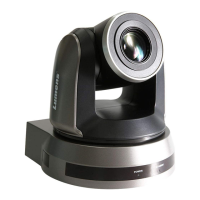
VC-A51P/VC-A51PN Quick Installation Guide
metal plate A
www.MyLumens.com
Copyright ©2021 Lumens Digital Optics Inc. All rights reserved.
5100440-50 SEP. 2021
1. A view of the camera's I/O interface
3. Install the camera on the ceiling
Computer / VS-KB30 /
RS-232 Output RS-232 Input
RS-422
USB Port
(Firmware update)
HDMI/ 3G-SDI Output
2.2 IR SELECT
2.1 OUTPUT SWITCH
21 3
2
On
Off
1 3 4
2
On
Off
1 3 4
2.3 Camera Address Selector
5
6
4
7
3
8
2
9
1
0
2.4 System Switch
RS-232C/RS-422 selector
OFF: RS-232C / ON : RS-422
Infrared signal output switch
OFF: Off / ON : On
Communication baud rate selector
OFF: 9600 / ON : 38400
2. Instruction on DIP SWITCH setting
After the IR SELECT is configured, it can be
switched from the Camera Select on the
remote control
Kensington
Lock Port
Ethernet Port
DC Input
Output
Switch
IR
Select
Audio Input
Microphone
Router
Environment control
equipment
Monitor
Camera (Series)