16
Aurora
Installation Using an Unsupported ZigbeeR Hub
Follow the instructions below to pair an Aurora dimmer to a
third-party ZigbeeR hub that doesn’t have app support for the
Aurora dimmer. If you have PhilipsR HueR or other compatible
ZLL lamps in the same ZigbeeR hub system, then this procedure
should enable you to control the lamps both from the Aurora
dimmer and from the hub (via app, etc. like you controlled it
before). The Aurora dimmer may not show in the third-party app
after completing the steps below.
1
Start with a new or factory default Aurora
2
Add bulbs to the system
6
Pair to lamps
7
Finish
3
Put hub into “Add ZigbeeR Device” mode
If the Aurora dimmer has already been paired to bulbs or
another system before, first reset it to factory defaults (see
instructions on page 7).
Add any desired Hue (or other compatible ZLL*) bulbs to the
hub system (if they aren’t already part of system).
Now you can follow the procedure described in the section
“Installation Without a Bridge (Standalone)” on page 5 to pair the
Aurora directly to the desired bulbs.
NOTE: If you want more than one Aurora to control the same
lights, you should follow the “Installation Using an Unsupported
Zigbee Hub” procedure for each one. You should NOT perform the
“Multi-location Setup without a Bridge” procedure in this case.
You should now be able to control the paired bulbs from an
Aurora, and from the hub app (or the other ways you previously
controlled the bulbs through the hub).
* Non-PhilipsR ZigbeeR Light Link (ZLL) lights on the market may
not work with an Aurora dimmer. The results will vary depending
on the particular make and model of bulb. Contact Lutron
Customer Assistance if issues are encountered with a particular
ZLL bulb.
Remove the Aurora’s battery for 10 seconds, and then re-insert
it. This is a workaround to help synchronize the Aurora with the
unsupported hub type - this MUST be done if your unit was
manufactured before October 2019, otherwise the next step
won’t work. If your Aurora was manufactured on or after October
2019, you shouldn’t need to perform this step. To verify if this step
is needed, look at the sticker on the back of the Aurora device.
There should be a small 3-digit code on the left side, e.g. “4C0”.
The middle digit is the year, where C = 2019, D = 2020, and
E = 2021. The left and right digits together are the week of the
year that your unit was manufactured - if those digits are 40 or
greater, or if your letter is “D” or greater, then your unit is new
enough that it doesn’t need this step.
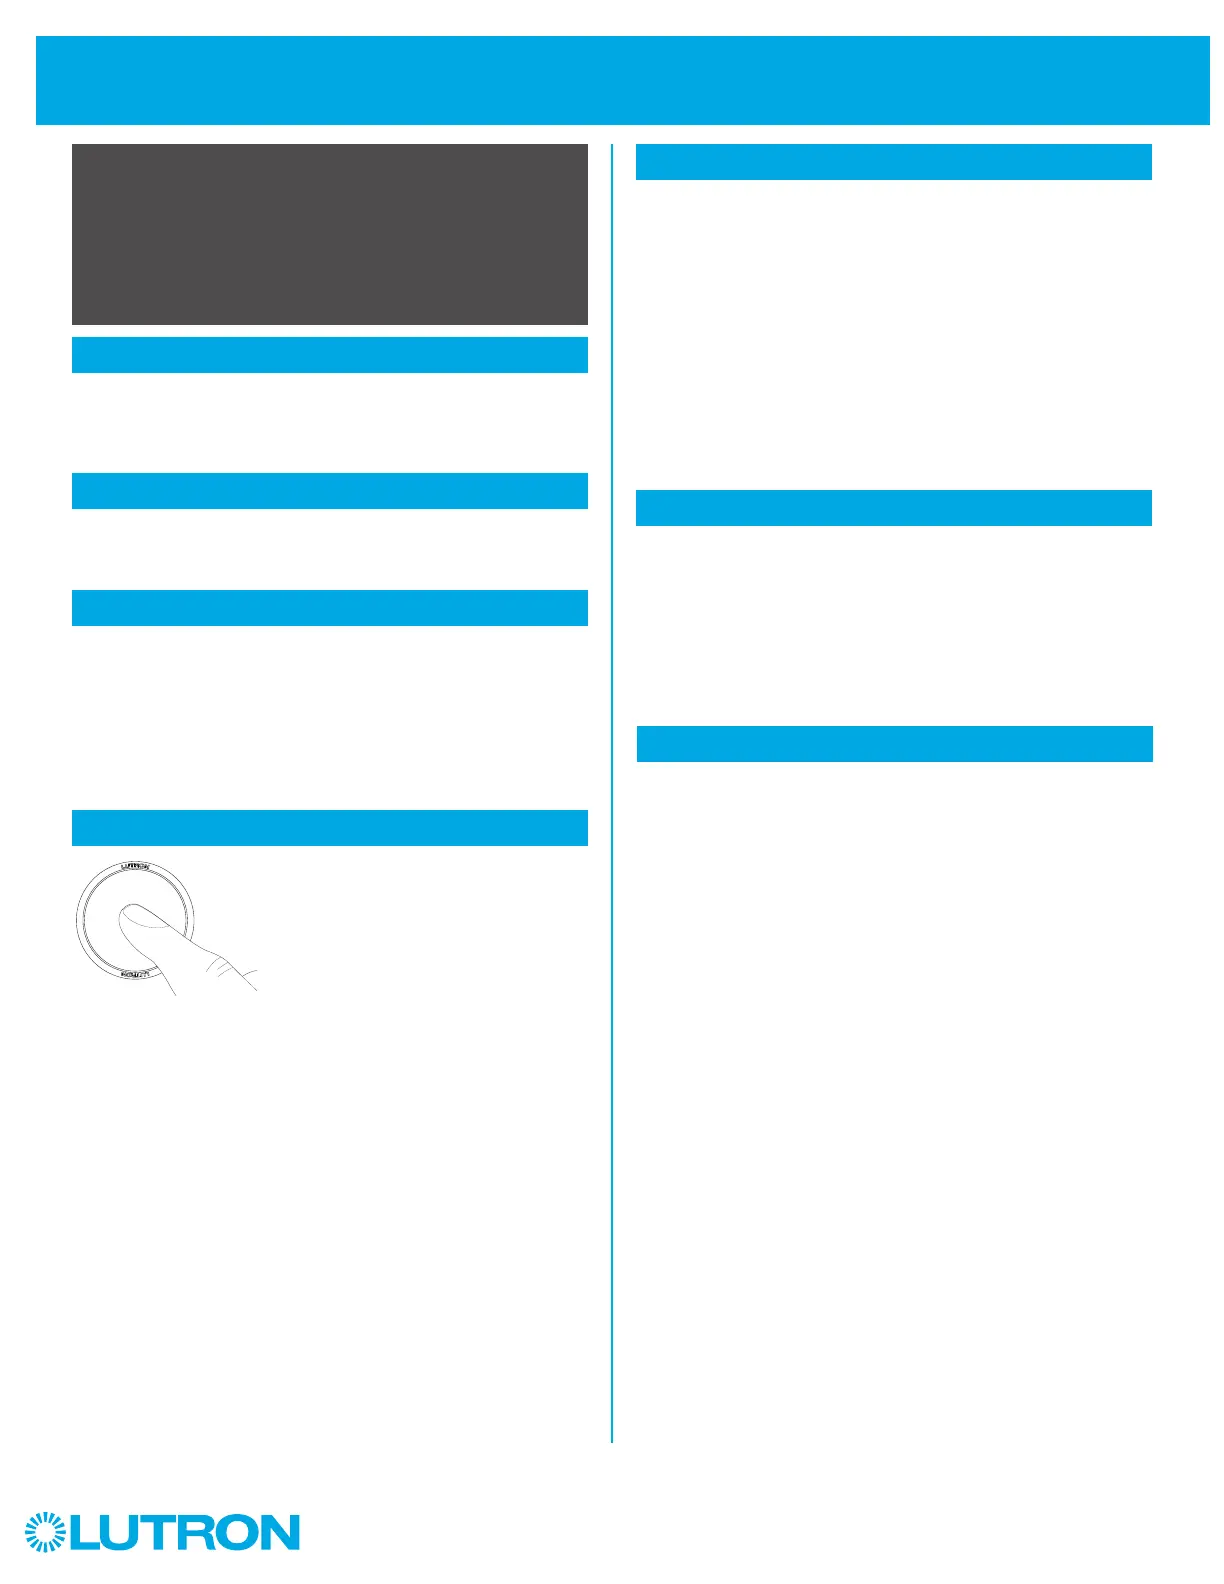
Quickly double-press the center button on the Aurora to make
it connect to the hub. The Aurora LED will start showing a slow
“breathing” (fading up and down) animation while it is trying
to connect. The Aurora will give “fast flash” LED feedback if it
successfully joins the hub network (it usually takes
5-15 seconds, but in rare cases it can take up to 3 minutes).
The hub’s app may or may not give some sort of feedback
about a device joining/being added.
In the hub’s app, go to “Add Device” mode (which could
be called “Add Switch”, “Add Remote”, “Add Other”, or
even “Add Bulb”, depending on the app) to make hub start
scanning for new ZigbeeR devices.
NOTE: If the hub supports multiple wireless protocols (e.g.,
ZigbeeR and Z-WaveR), you will need to ensure that it is put into
a mode where it is scanning for new ZigbeeR devices.
4
Tap button quickly 2x
2x
5
Remove battery
 Loading...