6
GETTING STARTED
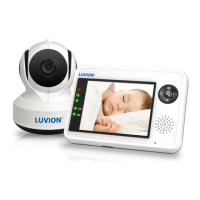
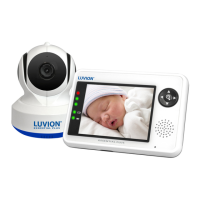
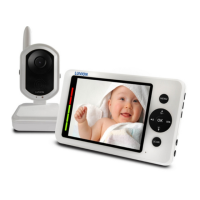
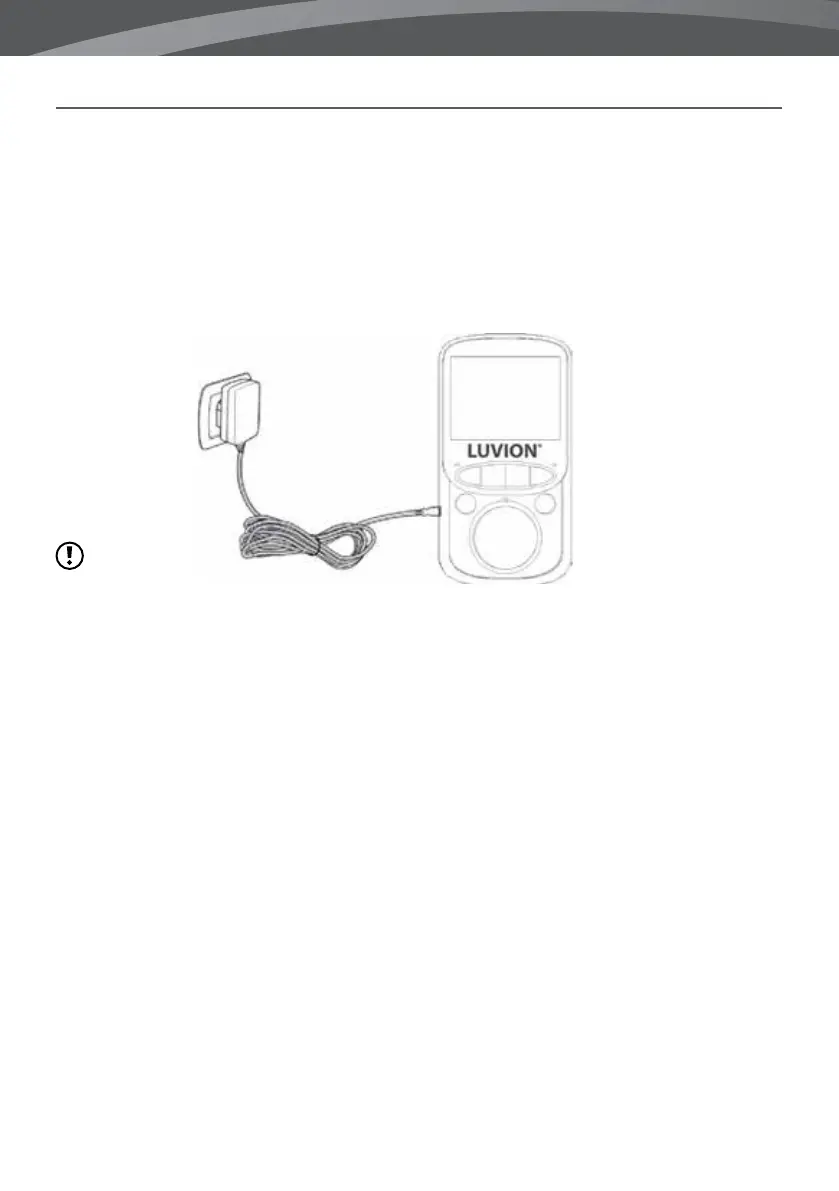
INSTALLING THE PARENT UNIT MONITOR
1. Carefully unpack the parent unit (monitor).
2. Connect the power adapter to the parent unit and power socket. The parent unit will start charging; the
battery indication on the top right of the screen will now indicate charging. During rst use, please allow
the unit to completely charge to ensure optimal battery capacity.
note: Charge the parent unit Completely before first use.
Hold the ON/OFF button to switch the monitor on. The screen will now show the Luvion introduction screen.
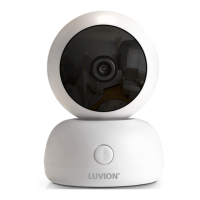
INSTALLING THE BABY UNIT CAMERA
Before you install the baby unit (camera), carefully plan where and how you want to position it. Make sure
that you take in account the length of the power cable and the position of the power socket, because the
baby unit (camera) needs to be connected to the power grid.
1. Carefully unpack the baby unit (camera).
2. Place the baby unit in the preferred position. You can place the baby unit on a table/cabinet, or you can
mount it on a wall with the provided plugs and screws.