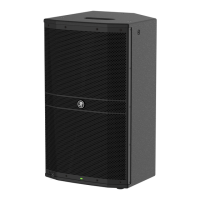
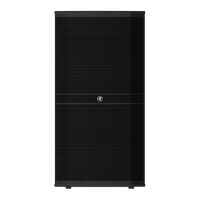
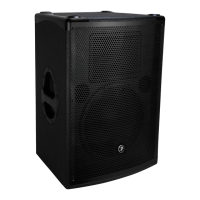
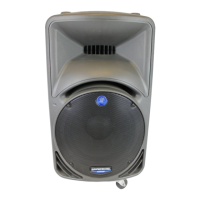
DRM12A 2000W 12" Arrayable Powered Loudspeaker
6
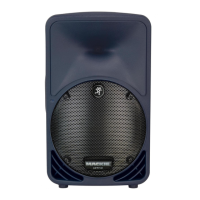
DRM12A 2000W 12" Arrayable Powered Loudspeaker
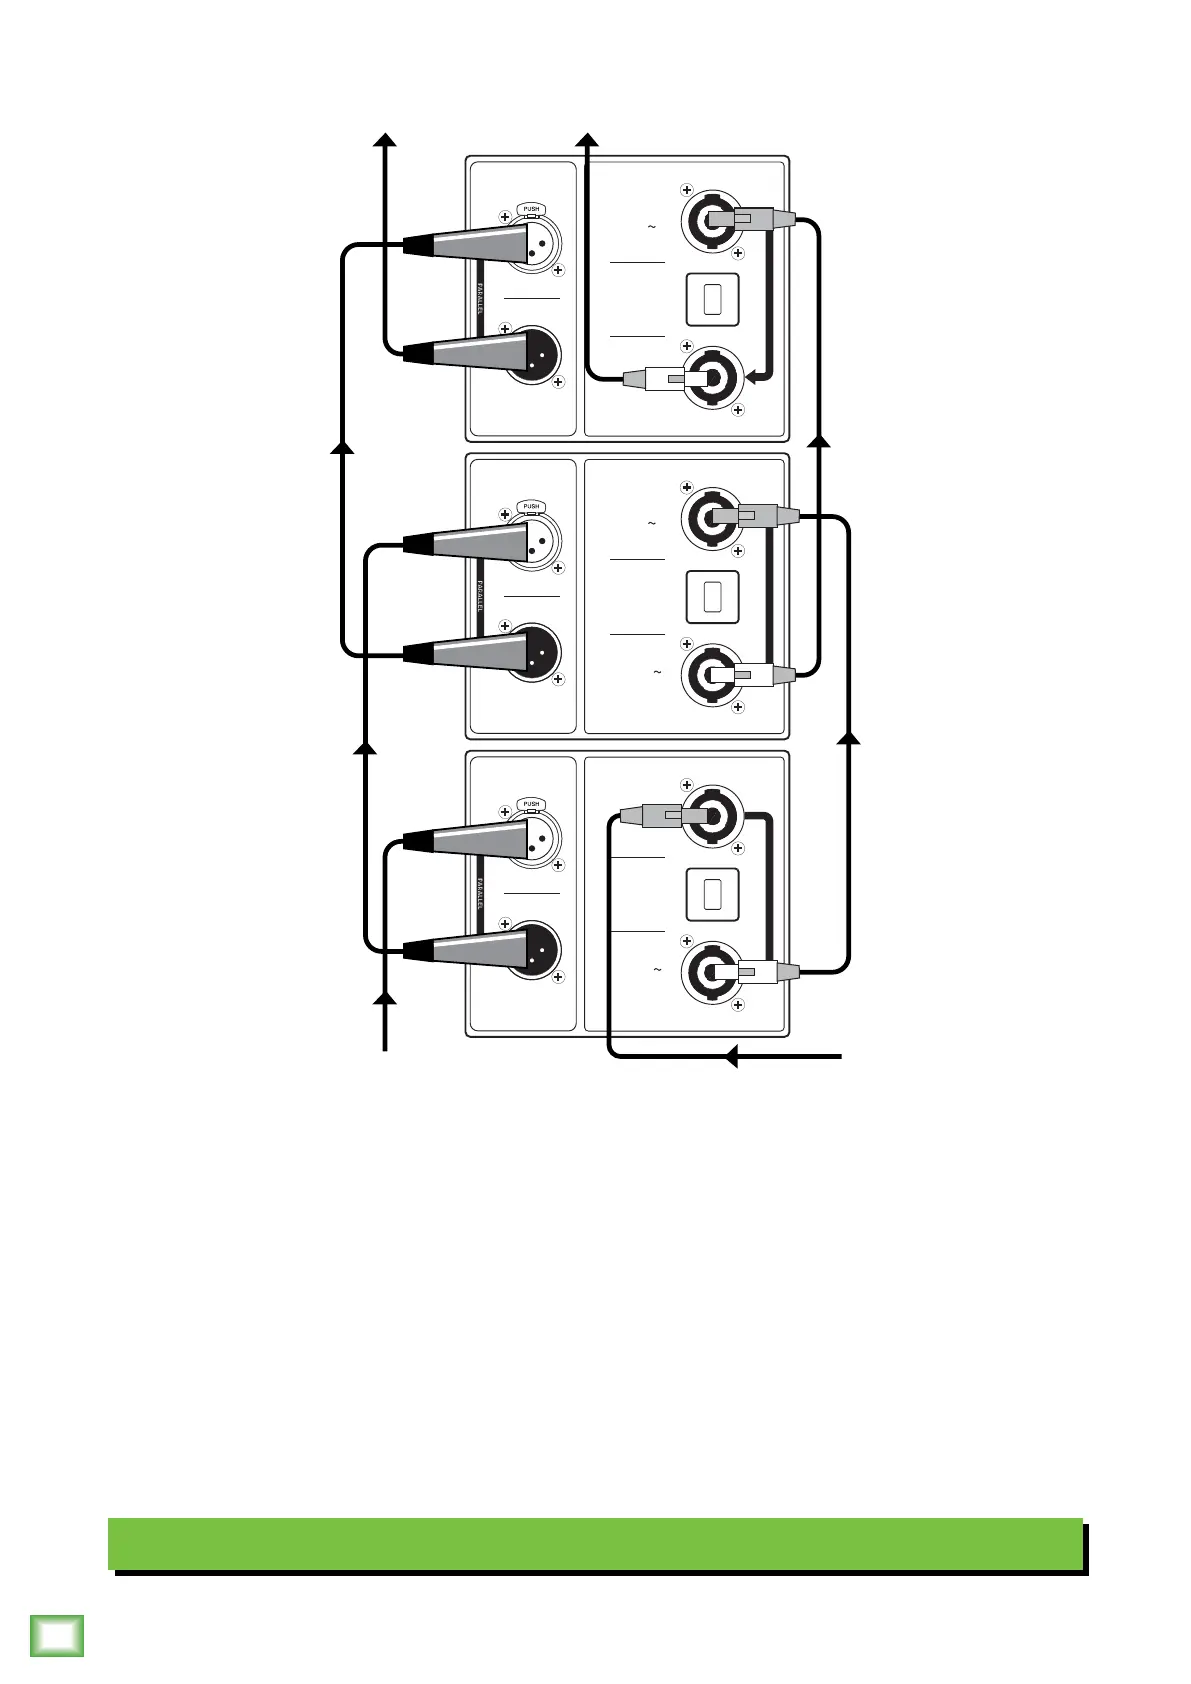
Hookup Diagrams
Daisy-Chaining Multiple DRM2A Loudspeakers
One convenient feature of the Mackie DRM2A loudspeaker system is the ability to connect multiple loudspeakers together
easily, as shown in the illustration above.
If only one DRM2A is required, connect the mixer output to the DRM2A’s input using a balanced XLR cable. The DRM2A
is powered via the supplied Neutrik PowerCon® cable connected to the AC IN jack. See the following page for details on this
type of setup.
If multiple DRM2As will be connected, start with the instructions as listed above. Next, connect the first DRM2A’s thru jack
to the second DRM2A’s input jack using a balanced XLR cable. A short -2 foot cable is all that is necessary. Hook up the
supplied loop Neutrik PowerCon® cable from the first DRM2A’s AC Thru jack to the second DRM2A’s AC In jack. A maximum
of four DRM2As may be daisy-chained together in this fashion from a single 20A source.
See pages 9-2 for systems utilizing multiple DRM2As in various setups. See page 3 for more information regarding
powering the Mackie DRM2A loudspeaker.
100-240V
50-60 Hz 1400W
(175W WITHOUT
AC THRU LOAD)
AC IN
100-240V
1250W MAX
AC THRU
100-240V
50-60 Hz 1400W
(175W WITHOUT
AC THRU LOAD)
AC IN
100-240V
1250W MAX
AC THRU
100-240V
50-60 Hz 1400W
(175W WITHOUT
AC THRU LOAD)
AC IN
100-240V
1250W MAX
AC THRU
INPUT
OUTPUT
AC THRU
CIRCUIT BREAKER
PUSH TO RESET
INPUT
OUTPUT
AC THRU
CIRCUIT BREAKER
PUSH TO RESET
INPUT
OUTPUT
AC THRU
CIRCUIT BREAKER
PUSH TO RESET