www.magicard.com
RIO 2e, TANGO 2e & TANGO +L Printers USER MANUAL
Page 10 of 33
Installing to Ethernet (continued)
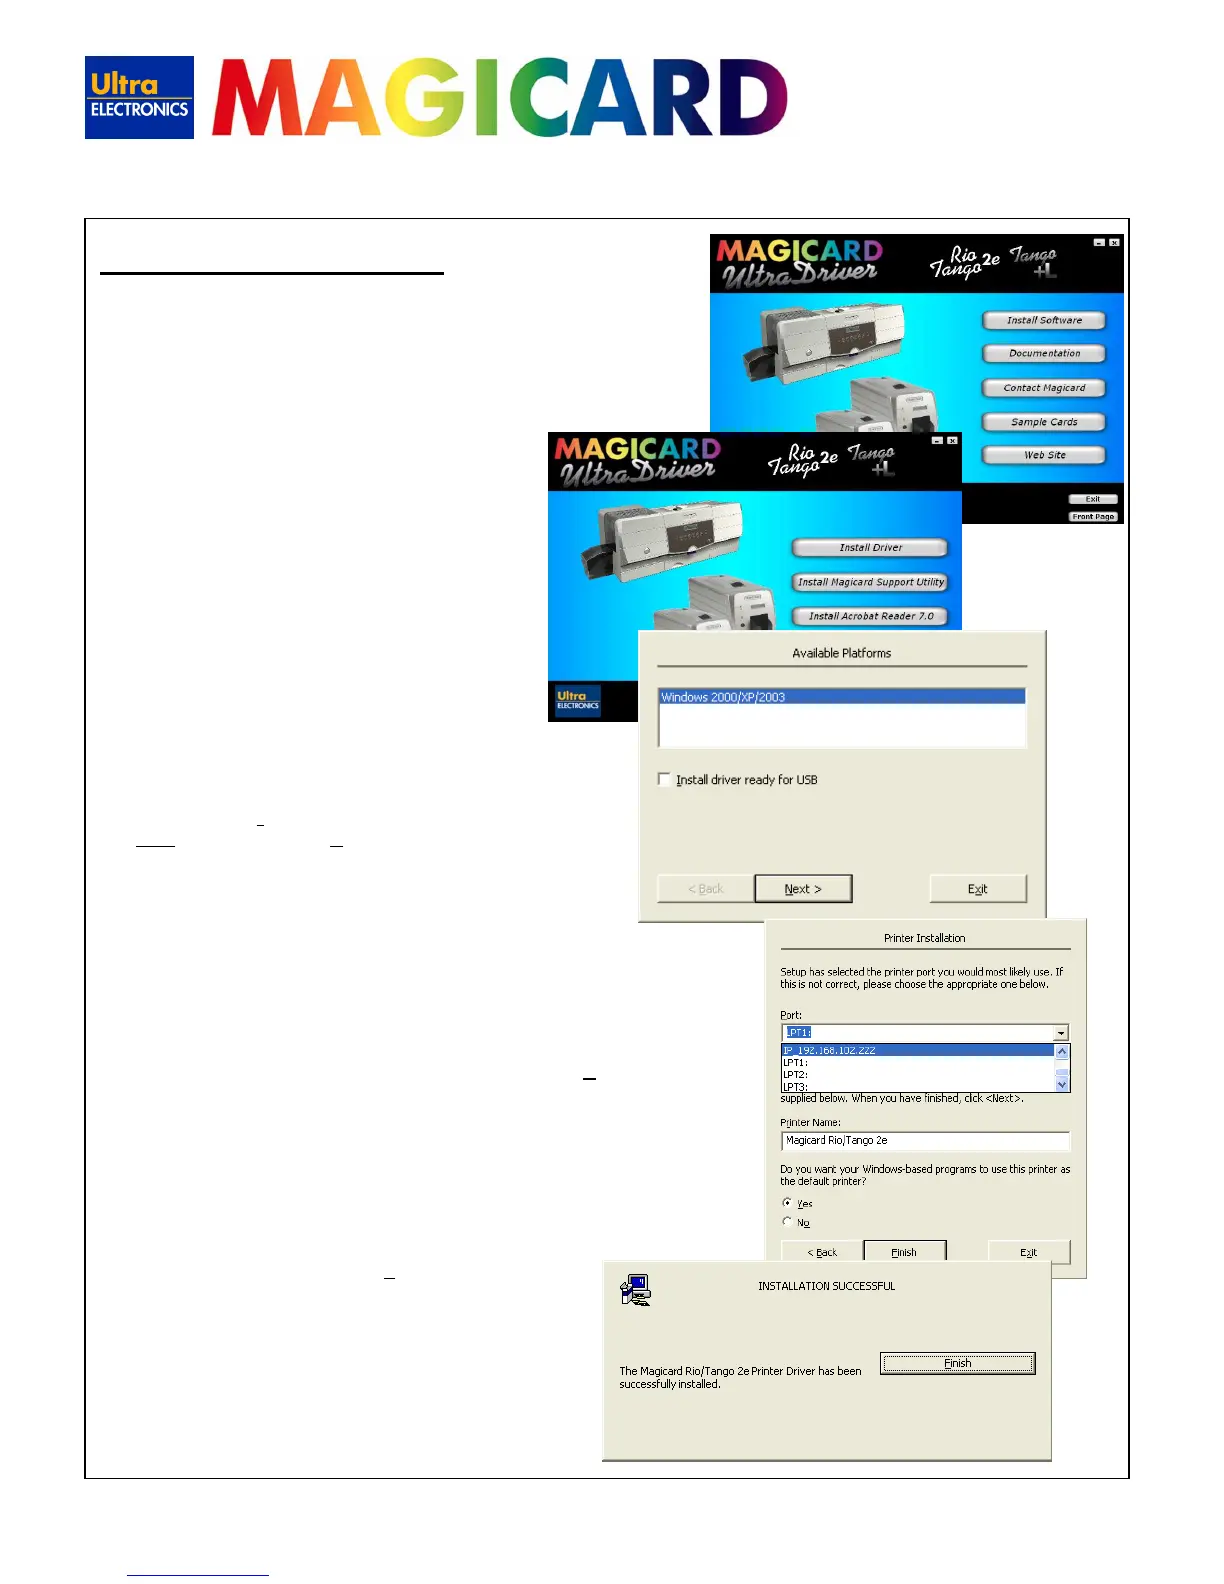
7. Load the driver CD ROM into the user’s PC.
If the CD does not run automatically, click the start button, then click on
“run”. Type “D:\autorun” (where D is the drive letter for your CD drive),
then press the return key.
The driver CD ‘Splash Screen’ will appear.
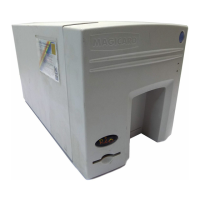
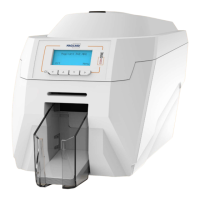
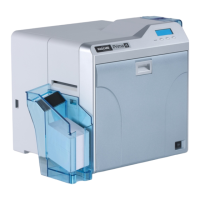
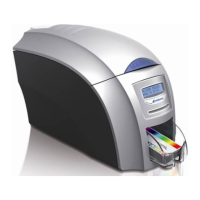
Select your printer model – Rio 2e or Tango 2e.
8. Select the “I
nstall Software” option
9. Then select the “Install Driver” option
The driver installation will begin and the driver installation
window will open.
10. Ensure that the “Install driver ready for USB” option is
NOT
selected, then press ‘Next >’
11. Select the select the IP port you have just created, then press ‘Next >’
Now wait while the driver files are installed and registered.
12. On successful installation, select “Finish”
• It is recommended that you test the new driver installation
by printing a Windows Test Page from the ‘General’ tab of
the Printer Driver Properties – the Windows Logo should
be printed in the centre of the card.
(Please see Section 11 – Printer Driver Settings – for a
detailed explanation of each setting).
•