8 Radio-controlled operation (EnOcean)
59
6. Run function test.
Teaching-in radio sensor on EnOcean exten-
sion module PP 45 EO:
When using a PP 45 EO, the teach-in/teach-out
mode must be activated using the commission-
ing software or when in service mode. For de-
tailed information → Commissioning instructions
online.
8.6.5 Deleting transmitters
1. Remove the front cover on the master unit.
2. Activate the teach-in mode. The 3 LEDs
flash.
3. Briefly press the TEACH button 2x. The 3
LEDs flash briefly twice and then go out (peri-
odic process).
4. Press the TEACH button (> 2 seconds) until
the 3 LEDs on the master light up 1x for an ex-
tended period once and then go out. All
taught-in transmitters are deleted. The master
is again in its initial state.
5. Before putting on the front cover, the shutter
must always be open. To do this, briefly switch
on the master unit.
6. Fit front cover on the master unit such that it
locks into the safety catches.
7. Make sure that the transmitters are deleted.
8.6.6 Setting the ventilation unit as a signal
amplifier (repeater)
The radio electronics in the ventilation unit can
also be used as a signal amplifier. The ventilation
unit also serves as a signal amplifier. EnOcean
telegrams are received and forwarded in parallel
to the running application (for example in single-
family homes that are completely automated with
EnOcean products).
Settings values
• Off
• Level 1: Original telegrams are amplified
• Level 2: Original telegrams, as well as tele-
grams that have already been amplified, are amp-
lified.
Switching on signal amplifier
1. Activate teach-in mode on the receiver (mas-
ter unit). The 3 LEDs flash.
2. Press the TEACH button briefly 3x. The 3
LEDs flash 3x and then the red LED flashes
once (periodic process).
ð The Repeater sub-menu (→ Radio telegram
program levels [}57]) is activated. The basic
setting is Repeater OFF.
3. Press the TEACH button briefly x times.
ð Press 1x: Repeater level 1, 3 LEDs flash 3x
and then the red LED flashes 2x.
ð Press 2x: Repeater level 2, 3 LEDs flash 3x
and then the red LED flashes 3x.
ð When the button is pressed 3x, the loop starts
again from Repeater OFF.
4. Press the TEACH key (≥ 5 seconds) until the
LEDs on the ventilation unit light up for an ex-
tended period. The setting is saved.
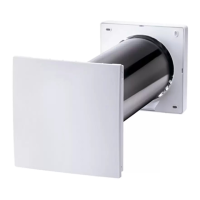
8.6.7 Teaching-in PP 45 ACT EnOcean wireless
actuator
With the PP45ACT EnOcean actuator, radio-
controlled PP45RC PushPull units can be com-
bined with wired exhaust air units (ECA, ER).
The EnOcean actuator can be used as a normal
light switch. The wired exhaust air units (ECA,
ER) are switched on at the push of a button.
At the same time, a radio telegram is sent to the
PP45RC master unit. The PP45RC units (mas-
ter + slave) provide the required supply air at the
exhaust air units.
Teaching-in on the PP45RC unit (master unit
only) is the same as teaching-in a sensor.
Through the master-slave network, both PP 45
RC units provide 30m³/h of supply air during the
“Supply air for exhaust air units” function.
We therefore recommend using the PP45ACT
only with two PP45RC radio-controlled units.
The actuator must only be taught-in at the master
unit.
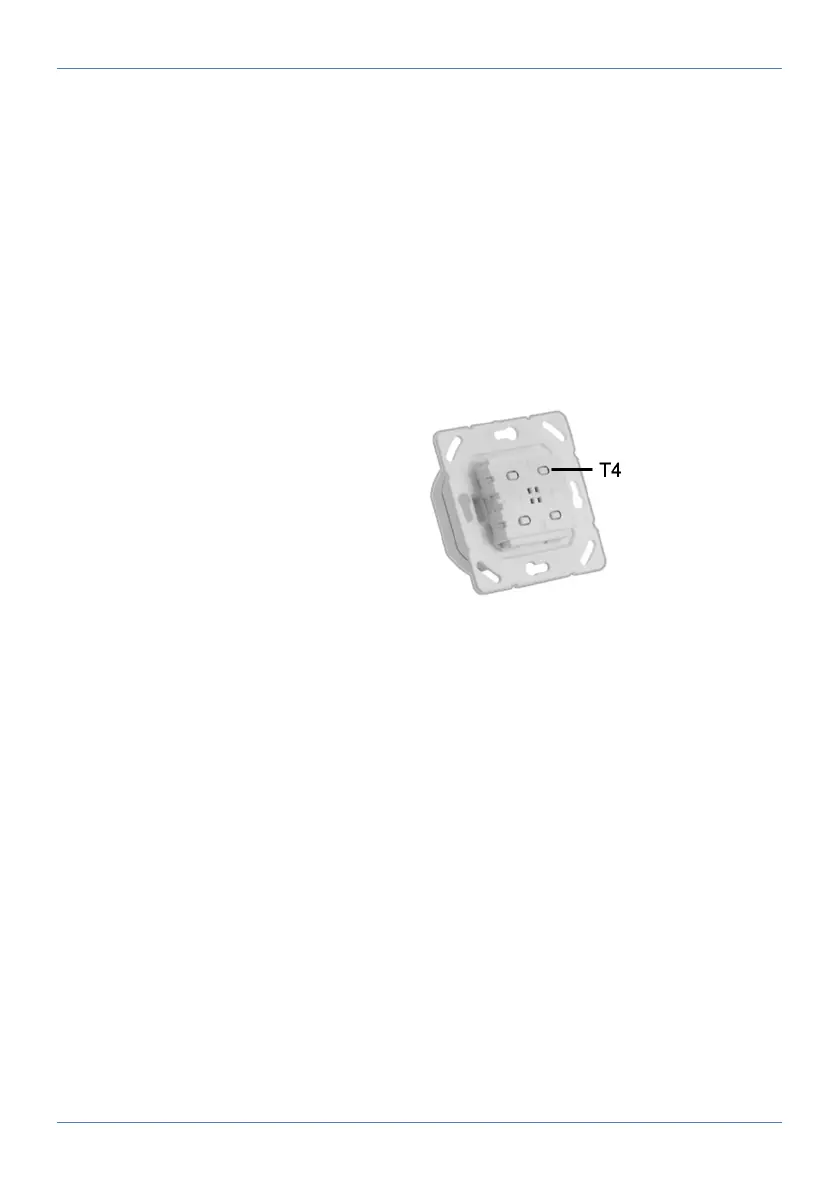
Teaching-in PP 45 ACT on the PP 45 RC master
unit
1. Electrically connect PP45ACT → Installation
instructions for final installation kit, connection
diagrams in the appendix.