14 ENGLISH
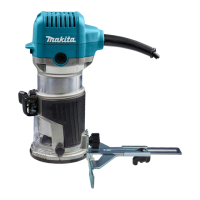
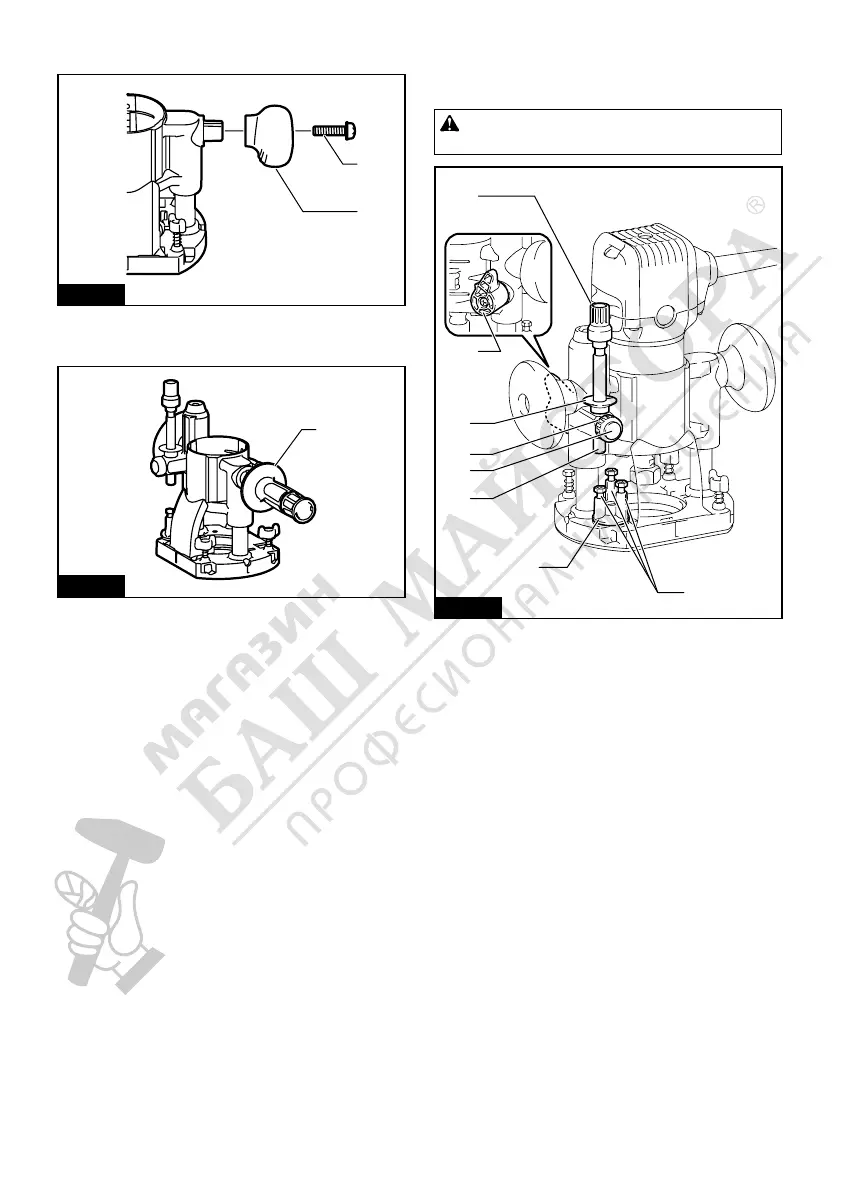
2. To use the bar type grip (optional accessory),
loosen the screw and remove the knob type grip.
1
2
Fig.41
► 1. Screw 2. Knob type grip
3. Screw the bar type grip on the base.
1
Fig.42
► 1. Bar type grip
Adjusting the depth of cut when
using the plunge base (optional
accessory)
CAUTION: Always hold the tool rmly by both
grips during operation.
2
3
4
5
6
7
8
1
Fig.43
► 1. Adjusting knob 2. Lock lever 3. Depth pointer
4. Stopper pole setting nut 5. Fast-feed button
6. Stopper pole 7. Stopper block 8. Adjusting hex
bolt
1. Place the tool on a at surface. Loosen the lock
lever and lower the tool body until the trimmer bit just
touches the at surface. Tighten the lock lever to lock
the tool body.
2. Turn the stopper pole setting nut counterclock-
wise. Lower the stopper pole until it makes contact
with the adjusting hex bolt. Align the depth pointer with
the "0" graduation. The depth of cut is indicated on the
scale by the depth pointer.
3. While pressing the fast-feed button, raise the
stopper pole until the desired depth of cut is obtained.
Minute depth adjustments can be obtained by turning
the adjusting knob (1 mm per turn).
4. By turning the stopper pole setting nut clockwise,
you can fasten the stopper pole rmly.
5. Now, your predetermined depth of cut can be
obtained by loosening the lock lever and then lowering
the tool body until the stopper pole makes contact with
the adjusting bolt of the stopper block.
6. Set the base on the workpiece to be cut without
the trimmer bit making any contact.
7. Turn the tool on and wait until the trimmer bit
attains full speed.
 Loading...