14 Operator’s Manual
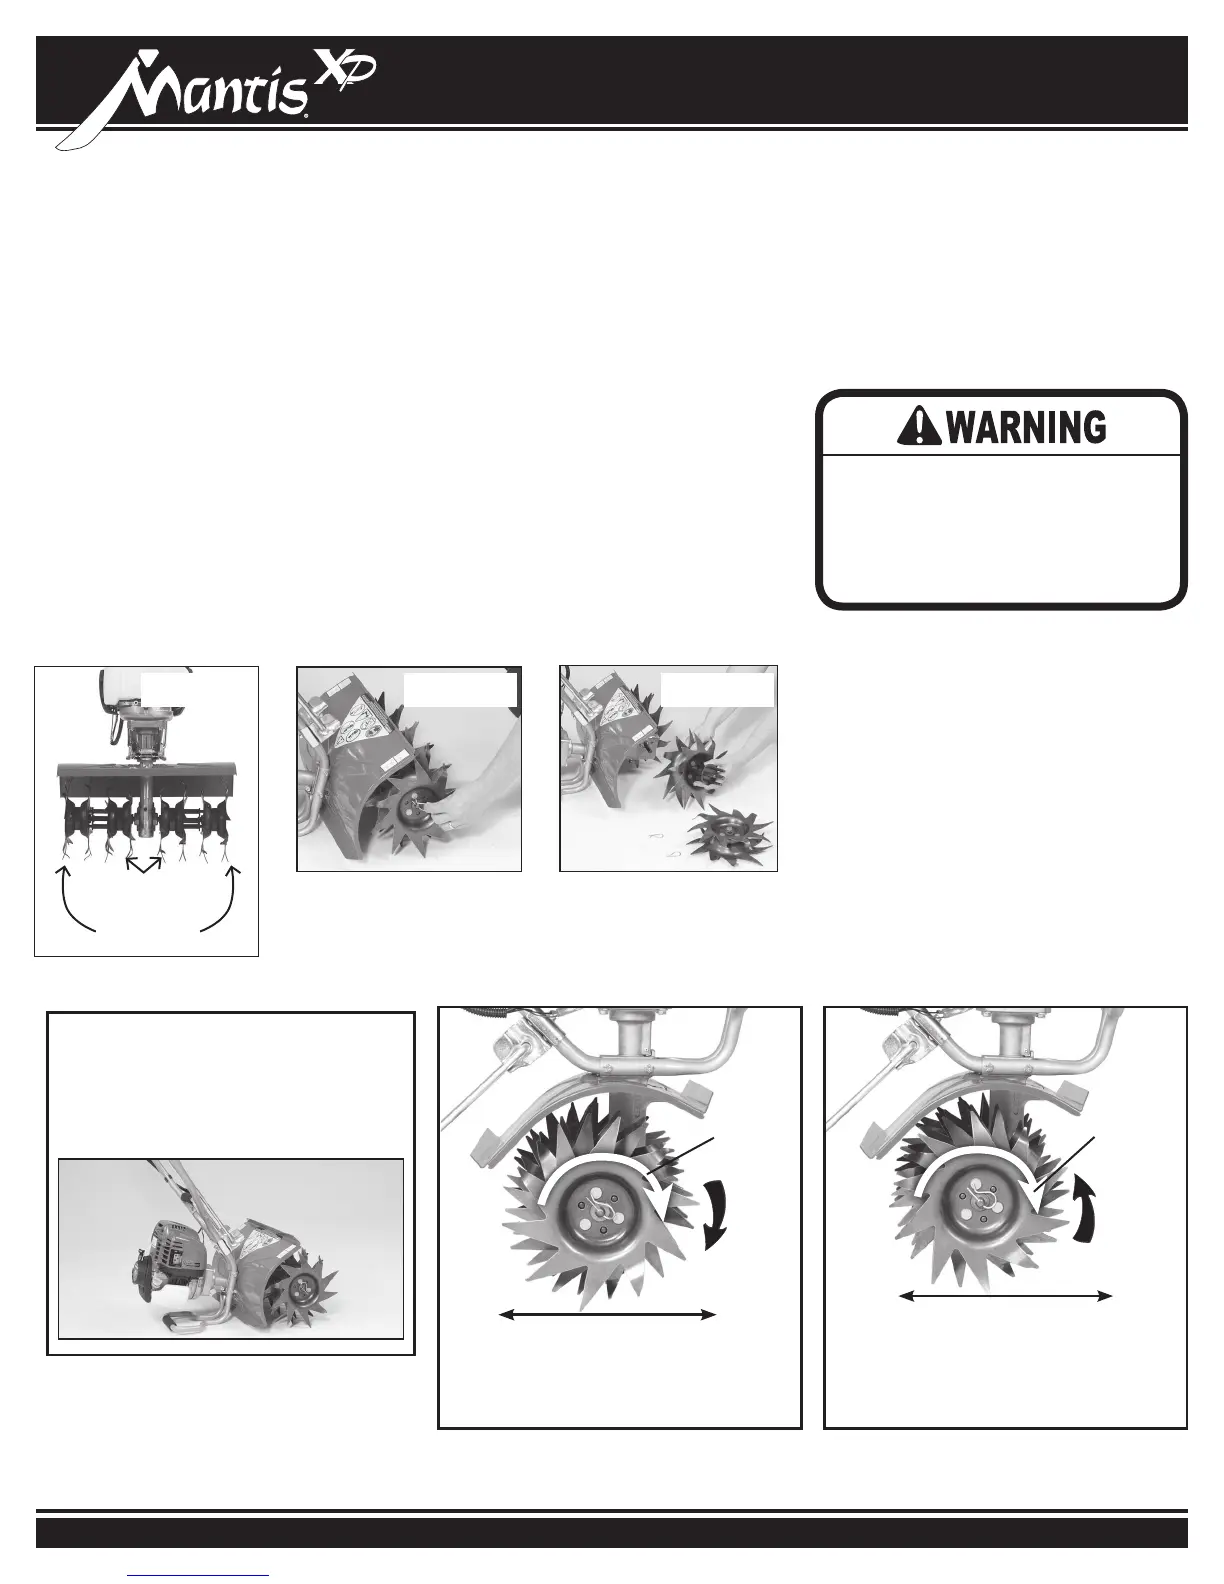
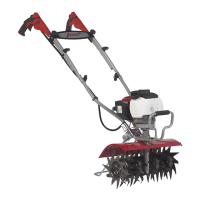
1. First, you will need to understand that
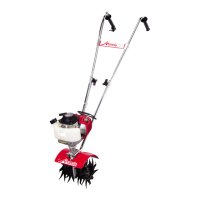
your Mantis
®
XP Tiller has an inner and
an outer set of tines on each side of the
tiller as shown in Figure 1.
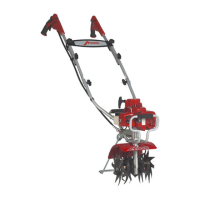
2. Make sure the tiller is turned off.
3. Remove the retaining pins from the
outer set of tines (Figure 2) and
remove the outer tines.
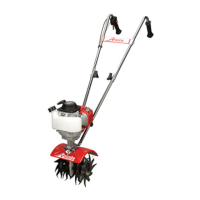
4. Only after you have removed the outer
set of tines, then remove the retaining
pins from the inner tines and remove
the inner tines from the transmission
axle (Figure 3)
5. Place the right-side set of inner tines
onto the left-side. The “D” shaped
hole should be to the outside. Make
sure the tine retaining pin is installed.
Repeat for the other side
6. Place the right side set of outer tines
onto the left-side axle. The “D” shaped
hole should be to the outside and
insert the tine retaining pin. Repeat for
the other side.
Your Mantis
®
XP Tiller also has the
ability to till or cultivate at either a 9” or
16” width. The tiller is sent to you set
up for 16”. To run the tiller at a 9” width,
simply remove the inner and outer tines
as noted above. Then just put the outer
tines back onto the transmission axle and
secure with a retaining pin on each side.
Figure 1 Figure 2 Figure 3
Mantis
®
XP Tiller Operation (Continued)
DO NOT reach your ngers and/or
hand between the tine blades.
DO NOT attempt to remove the
inner set of tines until you have
rst removed the outer set of tines.
IMPORTANT:
To change the tines on your Mantis
®
XP Tiller, push the tiller forward and
allow it to rest on the loop handle.
Inner Tines
Outer Tines
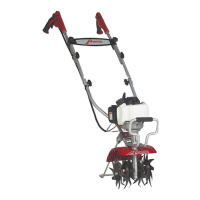
HOW TO SWITCH FROM TILLING TO CULTIVATING POSITION
To set them for tilling, attach the tines
so the points of the blades face forward
- away from the operator. The tines’
points will contact the ground rst.
For cultivating, reverse the tines
so that the points of the tines face
backward - toward the operator. Now
the long at part of the tine’s blade
will contact the ground rst.
Tilling Cultivating
Tine
Rotation
Tine
Rotation
Tine Teeth
Tine Teeth
Back
Back
Handles Handles
Front
Front