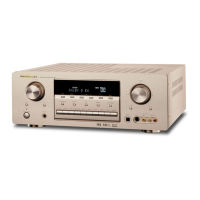
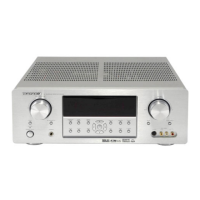
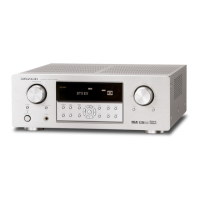
Explanatory Photos for DISASSEMBLY
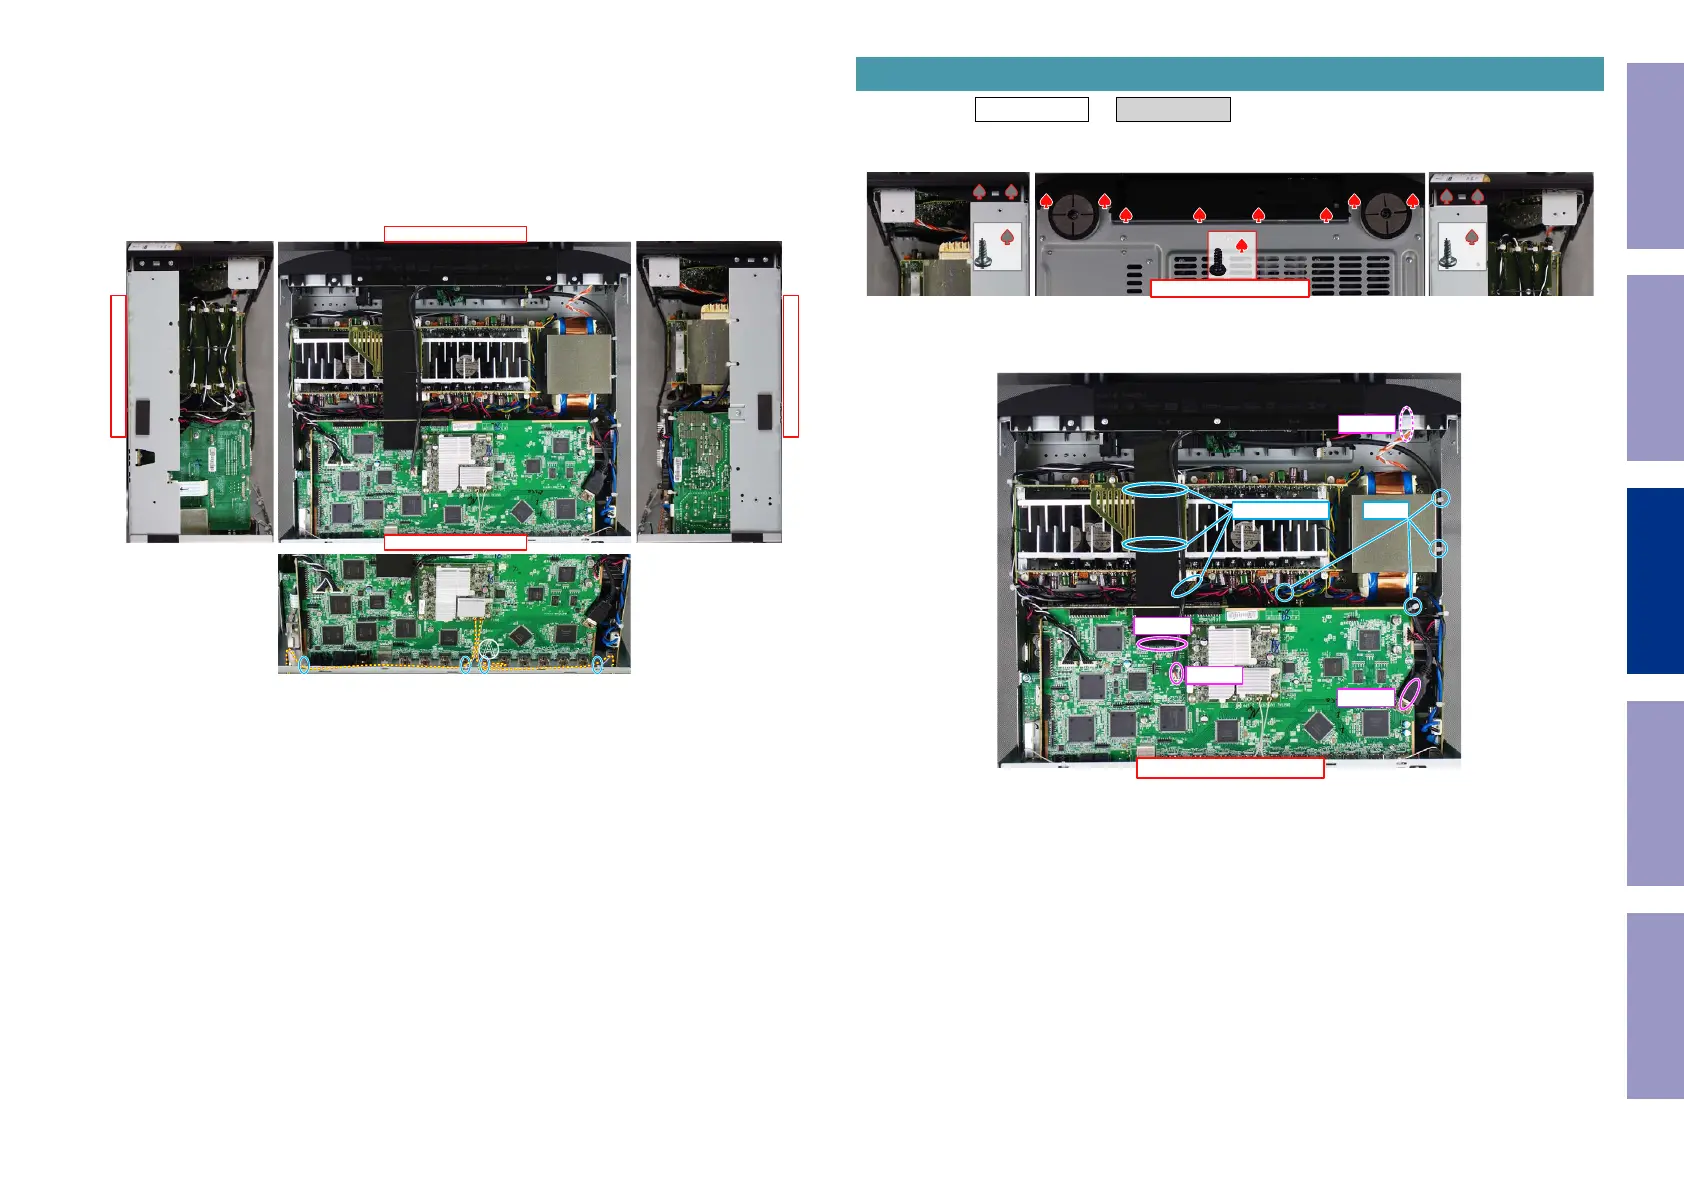
• Fortheshootingdirectionofeachphotosusedinthismanual,seethephotobelow.
• A, B, C and Dinthephotobelowindicatetheshootingdirectionsofphotos.
• Thephotographswithnoshootingdirectionindicatedweretakenfromthetopoftheunit.
• PhotosofSR7013Uareusedinthismanual.
The viewpoint of each photograph
(Shootingdirection:X)[Viewfromthetop]
Caution:Turnupandsparewireatposition
Ⓐ
.
↓Shooting direction: C↓
↑Shooting direction: D↑
↑Shooting direction: A↑
↓Shooting direction: B↓
�
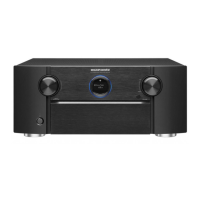
Proceeding : TOP COVER → FRONT ASSY
(1) Removethescrews.
(2) RemovetheSTYLEPINsandconnectors.RemovetheFFC.
Cutthewireclamps.Removethescrews.
1. FRONT ASSY
View from the bottom
x2 x2
x8
↑Shooting direction: A↑
CN602
CN321
FFC
JK433
STYLE PIN
CUT
Before Servicing
This Unit
Electrical Mechanical Repair Information Updating
81


 To Next Page