S
ection
8
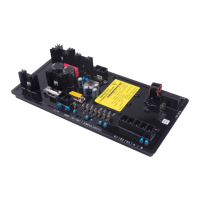
Note: If an ammeter is installed, it is recommended that the B phase CT be connected in series through the
regulator CT1 and CT2 terminals. This will provide additional information on the
very useful for any troubleshooting.
button in the upper tool bar. On the
that the regulator will see when the generator
is operating properly. This is the fi ne voltage adjustment and will either be the generator terminal voltage
or the voltage from the secondary of a transformer. If the unit is to operate at 50 Hz, change the
in the ‘Underfrequency Setting’ section.
button in the upper tool bar. On the
screen identifi ed in the upper
left, enter the required value in the
area based on the identifi ed frame size from the
(For 280 frame generators only) In the
button in the upper tool bar. In the
section located in the lower
right of the screen, set the regulator to the
mode for startup by clicking on the rectangular button
. On the top right, under
button in the upper tool bar to save the new settings to permanent memory in the
in the top tool bar and pick
to save the new settings to a fi le for future
in the top tool bar and choose
12. Remove power from the voltage regulator. Connect the regulator to the generator.
13. Start the engine and bring up to speed. Initiate computer communications with the voltage regulator by
button in the upper tool bar. On the
screen, ensure that the voltages
. Increase the fi eld current in the
‘Setpoint’ section in ‘Setpoint’
the top right by entering
fi eld. Increase the current value in incremental
amps until reaching rated voltage (approximated) identifi ed in the
) Insure that all voltages are reading properly
and that the voltage window at the top right of the
screen has the desired operating voltage