Owner’s Manual
12
DANGER
To prevent fire or explosion hazard when testing for a leak:
1. Always perform the leak test on page 10 before lighting the barbecue and each time the cylinder is connected for use.
2. Do not smoke or allow other sources of ignition in the area while conducting a leak test.
3. Conduct the leak test outdoors in a well-ventilated area.
4. Do not use matches, lighters or a flame to check for leaks.
5. Do not use barbecue until all leaks have been stopped. If you are unable to stop a leak, disconnect the propane supply,
call for gas appliance service or your local propane gas supplier.
Checking
for
leaks
1.
Make two to three ounces. of leak solution by
mixing one part liquid dishwashing soap
with three
parts
water.
2.
Make sure control knobs are in the “OFF” position.
3.
Spray some solution on the tank valve up to the regulator connection.
4.
Inspect the solution at the
connections for bubbles. If no bubbles appear, the connection is secure.
5.
If bubbles appear,
you
have a leak. Go to step 6.
6.
Disconnect the regulator from
the
tank and reconnect.
Make sure the connection is secured.
7.
Retest
with solution.
8.
If
you continue to see bubbles, replace the cylinder.
Lighting your
barbecue
DANGER:
Failure to open lid while igniting the
barbecue
’s burners, or not waiting five minutes to allow gas to clear, if the
barbecue
does not light, may result in an explosion, which could cause serious bodily injury or death.
WARNING
: To prevent possible bodily injury, never stand with your head directly over the
barbecue
when preparing to light
the main burners.
Main Burner
1.
Open lid
while lighting burners.
WARNING
: Attempting to light the burner
with the lid closed
may cause an explosion. Make sure there are no
obstructions of airflow to the gas unit. Spiders and insects can nest and clog the burner/
venturi tube at the
orifice. A clogged burner tube can lead to
a fire beneath the appliance.
2.
All valves must be in the “OFF” position.
3.
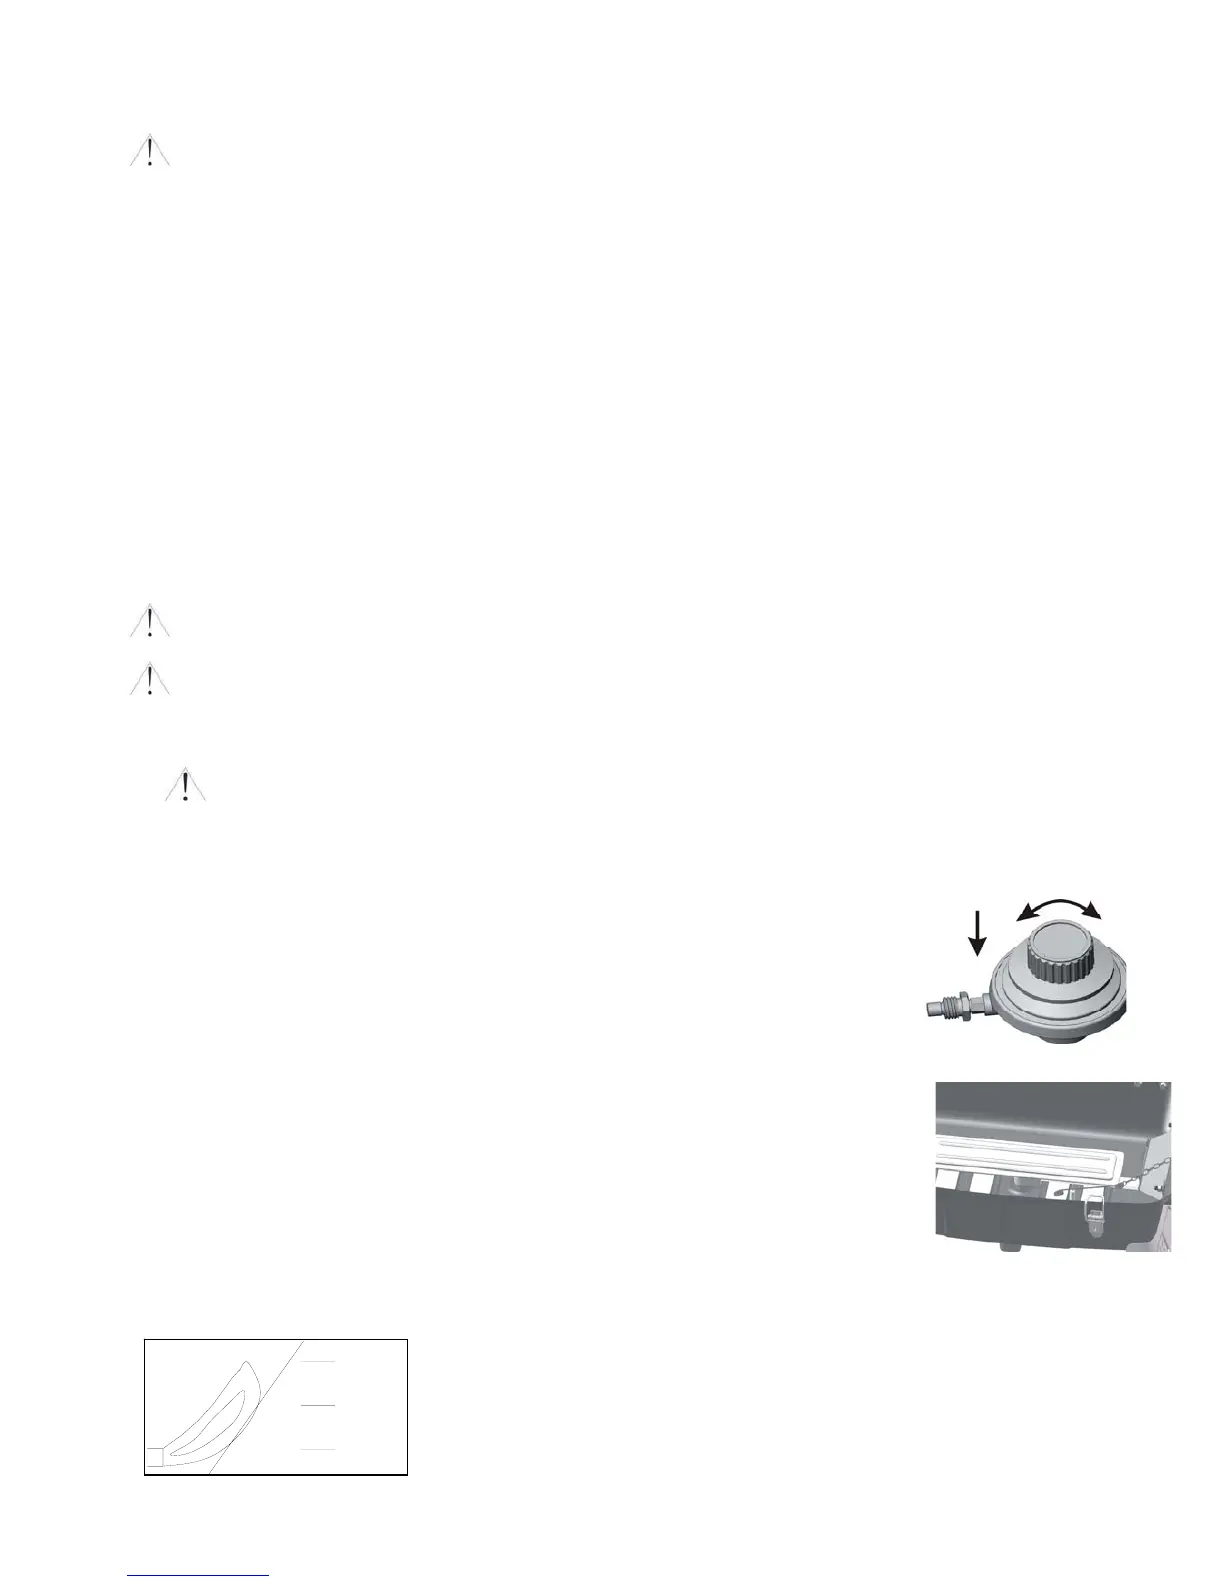
Turn gas supply "ON" by connecting propane cylinder to regulator inlet fitting.
4.
Press and turn the control knob to “HIGH” then press the igniter button immediately.
After lighting observe the burner flame, make sure all burner ports are lighted - a blue/yellow
flame of 1-2” from the burner ports should appear.
(1) If ignition does not take place, press the igniter button two to three times.
(2) If ignition still does not take place, turn the burner control knob to the “OFF” position.
Wait five minutes with lid open for the gas to clear and repeat the lighting procedure.
5. Adjust valve knob to desired cooking temperature.
Using the Lighting Stick to Light the
Burners
1.
Insert a match into the end of the lighting stick and light it.
2.
Once lit, place the flame through
the hole on left side of
barbecue
body to reach
the
burner ports (see diagram to right.)
3.
Push and turn control knob to “HIGH” setting. After lighting, observe the burner flame, make sure
all burner ports are lighted - a blue/yellow flame of 1-2” from the burner ports should appear.
(1) If ignition does not take place, press the igniter button two to three times.
(2) If ignition still does not take place, turn the burner control knob to the “OFF” position.
Wait five minutes with lid open for the gas to clear and repeat the lighting procedure.
4.
Adjust burners to the desired cooking temperature.
Confirm that the burner is properly lit by comparing with description below. If the flame pattern appears abnormal, consult
the troubleshooting guide on page 12 for corrective action.
1) Push down
2) Turn counterclockwise to “on”
3) Turn clockwise to ”off”
2"
1"
0"
Observe flame
height
when lit:
Flame
should
be a blue/yellow
colour between 1-2
"
high.