19
TM
Lighting Instructions
Step Procedure Illustration
LIGHTING INSTRUCTIONS
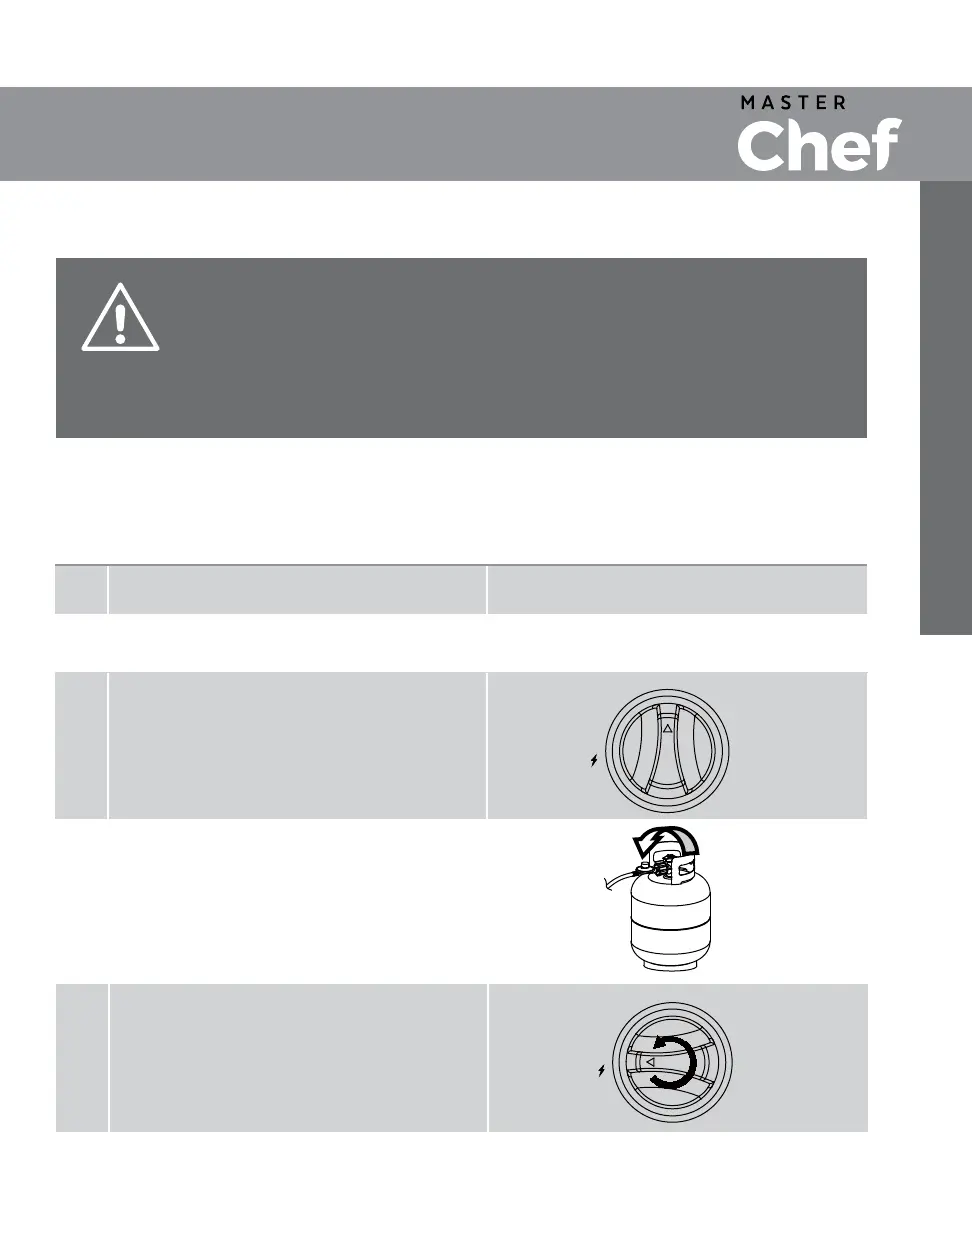
Push and turn the control knob slowly all the
way to “ON” until a clicking sound is heard.
Burner should light immediately.
Fully open the LP tank valve.
4
1
2
3
5
6
Read all instructions before lighting.
Make sure the control knob is in the “OFF”
position.
If ignition does NOT occur in 5 seconds, turn
the control knob o, wait 5 minutes to allow
gas to dissipate. Repeat the lighting procedure.
Open the lid before lighting.
ON
OFF
WARNING:
• Inspect the gas supply hose prior to turning the gas ON.
• If there is evidence of cuts, wear, or abrasion, the hose must be replaced prior to use.
• Do not use the appliance if the odor of gas is present.
• Only the pressure regulator and hose assembly supplied with the unit should be used.
• Perform the “LEAK TEST” according to the instructions before operating the appliance.
• ALWAYS keep your face and body away from the top opening of main body while lighting.
SEASONING YOUR UNIT
We suggest seasoning the unit prior to first use. Apply a light coating of vegetable oil with a paper towel to the
interior walls and turn on high for 1 hour with the lid closed.
ON
OFF