WARNING: ALWAYS KEEP YOUR WORK AREA CLEAN, UNCLUTTERED, AND WELL LIT.
DO NOT WORK ON FLOOR SURFACES THAT ARE SLIPPERY FROM SAWDUST OR WAX.
Fig. 4
Fig. 5
Fig. 6
V. Assembly and adjustments(continued)
13
1
2
3
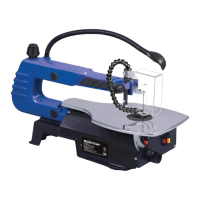
KEEPING THE AREA CLEAN (FIG. 4)
Sawdust and wood chips that fall under
the saw will accumulate on the floor.
Make it a practice to pick up and discard
this dust when you have completed
cutting.
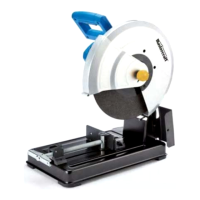
BLADE RAISING/TILTING
HANDWHEEL (FIG. 5)
Attach the blade tilting wheel (1) into
the fix pole (3). Assemble the height
adjustment rock (2) to the height
regulating bolt (3). Use the screw and
washer to lock the height adjustment
rock.
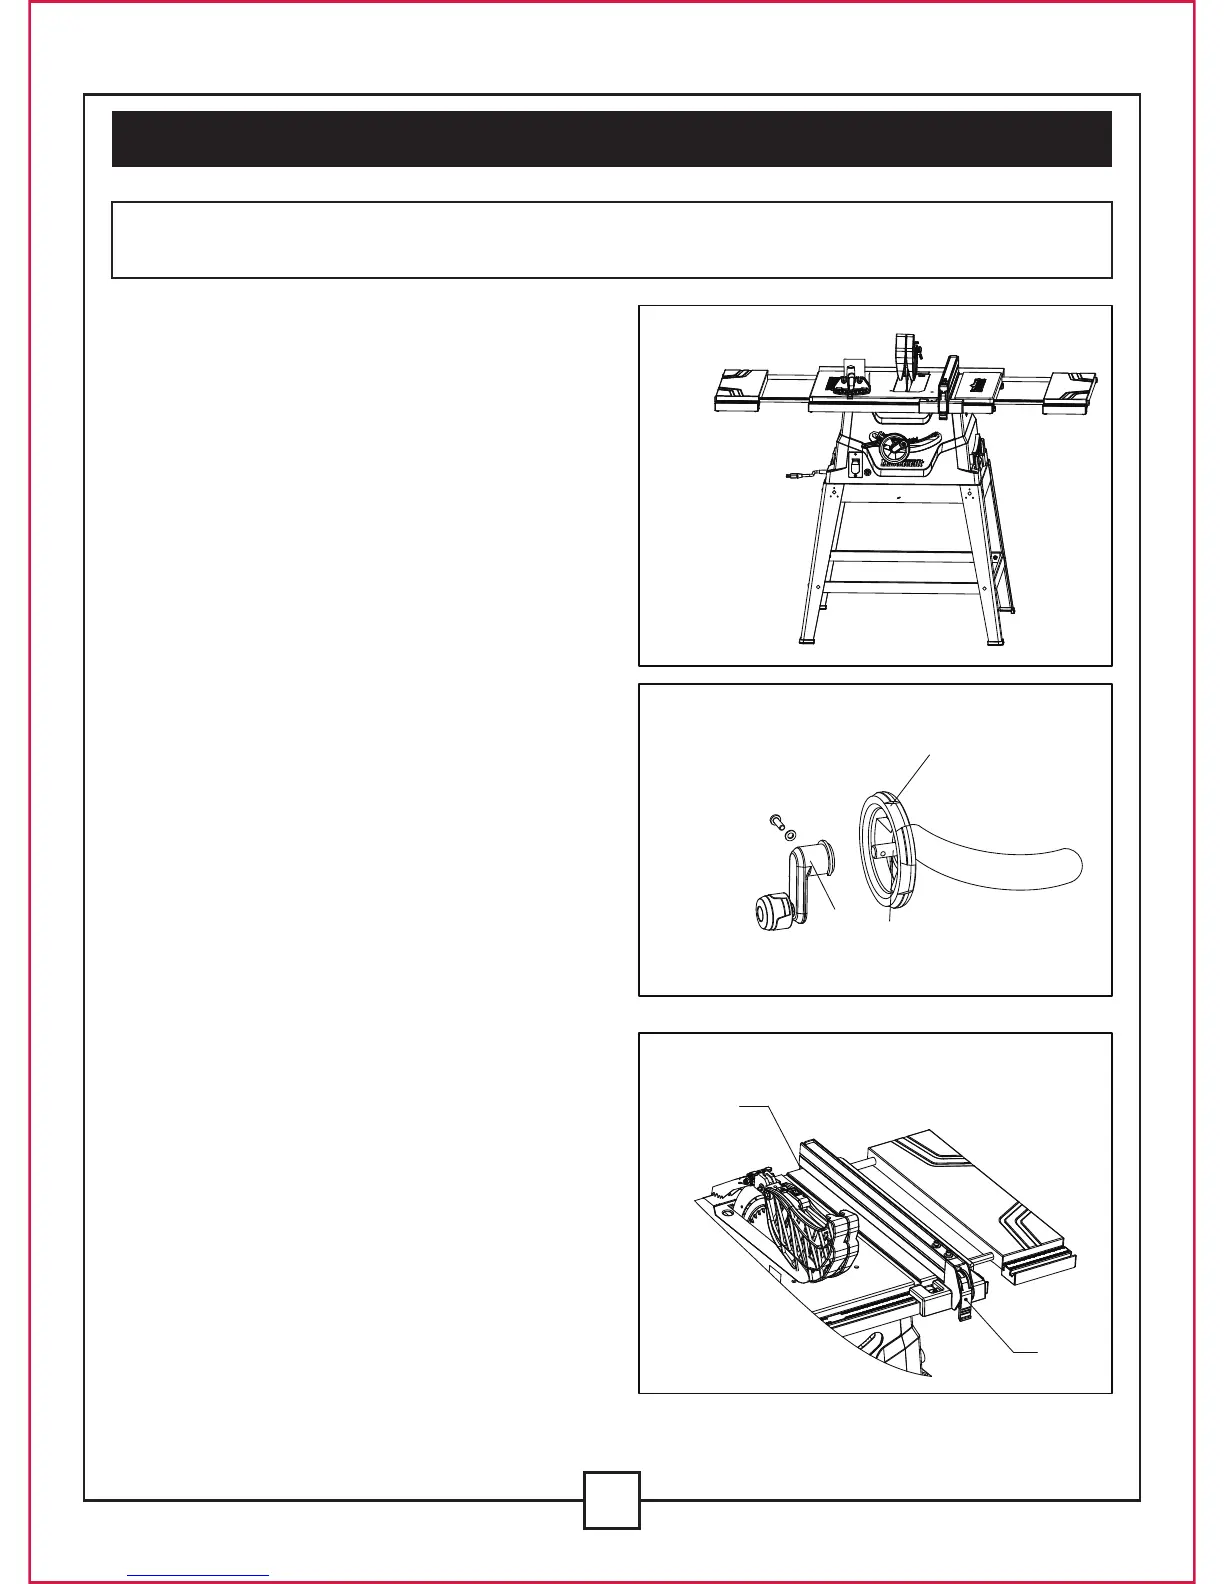
RIP FENCE (FIG. 6)
1. Lift the rip fence handle (1) until
the rear fence clamp (2) is fully
extended.
2. Place the rip fence on the saw
table, and push down on the rip
fence handle (1) in order to lock it.
1
2

 Loading...