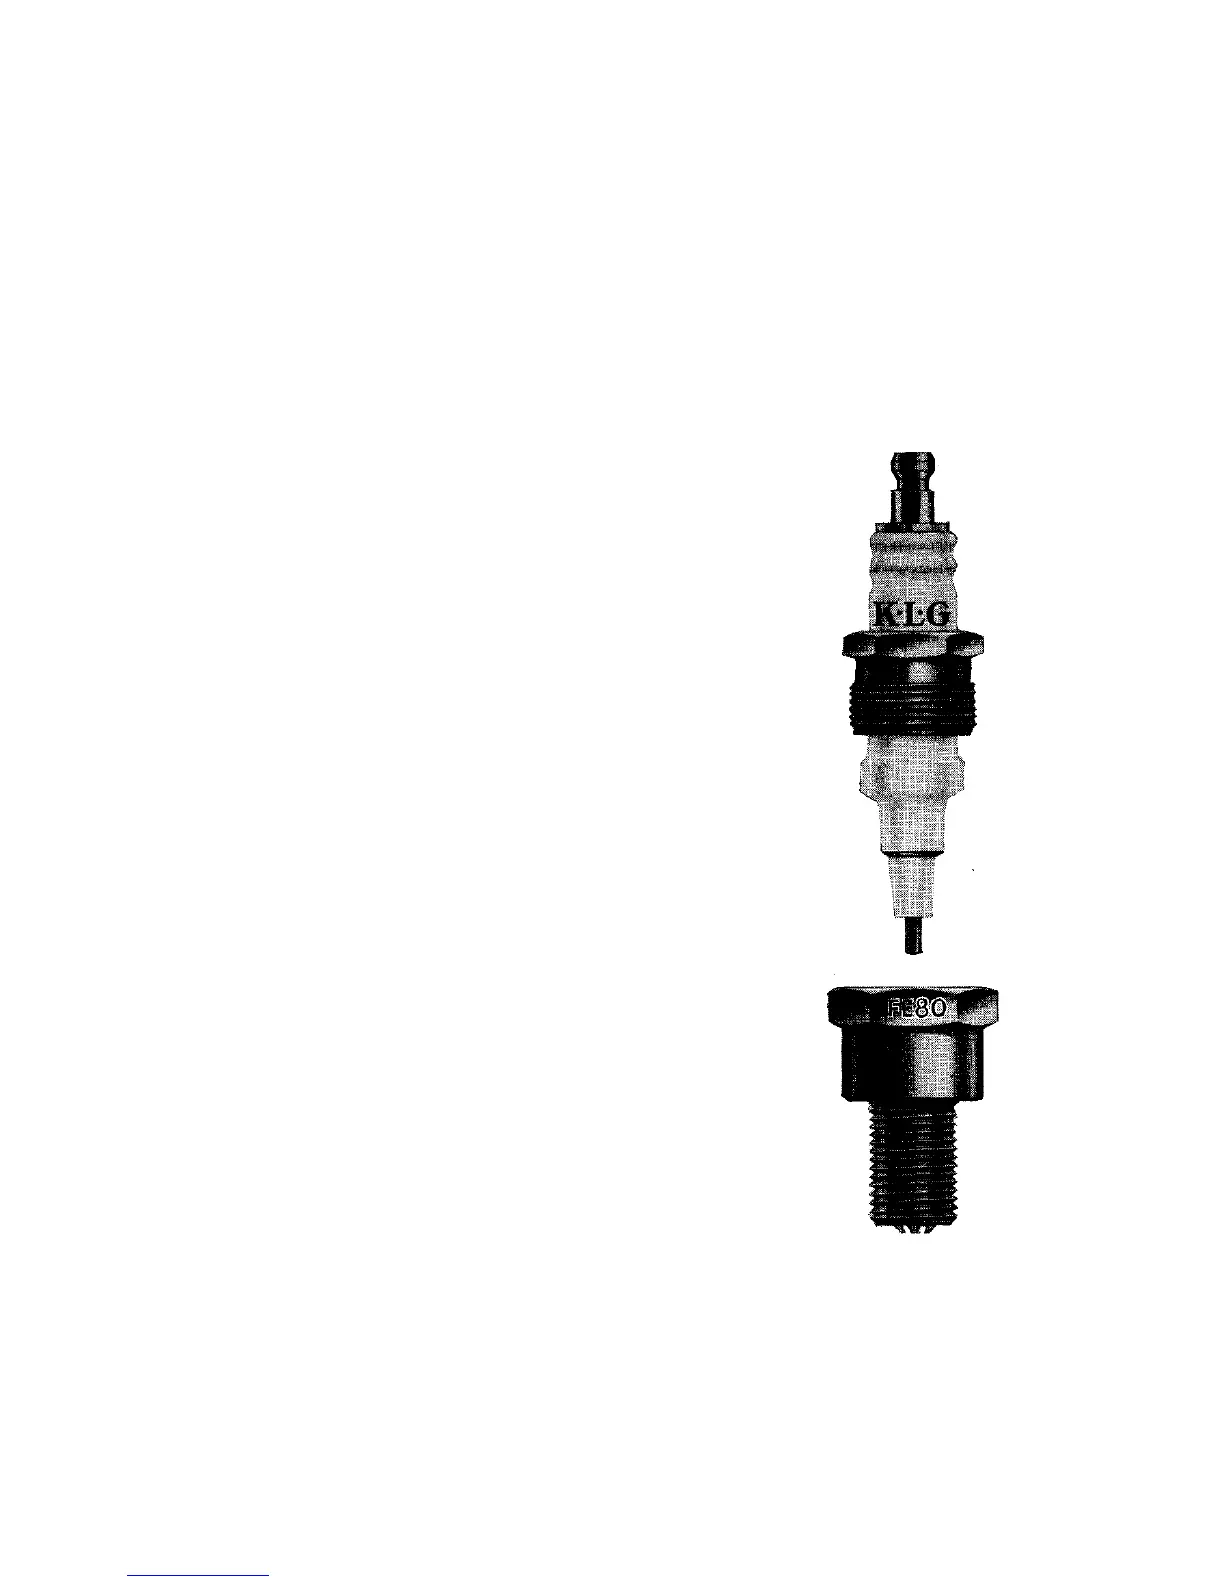
SPARKING PLUG
The K.L.G. Type FE80 " Corundite " Plug is fitted to all models.
It has a thread of 14 mm. and the reach is ¾". The point gap is ·020 to ·022". Check the
point gaps every time the engine is decarbonised and, if necessary, re-set the points.
See that the plug Is fitted with its external seating washer.
Coat the thread with "Oil Dag" or Graphite paste. (See page 36.)
Firmly tighten the plug by using the standard box spanner and
tommy bar (Part No. 017252.) All that is required is a GAS-
TIGHT joint. Therefore do not over tighten, which will not
make a gas-tight joint more gas-tight, but can, and possibly will,
distort and damage the body of the plug.
Set the gaps to ·020 to ·022". Never try to move the central
electrode. To widen or narrow the gap between the electrodes
only move the earth (side electrodes). Check the gaps first
with a gap gauge. If they are too wide tap the earth (side
electrodes) towards the central electrode using preferably a
small copper drift and light hammer. Check the gaps between
each tap and stop when the gauge is a nice sliding fit between
the central electrode and the three earth side electrodes.
If the gaps are too small to start with gently lever the earth
electrodes away from the centre electrode using a small screw-
driver and then tap, them back as described above. Avoid
damaging the centre electrode and do not attempt to move the
electrodes apart by forcing anything between them.
For maximum efficiency, plugs should be cleaned at every 3,000
miles. To take the plug to pieces for cleaning, unscrew the gland
nut by holding the smaller hexagon on the gland nut upside down
in a vice and then using the box spanner to unscrew the larger
hexagon on the body.
Then lift away the central electrode assembly which should be
washed in petrol or paraffin. Then, using fairly coarse glass
paper, remove the carbon deposit and wash again.
The central firing point should be cleaned with fine emery cloth.
The inside of the body should be scraped clean with a knife and
finally rinsed in petrol.
Illustration 29
There is an internal washer, between the insulator and its seat-
ing in the body. On re-assembly lightly smear this with thin oil
and then screw up the gland nut sufficiently tight to give a gas-
tight joint.
Finally adjust the gap to ·020 to ·022".
76