23
After approximately 5 seconds the Display returns to
indicate the Input Selection and Volume Level.
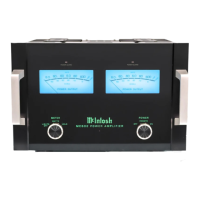
Note: Meter Illumination of contemporary McIntosh
Power Amplifiers will also switch On/Off when
connected to the MHA100 via a power control
cable. Refer to “Power Control Connections”
on page 4.
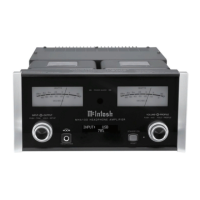
DISPLAY
The MHA100 Front Panel Dispaly Illumination may
be switched On or Off by performing the following:
1. Momentarily press the Front Panel INPUT Control
to enter the TRIM Mode. Then rotate the INPUT
Control until “DISPLAY” appears on the Front
Panel Display. Refer to figure 66.
2. Rotate the OUTPUT Control to change the Display
to “Off”. Refer to figure 67.
After approximately 5 seconds the Display will switch
Off. Any Front Panel Control Operation (or Remote
&RQWURO2SHUDWLRQVXFKDV,QSXW6HOHFWLRQDQGWKH
1. Momentarily press the Front Panel INPUT Control
to enter the TRIM Mode. Then rotate the INPUT
Control until “MONO / STEREO” appears on the
Front Panel Display. Refer to figure 62.
2. Rotate the OUTPUT Control to change the Mode
to “Mono”. Refer to figure 63.
After approximately 5 seconds the Display returns to
indicate the Input Selection and Volume Level.
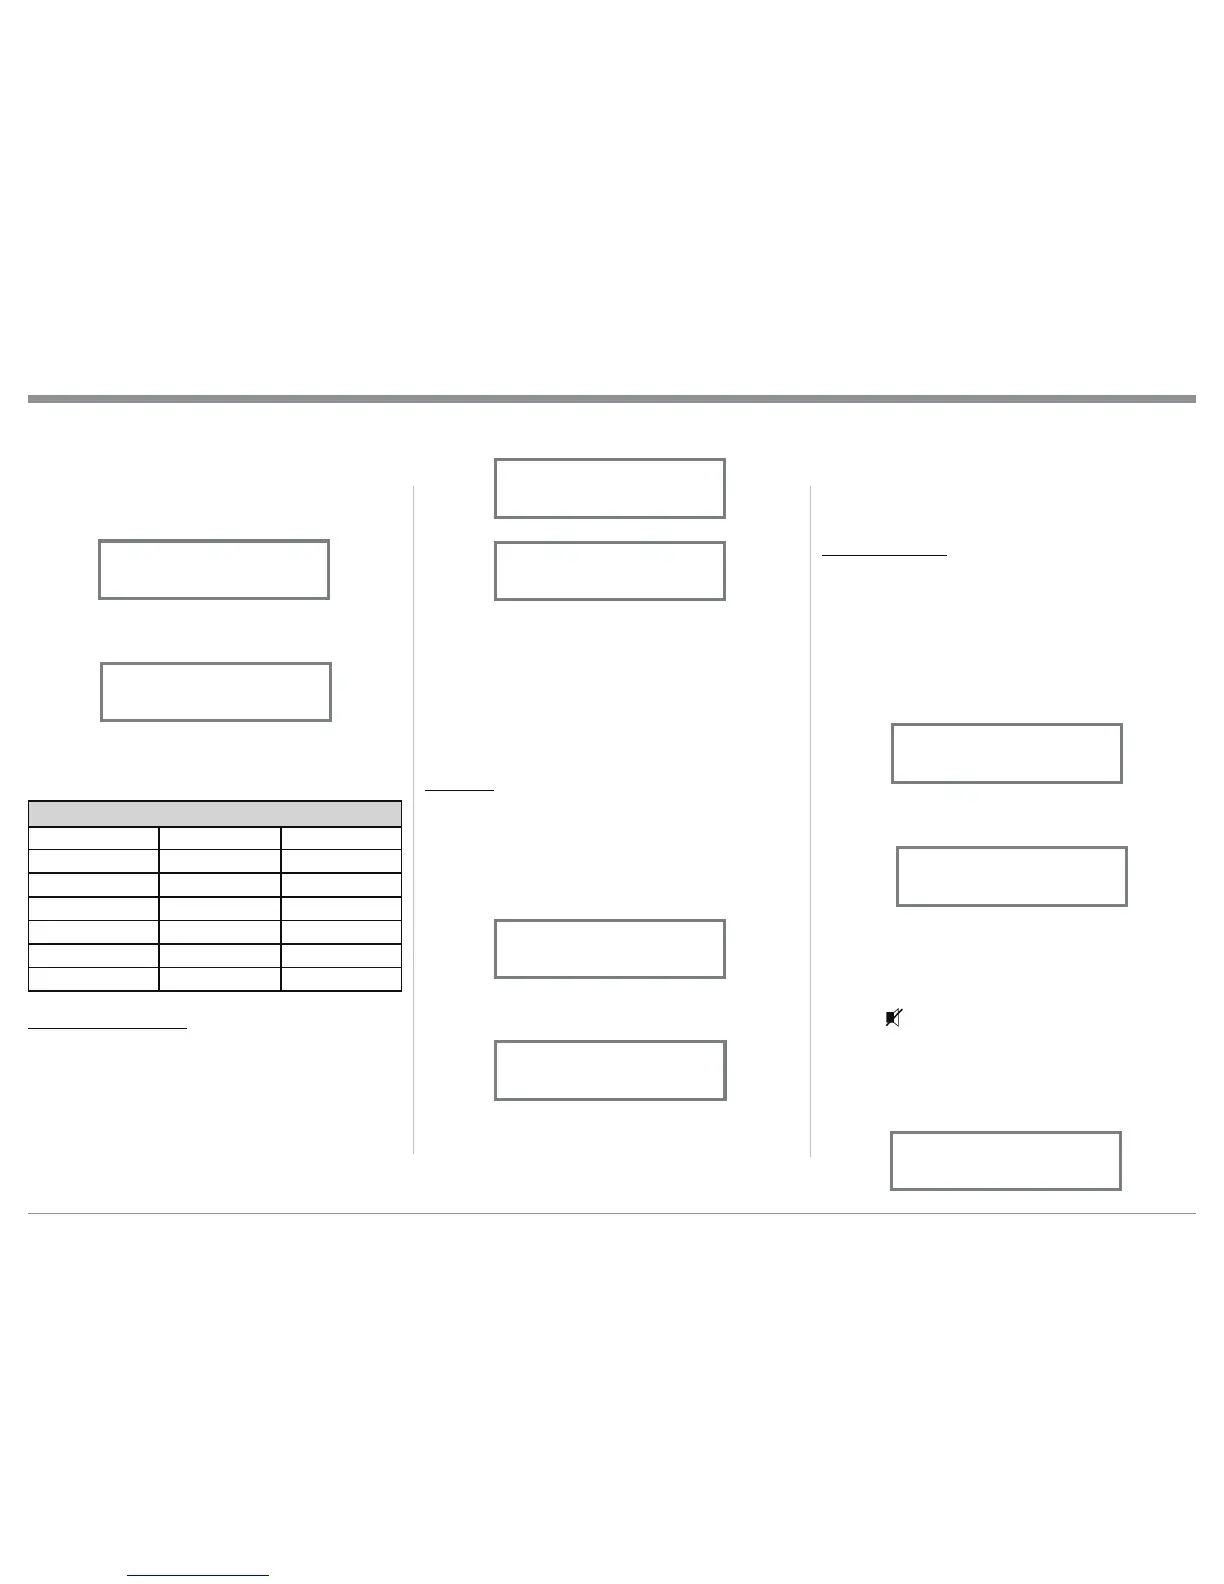
Input Trim Settings
Connection Type Input Name New Trim Level
UNBAL
BALANCED
OPTICAL
COAX
AES/EBU
USB
METER BACKLIGHT
The MHA100 Front Panel Meter Illumination may be
switched On or Off by performing the following:
1. Momentarily press the Front Panel INPUT Control
to enter the TRIM Mode. Then rotate the INPUT
Control until “METER BACKLIGHT” appears on
the Front Panel Display. Refer to figure 64.
2. Rotate the OUTPUT Control to change illumina-
tion to “Off”. Refer to figure 65.
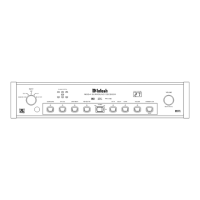
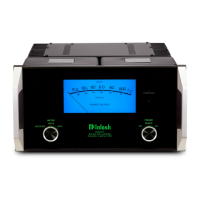
How to Operate the MHA100
Display will switch On to indicate current status. Then
approximately 5 seconds later the Display will switch
Off.
DIGITAL AUDIO
By default, the Digital Audio Display is switched On
to display information about the type of digital signal
present when a digital input is selected. To switch Off
Digital Audio Display perform the following steps:
1. Momentarily press the Front Panel INPUT Control
to enter the TRIM Mode. Then rotate the INPUT
Control until “DISPLAY” appears on the Front
Panel Display. Refer to figure 68.
2. Rotate the OUTPUT Control to change the Display
to “Off”. Refer to figure 69.
After approximately 5 seconds the Display returns to
indicate the Input Selection and Volume Level.
Mute
Press the MUTE Push-button on the Remote
Control to Mute the Audio in the Headphones, Loud-
speakers and PRE AMP OUTPUT Jacks. The Front
Panel Display will indicate the Input Name and with
the word MUTE in place of the actual volume setting.
Refer to figure 70.
Figure 62
MONO / STEREO
Stereo
Figure 63
MONO / STEREO
Mono
Figure 64
METER BACKLIGHT
On/Auto
Figure 65
METER BACKLIGHT
Off
Figure 66
DISPLAY
On
Figure 67
DISPLAY
Off
Figure 68
DIGITAL AUDIO
Disp Info:
On
Figure 69
DIGITAL AUDIO
Disp Info:
Off
Figure 70
INPUT: UNBAL
MUTE
 Loading...