Section 5 - Maintenance
Page 66 90-899883179 OCTOBER 2007
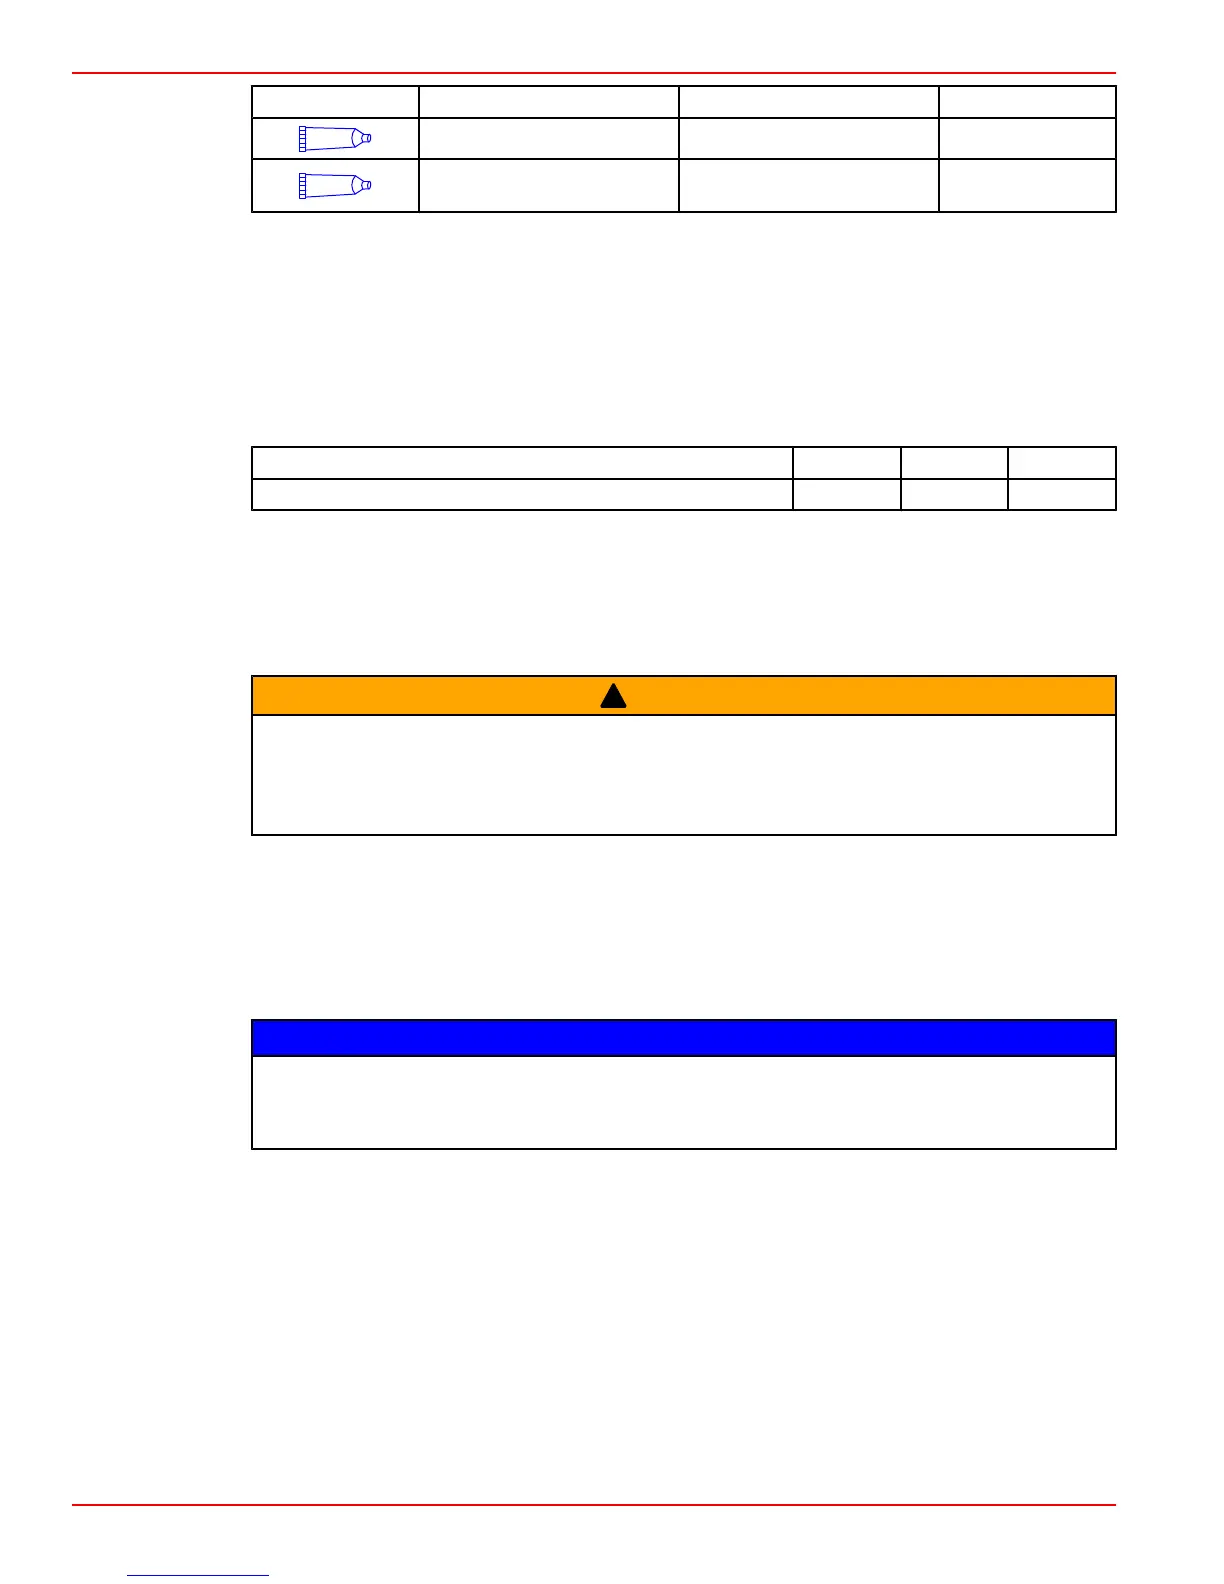
Tube Ref No. Description Where Used Part No.
94
Anti-Corrosion Grease Propeller shaft 92-802867Q 1
95
2-4-C Marine Lubricant with
Teflon
Propeller shaft 92-802859A1
2. Slide thrust hub onto propeller shaft, with stepped side toward propeller hub.
3. Install Flo‑Torq II Drive Hub into propeller.
NOTE: The drive sleeve is tapered and will slide fully into the propeller as the nut is
tightened and properly torqued.
4. Align splines and place propeller on propeller shaft.
5. Install drive sleeve and locking tab washer.
6. Install and torque the propeller nut.
Description Nm lb‑in. lb‑ft
Propeller nut (minimum) 75 – 55
7. Bend three tabs on the tab washer down into the grooves in spline washer. After the
first use, bend the three tabs straight and retorque the propeller nut. Bend tabs back
down into spline washer. Check propeller at least after 20 hours of operation. Do not
operate with loose propeller.
Bravo One Propeller Removal
!
WARNING
Rotating propellers can cause serious injury or death. Never operate the boat out of the
water with a propeller installed. Before installing or removing a propeller, place the drive
unit in neutral and engage the lanyard stop switch to prevent the engine from starting.
Place a block of wood between the propeller blade and the anti‑ventilation plate.
1. Place wood block between propeller blade and anti‑ventilation plate to prevent rotation.
Straighten bent tabs on tab washer.
2. Turn propeller shaft nut counterclockwise to remove nut.
3. Slide tab washer, drive sleeve, propeller and thrust hub off propeller shaft.
Bravo One Propeller Installation
NOTICE
Operating the engine with a loose propeller can damage the propeller, the drive, or drive
components. Always tighten the propeller nut or nuts to specification and check for
tightness periodically and at the required maintenance interval.
 Loading...