17
ATMOS 41
3. Before replacing the cover, be sure to reattach the pyranometer connector by mating the
two halves of the white connector and seating firmly together until the tabs lock.
NOTE: The connector is polar so it can only mate in one orientation.
4. Check to be sure the downspout screen is in place on the water exit downspout
(Figure14). This keeps bugs out of the interior of the sensor.
3.6 TEMPERATURE SENSOR
The ATMOS41 temperature measurement (Figure10) is made in the center of the
anemometer area where a small stainless steel needle containing a tiny temperature
sensor (thermistor) extends from the middle of the four sonic transducers in the center of
the anemometer. Unlike most air temperature measurements, the weather station sensor
is not covered with louvered plates to protect from solar heating. Instead, it sits in open air,
susceptible to solar heating of the instrument body. However, the ATMOS41 calculates the
air temperature accurately because solar radiation and the wind speed are known. These
are the two main parameters that determine the error between measured air temperature
and the actual air temperature. Therefore, it is possible to solve the energy balance to
get what the actual temperature should be based on the solar load of the body and the
convective cooling of that temperature sensor.
When powered on, the ATMOS41 measures the air temperature once every 10 s and
records the instantaneous values. When queried, the ATMOS41 outputs the average of the
instantaneous measurements since the last query.
NOTE: The ATMOS41 body and especially the temperature sensor should not be painted or coated.
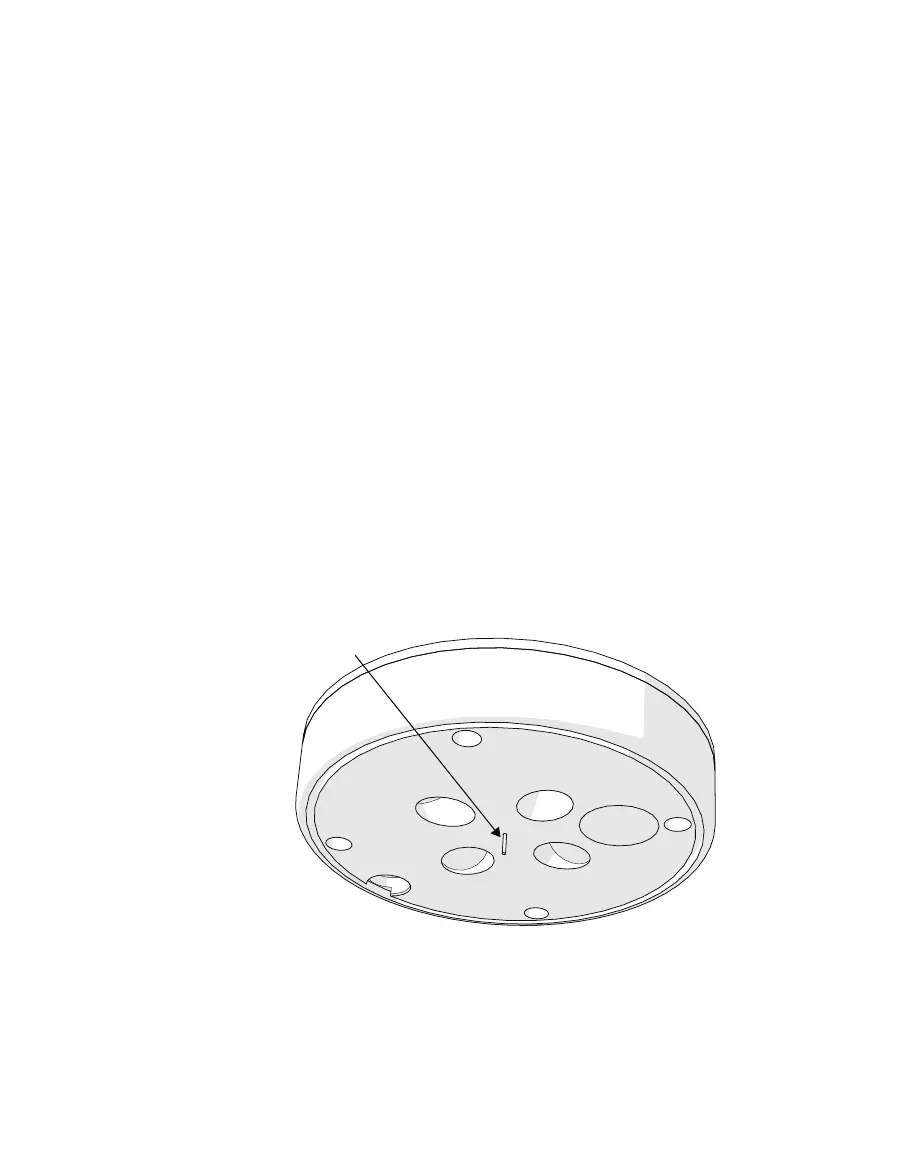
Temperature sensor
Figure10 Temperature sensor
 Loading...


