2
OPERATION
2. OPERATION
Please read all instructions before operating the TEROS 54 to ensure it performs to its full
potential.
PRECAUTION
METER sensors are built to the highest standards, but misuse, improper protection, or improper installation may
damage the sensor and possibly void the manufacturer’s warranty. Before integrating TEROS 54 into a system, make
sure to follow the recommended installation instructions and have the proper protections in place to safeguard
sensors from damage. If installing sensors in a lightning-prone area with a grounded data logger, see the application
note Lightning surge and grounding practices.
2.1 INSTALLATION
This sections contains an overview of the TEROS 54 installation procedure (Section2.1.1)
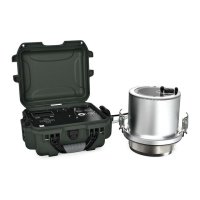
and detailed information about the pile (slide) hammer (Section2.1.2)
2.1.1 OVERVIEW
Table1 contains information needed to install the TEROS54 and start collecting data.
Table1 Installation
Tools Needed
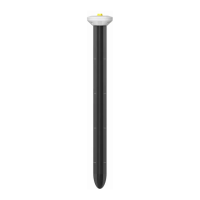
TEROS 54 auger
Dead blow hammer
Pile hammer (slide hammer)
PVC casing or flexible conduit (to protect cables)
Level (to check that the auger is level while digging the hole for the probe)
Preparation
Consider the Surroundings
When selecting a suitable location for the TEROS 54, make sure that it is a
representative location in the measurement area.
Avoid installation in very rocky soils, if possible, to prevent damage to the
TEROS 54.
Conduct System Check
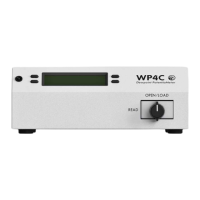
Plug the probe into the logger (Section2.2) to make sure the probe is functional.
Check Sensor Functionality
Verify all sensors read within expected ranges. To validate both probe
and logger functionality, take probe measurements in air and water.
The value of permittivity in air should be 1.
NOTE: The sensors will not read 100% water content in water.