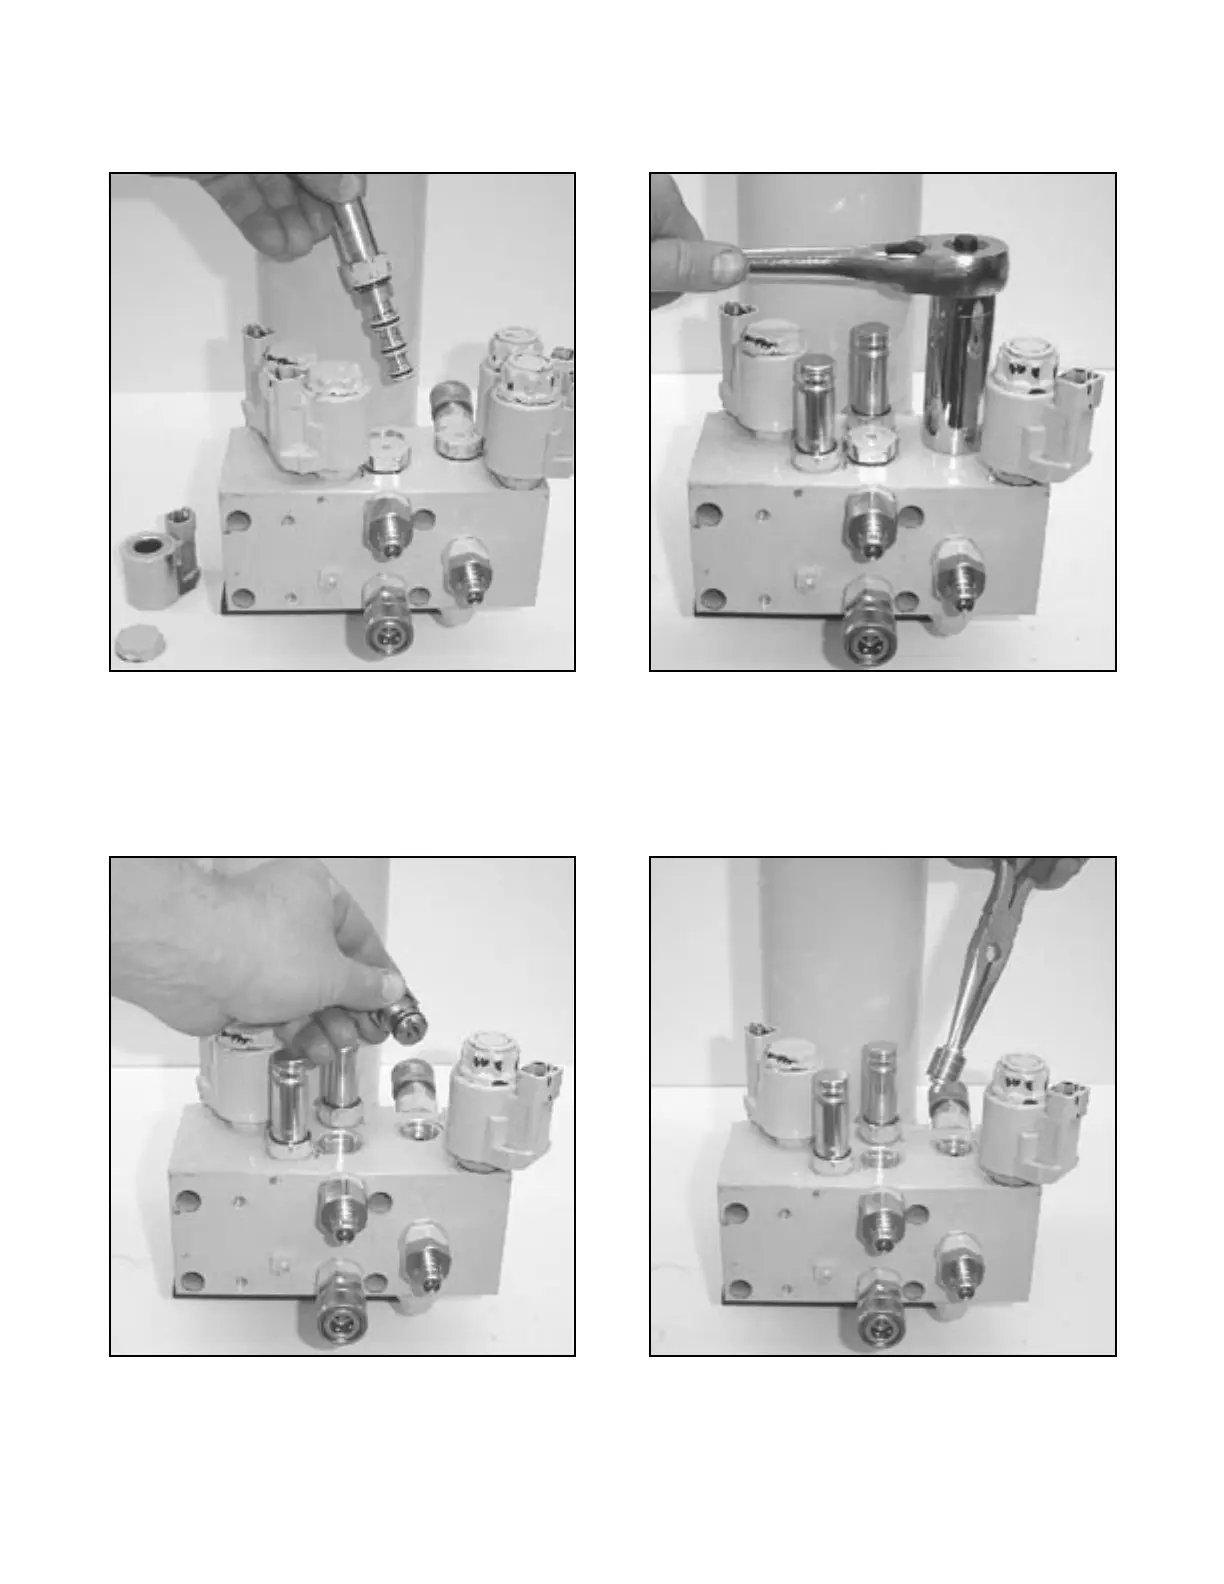
FIGURE 3-35
The “E” Cartridge is removed. Clean by soaking cartridge
in cleaning solvent.
DISASSEMBLY - E-88 ONLY
FIGURE 3-36
Use a 15/16” hex deep socket to remove the P.O. Check
valve assembly used for angling.
FIGURE 3-37
Remove the P.O. Check valve assembly. Clean by soaking
Check valve in cleaning solvent.
FIGURE 3-38
Use needle nose pliers to remove the P.O. Pilot Piston.
-48-