Xpress Basics 19
Testing Xpress
After the system has passed the previous test, complete the testing
process by actually making disc copies. To do this use the disc
duplication program, ImageMaker EZ using the following procedure:
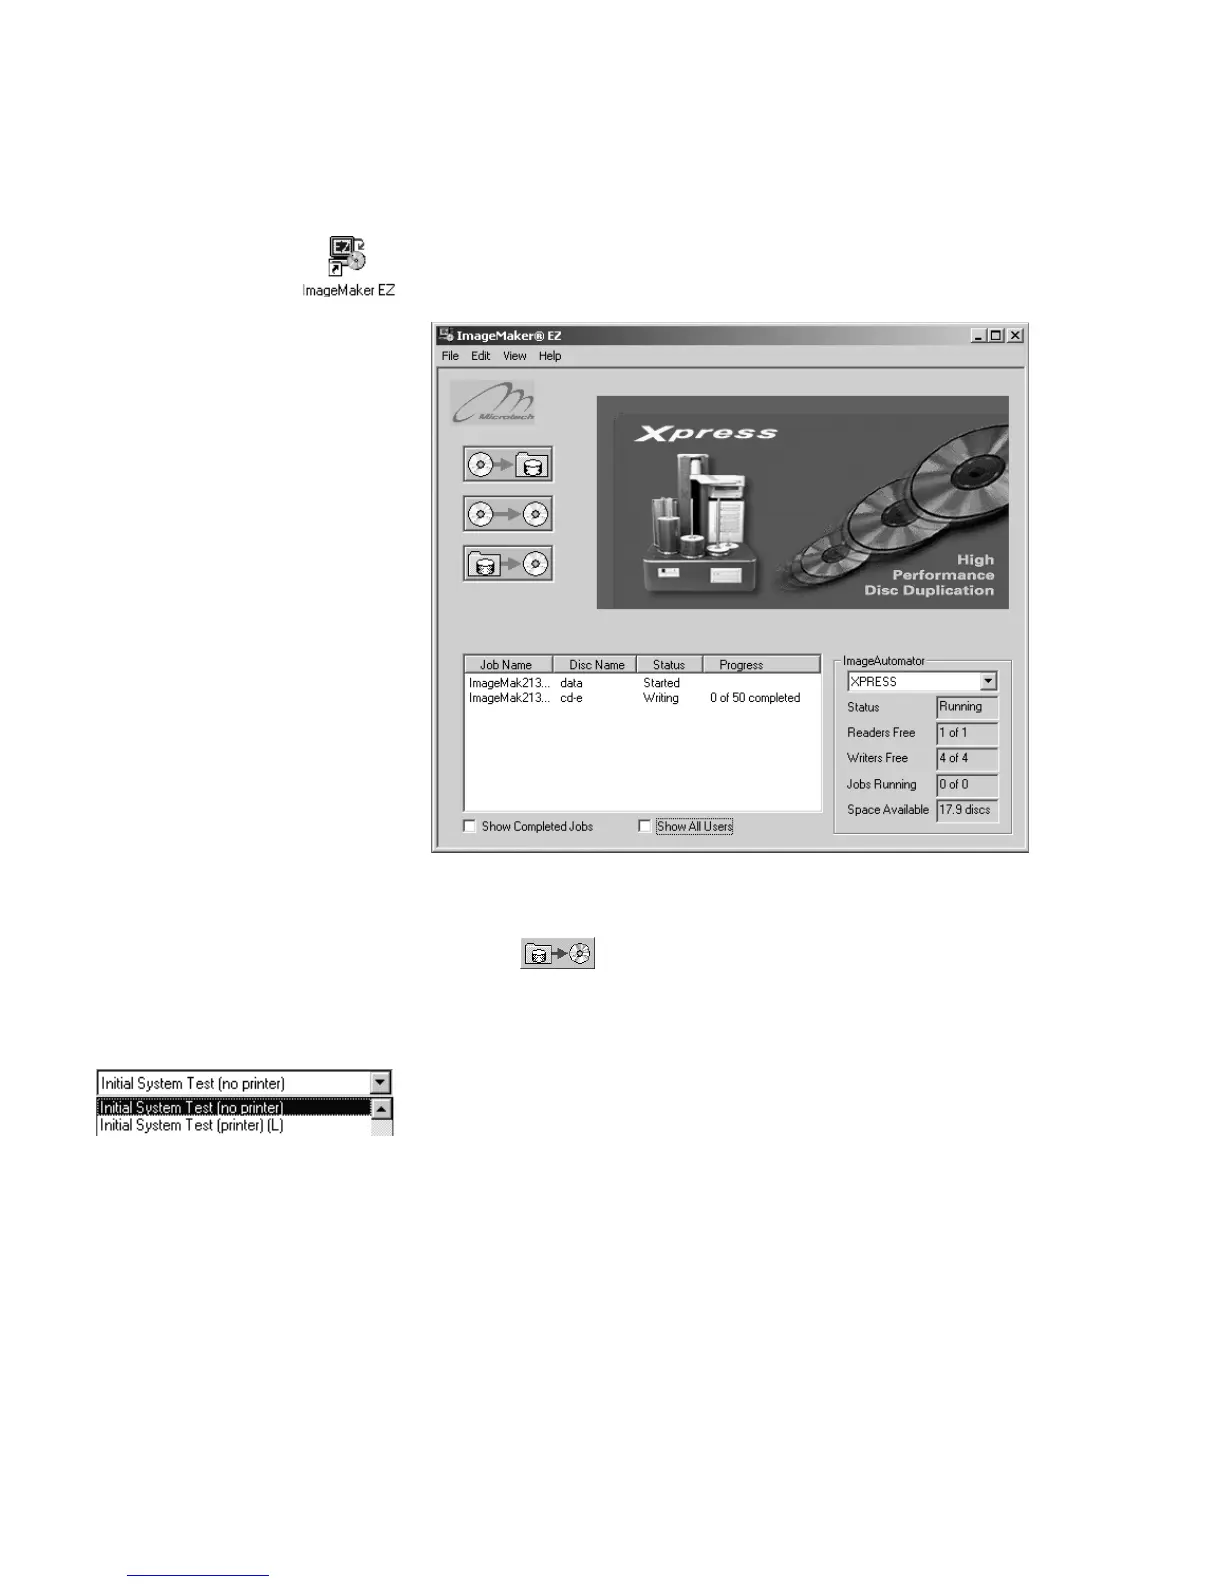
Start the disc duplication program
Click the program’s desktop icon. The duplication program will open,
and the main window will appear (see illustration below).
Place several blank discs on spindle 3
The third spindle from the left. Refer to the diagram on page 2.
Click the
button to make disc copies from a
pre-existing disc image
The window will change when this is done, and some additional input
fields will appear.
Select the disc image to use to make copies from.
Find the field labeled Disc Name near the top. Click the arrow at the
right of this field to open a list box of available images. There are two
images included with every Xpress system, one for systems with a
printer installed and one for systems without a printer. (The one for
printer-equipped systems will also print the disc copies.) Click on your
system type to select it.
Click Start to begin the test
If the quantity has not been changed, only one copy will be made. A
blank disc should be picked up from spindle 3 and delivered to one of
the disc writer drives. After the disc is “burned” (and printed if a printer
is installed), it will be picked up from the drive and placed on spindle 4.