Do you have a question about the Midea E60MEW0A09 and is the answer not in the manual?
Manual for qualified technicians; incorrect maintenance is dangerous.
Replace faulty power cords with one of the same technical parameters.
Read safety warnings carefully before servicing the product.
Test after maintenance according to regulations before use.
This manual includes multiple models; refer to the actual product.
Follow instructions to avoid hurting users or damaging property.
Use correct power cords and ensure surrounding appliances are heat-resistant.
Keep packaging materials away from children to prevent choking hazards.
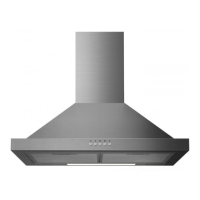
Provides dimensions (X, Y, Z, H) for tower-type range hoods.
Provides dimensions (X, Y, Z, H) for T-type range hoods.
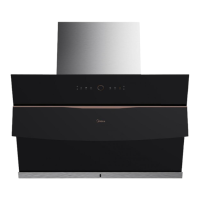
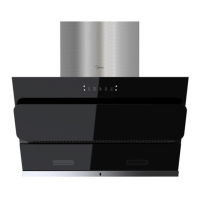
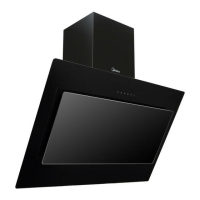
Provides dimensions (X, Y, Z, H) for arc glass range hoods.
How to turn the lighting on and off using control panels.
Operation of different airflow speeds using mechanical switches.
Operation of smoke absorption with electronic switches, including delay off.
Circuit diagram for basic models; refer to product manual for differences.
Remove packaging and install according to dimensions.
How to install the arc glass onto the hood body.
Keep hood away from flammable or explosive materials.
Ensure the wall has sufficient strength and is flat for stable mounting.
Detailed diagram and steps for installing the 60cm tower-type range hood.
Detailed diagram and steps for installing the 90cm tower-type range hood.
Detailed diagram and steps for installing the 60cm T-type range hood.
Detailed diagram and steps for installing the 90cm T-type range hood.
Detailed diagram and steps for installing the 60cm arc glass range hood.
Detailed diagram and steps for installing the 90cm arc glass range hood.
Instructions for clasping, pressing, and pulling the filter.
Steps for removing and installing charcoal filters with diagrams.
Steps using a screwdriver to remove screws and the front plate.
Steps to pull out the spotlight terminal and press the shrapnel.
Steps to pull out the electronic switch terminal and remove screws.
Steps to remove screws from the fan assembly top and volute foot.
Steps to open the junction box and remove the power cord terminal.
Steps to clip out the bushing using special forceps to remove the power cord.
Steps to remove terminals and screws from the terminal block.
Lists common problems like spotlight not shining, fan not rotating, etc.
Possible causes and maintenance steps for a non-shining spotlight.
Possible causes and maintenance steps for a non-rotating fan.
Causes and maintenance for when both spotlight and fan fail to operate.
Procedures for maintaining and detecting faults in main components.
Steps to replace a damaged switch assembly with a new one.
Steps to replace a damaged terminal block with a new one.
Steps to replace a damaged fan assembly, noting motor type differences.
Steps to replace a damaged spotlight, ensuring model consistency.
| Brand | Midea |
|---|---|
| Model | E60MEW0A09 |
| Category | Ventilation Hood |
| Language | English |