13
NOTE
Use a leather belt that can adequately
support the weight of the unit, and has a
width ≤ 20 mm.
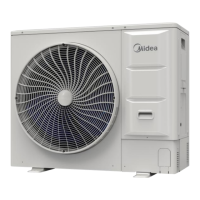
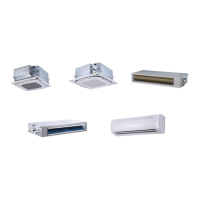
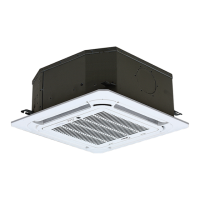
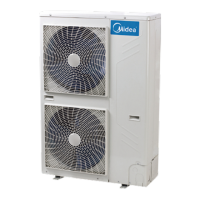
Images are for reference only. Please refer to
the actual product.
Do not remove any packaging while hoisting
the unit. Where the unit is not packed or the
package is damaged, use a gasket or
package to protect the unit.
The belt must have enough strength to bear
the weight of the unit; keep the machine
balanced and ensure the unit is lifted safely
and stably.
2.2 Unboxing the Outdoor Unit
2.3 Taking Out Accessories of
the Outdoor Unit
Take the unit out of the packing materials:
Be careful not to damage the unit when you use a
cutting tool to remove the wrapping film.
Remove the four nuts on the wooden back stand.
The accessories for the unit are stored in two parts.
Documents like the manual are located at the top of
the unit. Accessories like the pipes are located inside
the unit. The unit contains the following accessories:
Plastic film should be disposed of properly. Keep
away from children. Potential risk: Asphyxia.
WARNING
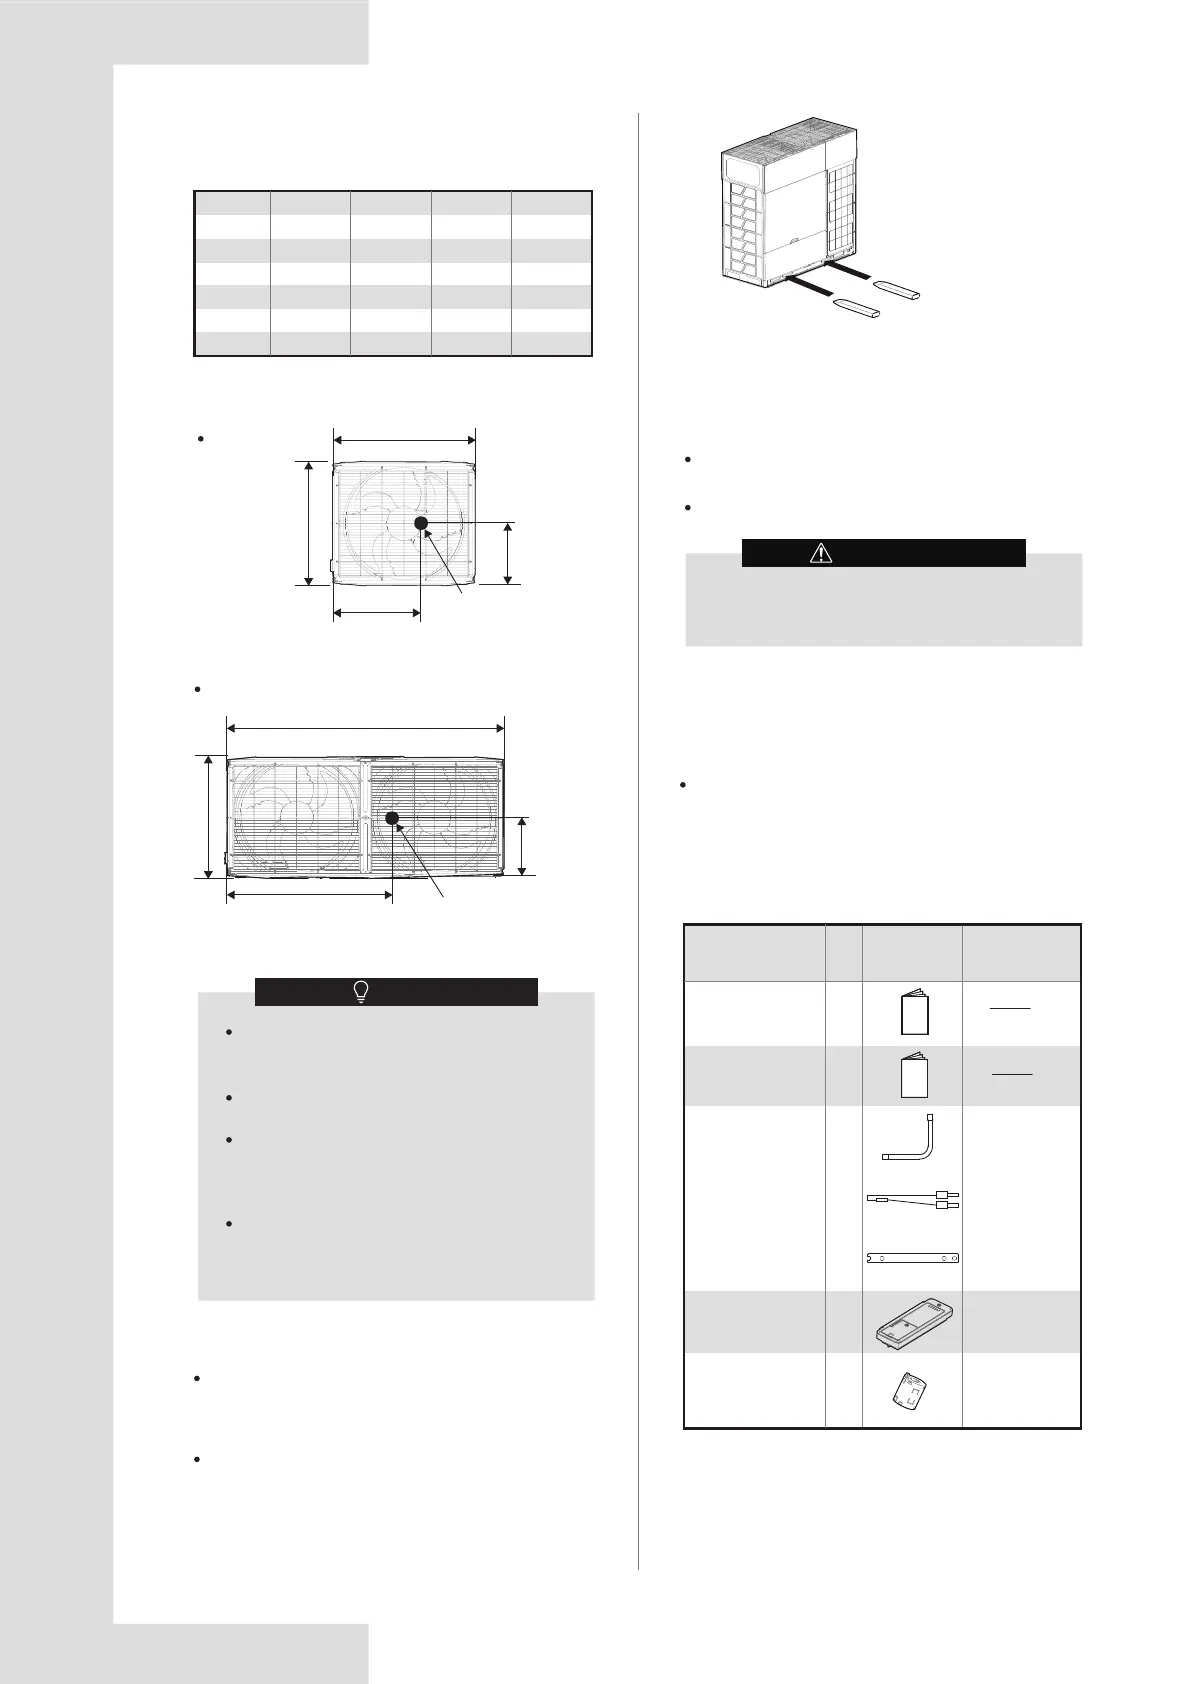
Figure 2.3
Forklift method
To move the unit with a forklift, insert the forks into
the opening at the bottom of the unit, as shown in
Figure 2.3.
For anti-corrosion models, put a pad on the forks to
prevent damage to the bottom frame paint of the
unit.
REAR
FRONT
A
B
Figure 2.2
C
D
A
B
CENTER OF
GRAVITY
REAR
FRONT
C
D
CENTER OF
GRAVITY
Center of gravity position is shown in Figure 2.2:
Table 2.1
Model A B C D
8-12HP 940 825 504 453
14-16HP 940 825 466 507
18-20HP 1340 825 610 492
22-24HP 1340 825 651 448
Unit: mm
26HP 1880 825 885 441
28-32HP 1880 825 825 456
8-16HP
18-32HP
Name Qty. Appearance Function
Owner’s and
installation manual
L-shaped pipe
connection
To connect gas
and liquid pipes
Build-out resistor
To improve
communication
stability
To remove the
side plate
screws
Wrench
1
1
2
1
Table 2.2 Accessories
1
1
Bluetooth Module
Refer to attached
manual
Erp information
1
Improve the
EMI effect of
communication
Magnetic ring