• 11 •
• Do not leave the clamps laying in battery acid.
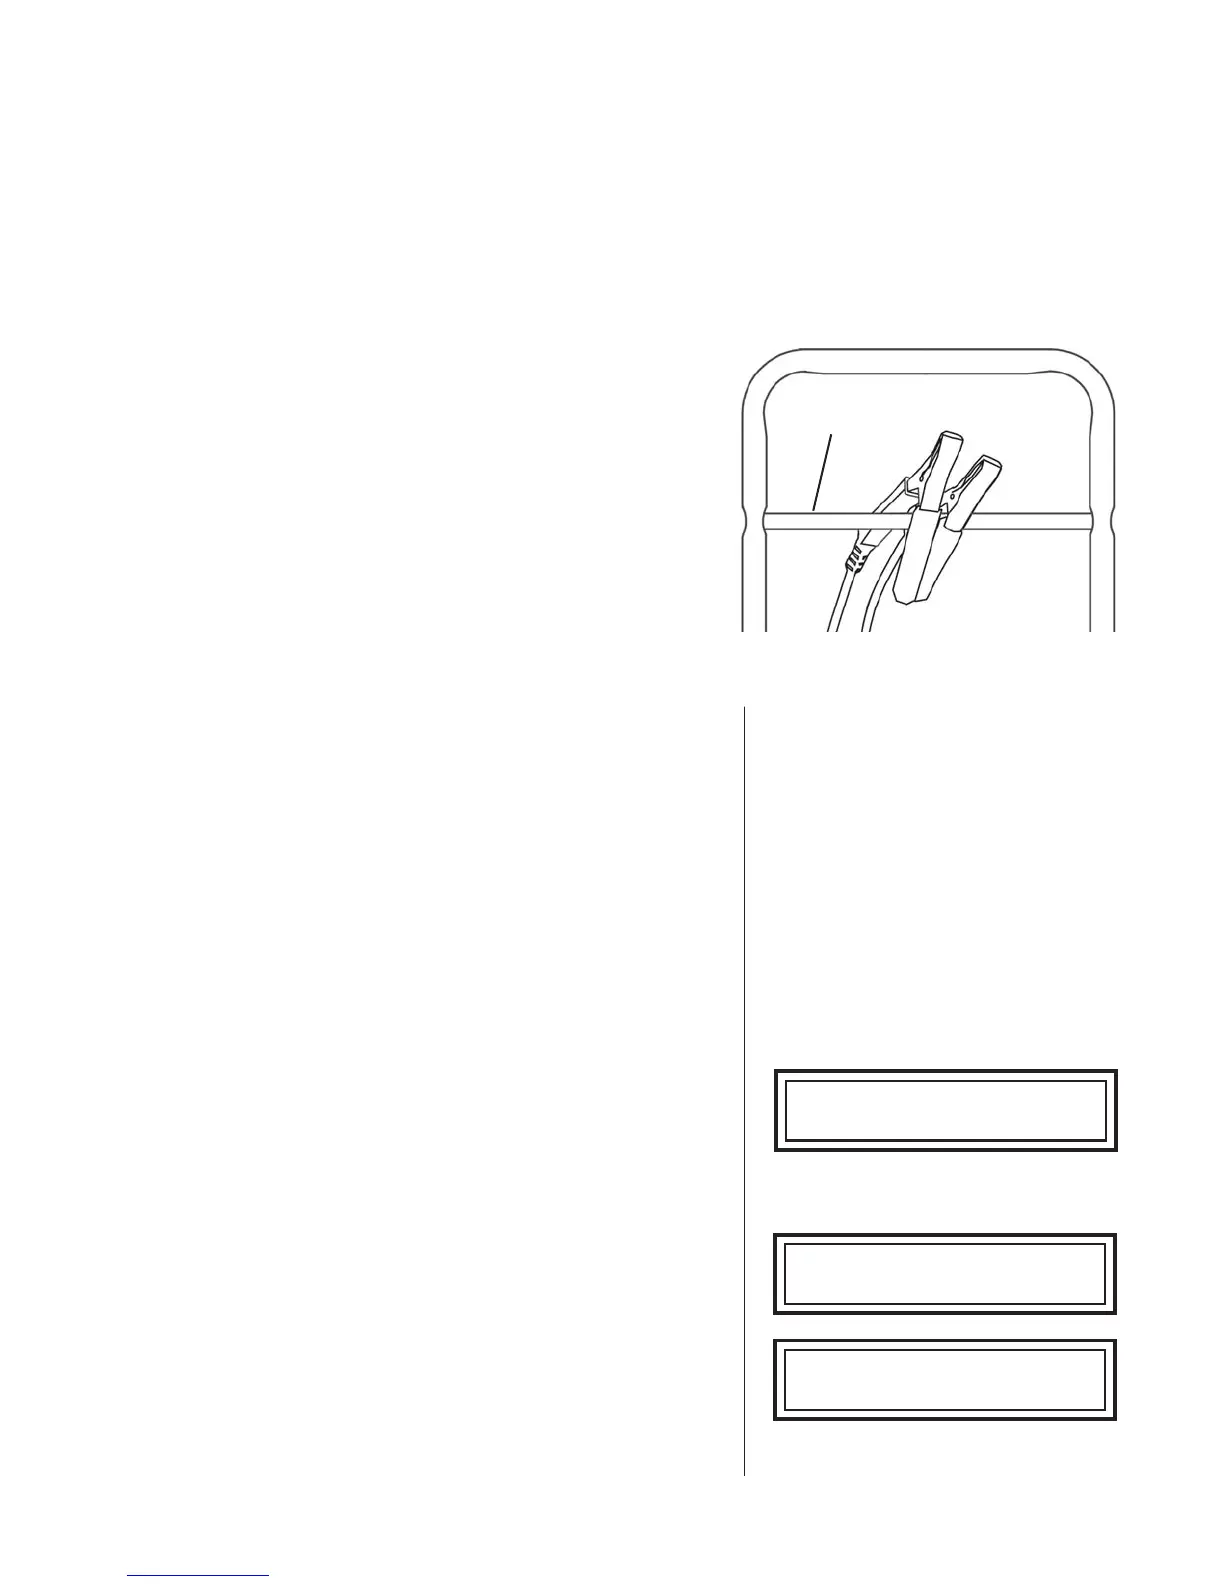
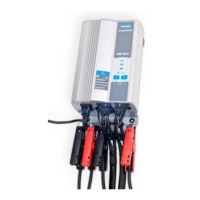
• Hang the clamps to the clamp-holder bar when the
charger is not in use.
• Clean up any acid spills immediately with baking soda
and water.
• The clamps should be kept clean.
• Improper use of the 9-pin connector may cause
permanent damage to the charger.
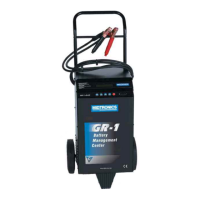
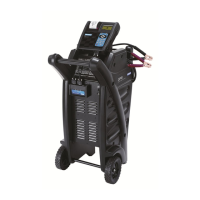
Charging Modes
Important:
• Clean the battery terminals. If stud adapters are required, fasten them with the proper tool. Do not
use the battery clamps to tighten adapters.
• Never remove the clamps from a battery to abort an active charging session. Always press the red
STOP button before removing the clamps.
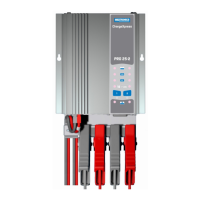
Clamp-holder bar
Charger handle
GR1-120 Charging Modes: Diagnostic Fast Charge
1. DIAGNOSTIC FAST CHARGE
1.1 CONNECT THE CHARGER TO THE BATTERY
Important: Before connecting the clamps to the battery,
turn the power switch to the OFF position and disconnect
the AC power cord from the electrical outlet
Connect the charging clamps to the battery in accordance
with all precautions and safety instructions Do not connect
either clamp to the vehicle chassis.
1.2 CONNECT TO AC POWER
Plug the charger into a dedicated, grounded 15-amp AC
outlet. Press the power switch to the ON position.
If the clamps are not making good contact to the battery
posts, the charger will ask you to check the connection.
Make sure that both jaws of the charging clamp come in
good contact with the connection point. Check Clamp
Connections will remain on the display as long as half of
one clamp is not making good contact.
If you accidentally reverse the clamp connections, the
charger will sound an alarm and display Charger Clamps
Reversed. Press the power switch to the OFF position
and reconnect the clamps.
Charger Clamps Reversed
Check Clamp Connections
GR-1 Fast Charger X4.2
(c) Midtronics, Inc. 2004