OPERATION
Before using the GR1-120 Diagnostic Conductance Charger, visually inspect the battery. If there
are any signs of a leaking or cracked case, discard the battery. Do not attempt to charge a battery
that is in this condition.
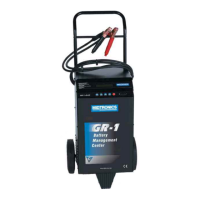
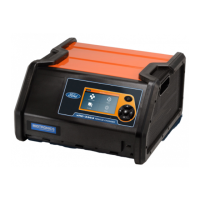
Front panel
Under the GR1-120 display there are 5 push-buttons and an ON/OFF switch.
The DOWN/UP ARROW buttons are used for scrolling to selections on
the display and to increase/decrease displayed values.
The INFO button is used to display the options menu, which accesses
the Test Codes, Last Test Data, Language setup (English, French, or
Spanish), and the printer (optional).
The ENTER button is used to accept the displayed selection and to
continue to the next step.
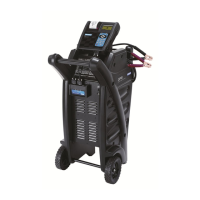
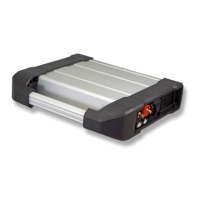
Back panel
The back panel houses the outlets for the positive and negative charging cables, the AC power
cord, and a 9-pin connector.
The handle, which attaches to the back panel, includes a clamp-holder bar. When used
consistently, this feature adds safety, convenience and longer operating life to the clamps, cables,
and charger.
The STOP button is used to abort any charging cycle. During menu
selections, it can be used to go back to the previous step.
• 10 •
GR1-120 Charging Modes: Diagnostic Fast Charge