13
5. Set Minimum Voltage: Select the voltage threshold for Pass/Fail.
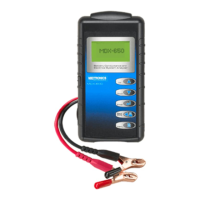
6. To start QC Mode testing, connect the analyzer and test each
battery until finished. Press the MENU button to return to the
Options Menu.
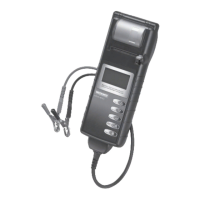
4. Voltmeter
The analyzer will function as a voltmeter (with an operating range of
0 through 30 Vdc) when you first connect it to a battery.
You can turn this feature on or off, depending on your preference. Press
the MENU button; then select the Voltmeter option. Press ENTER, then
turn ON or OFF the voltmeter.
5. Export Data
An optional software/IR module package enables the analyzer to send
data to a PC. If the analyzer is in QC Mode, it will send the complete data
set in the QC memory.
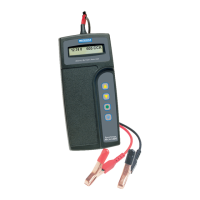
6. Perform Test
Select this option to start a new test.
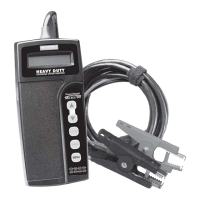
7. Utilities
The Utilities option enables you to configure the following features:
A. Coupon Mode
On: Select ON to print a coupon at the bottom of the printout.
Off: Select OFF to turn off the coupon feature.
Revise: Select REVISE to customize the coupon’s nine lines of text
by scrolling to the desired character and pressing ENTER until
finished. To move back a space as you revise the text, press the
INFO button. Exit by entering the last available character, or by
pressing the MENU button.
B. Printer Type (with optional printer)
Select either the IRDA or HP 82240B printer.
C. Language
To change the language used to display prompts and data, use the
ARROW keys to select English, French, or Spanish, and press
ENTER.
D. Contrast
Adjust the contrast on the display by using the ARROW buttons and
press ENTER.
E. Set Date & Time
Modify the date and time by scrolling to the correct character. Press
ENTER to move to the next character.
ENGLISH
GB