BEFORE THE TEST
Testing Out-of-Vehicle
Clean the battery terminals with a wire brush before testing.
For Group 31 or side-terminal batteries, install and tighten the lead
terminal adapters provided with the analyzer.
NOTE: Do not use steel bolts. Failure to properly install
terminal adapters, or using adapters that are dirty or worn,
may cause false test results.
Testing In-Vehicle
The preferred test position is at the battery terminals. If the battery is not
accessible, you may test at the jumper post; however, the available
power value could be lower than the actual value. If you get a RETEST
AT
BATTERY POST result, disconnect the analyzer and retest at the posts.
If testing a side-post battery, the analyzer may display instructions
to CHECK FOR CORROSION, DISCONNECT & RETEST WITH
ADAPTERS. Follow the instructions before discarding the battery.
At the start of the test, make sure all vehicle accessory loads are off and
the ignition is in the off position.
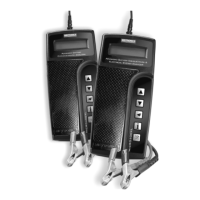
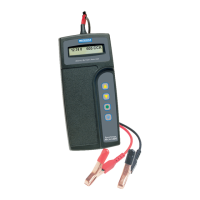
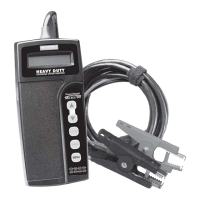
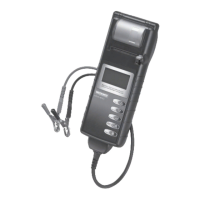
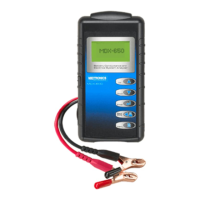
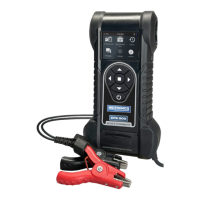
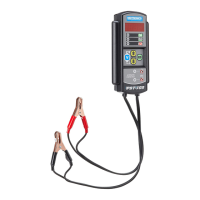
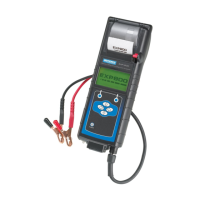
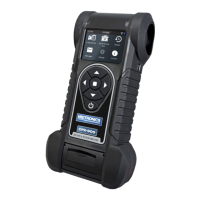
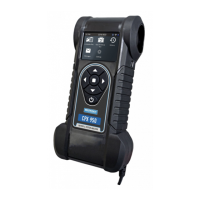
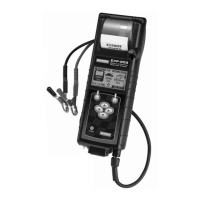
CONNECTING THE ANALYZER
IMPORTANT: When you start a new test (outside of
QC Mode) by connecting to the battery, the last test results in
memory will be lost.
1. Connect the red clamp to the positive (+) terminal.
2. Connect the black clamp to the negative (–) terminal.
3. For a proper connection, rock the clamps back and forth.
The analyzer requires that both sides of each clamp be firmly
connected before testing. A poor connection will prevent testing
and produce a CHECK CONNECTION (BLACK or RED CLAMP)
message. If the message appears, clean the terminals and recon-
nect the clamps.
NOTE: Batteries connected in parallel must have the
ground cable disconnected or false test readings
may result.
If the clamps are connected in the wrong polarity (positive to negative
or negative to positive), the analyzer will alert you with a REVERSE
CONNECTION message. If any other messages appear when you
connect the analyzer to the battery, see “Troubleshooting Test Prob-
lems.”
5
ENGLISH
GB