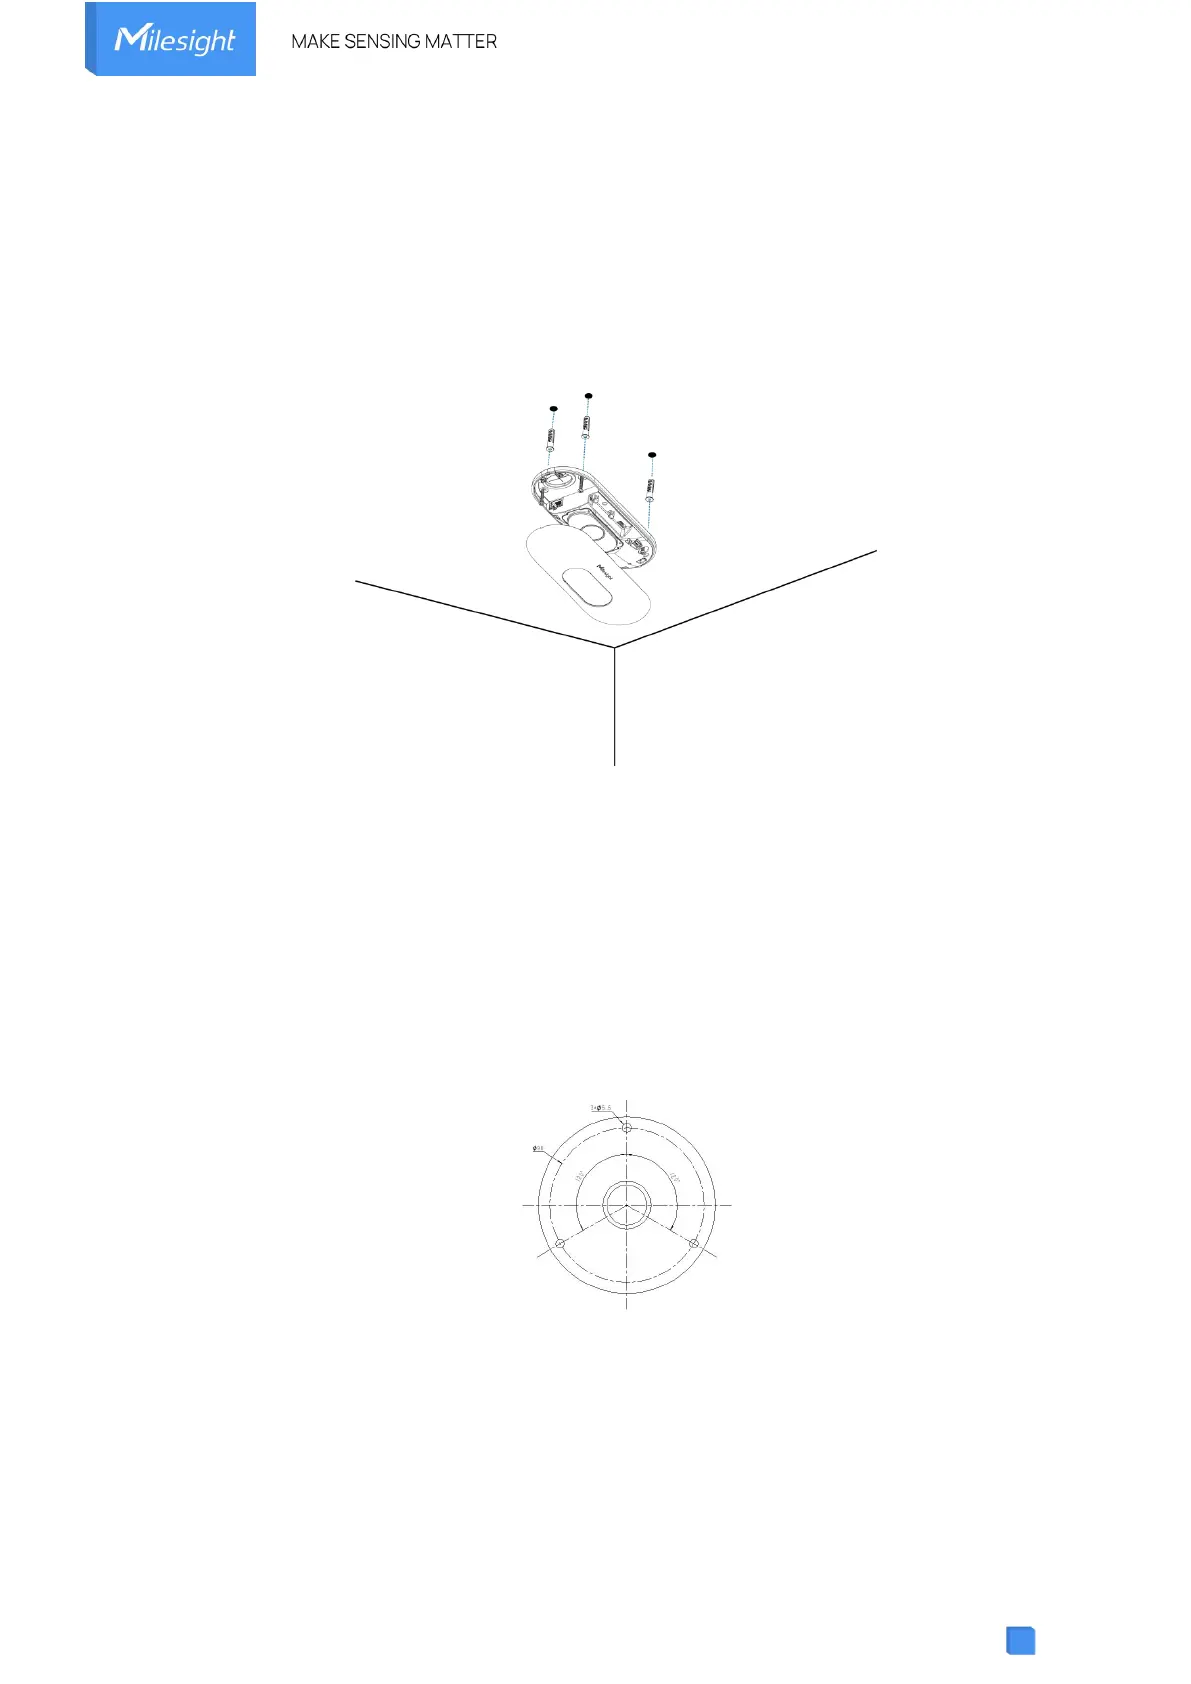
Step 2: Fix the wall plugs into the ceiling holes.
Step 3: Remove the cover on the device, and then connect all required wires and pass them
through the wire hole behind the device or block on the side of the device if the wires need to be
protruded from the side of the device.
Step 4: Fix the device to the wall plugs via mounting screws; remember to adjust the mounting
direction according to the detection area requirement.
Step 5: Fix the cover back to the device.
Ceiling/Lintel Mount (with Optional Multifunctional Bracket)
Step 1: Attach the mounting plate to the device with 4 screws.
Step 2: Fix the pole to the mounting plate with the hole on the plate.
Step 3: Adjust the length of the pole, then adjust the direction of 3-axis ball and tighten it with the handle.
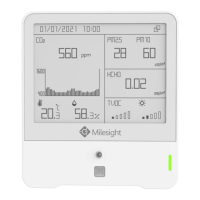
Step 4: Determine the mounting location and drill 3 holes, fix the wall plugs into the mounting holes, then
fix the bracket base to the wall plugs via mounting screws.
(Note: If the wire needs to be extended to the interior of the ceiling or wall, a wire hole with a suitable
size is also required to be drilled.)
Step 5: Remove the cover on the device, and then connect all required wires and pass them
through the inside of pole.
Step 6: Fix the pole to bracket base with screws and nuts.