5. INSTALLATION INSTRUCTIONS
5.1 INSTALLATION AND PLACEMENT
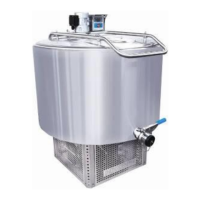
The milk cooling tank can be installed indoors or outdoors. It is very important for the milk cooling tank to be installed in a
well-ventilated place with a water supply.
If the tank is to be installed indoors, make sure that the location has sufficient ventilation. Place the tank such that its condenser
lies near an opening in order to allow waste heat to be efficiently discarded.
If the tank is to be installed outdoors, it must be placed under a roof so that it cannot be affected by weather conditions (rain,
snow, etc).
It is also suggested to place the milk cooling tank on a flat concrete surface. Placing the tank on a flexible or deformable surface
can result in inaccurate measurements.
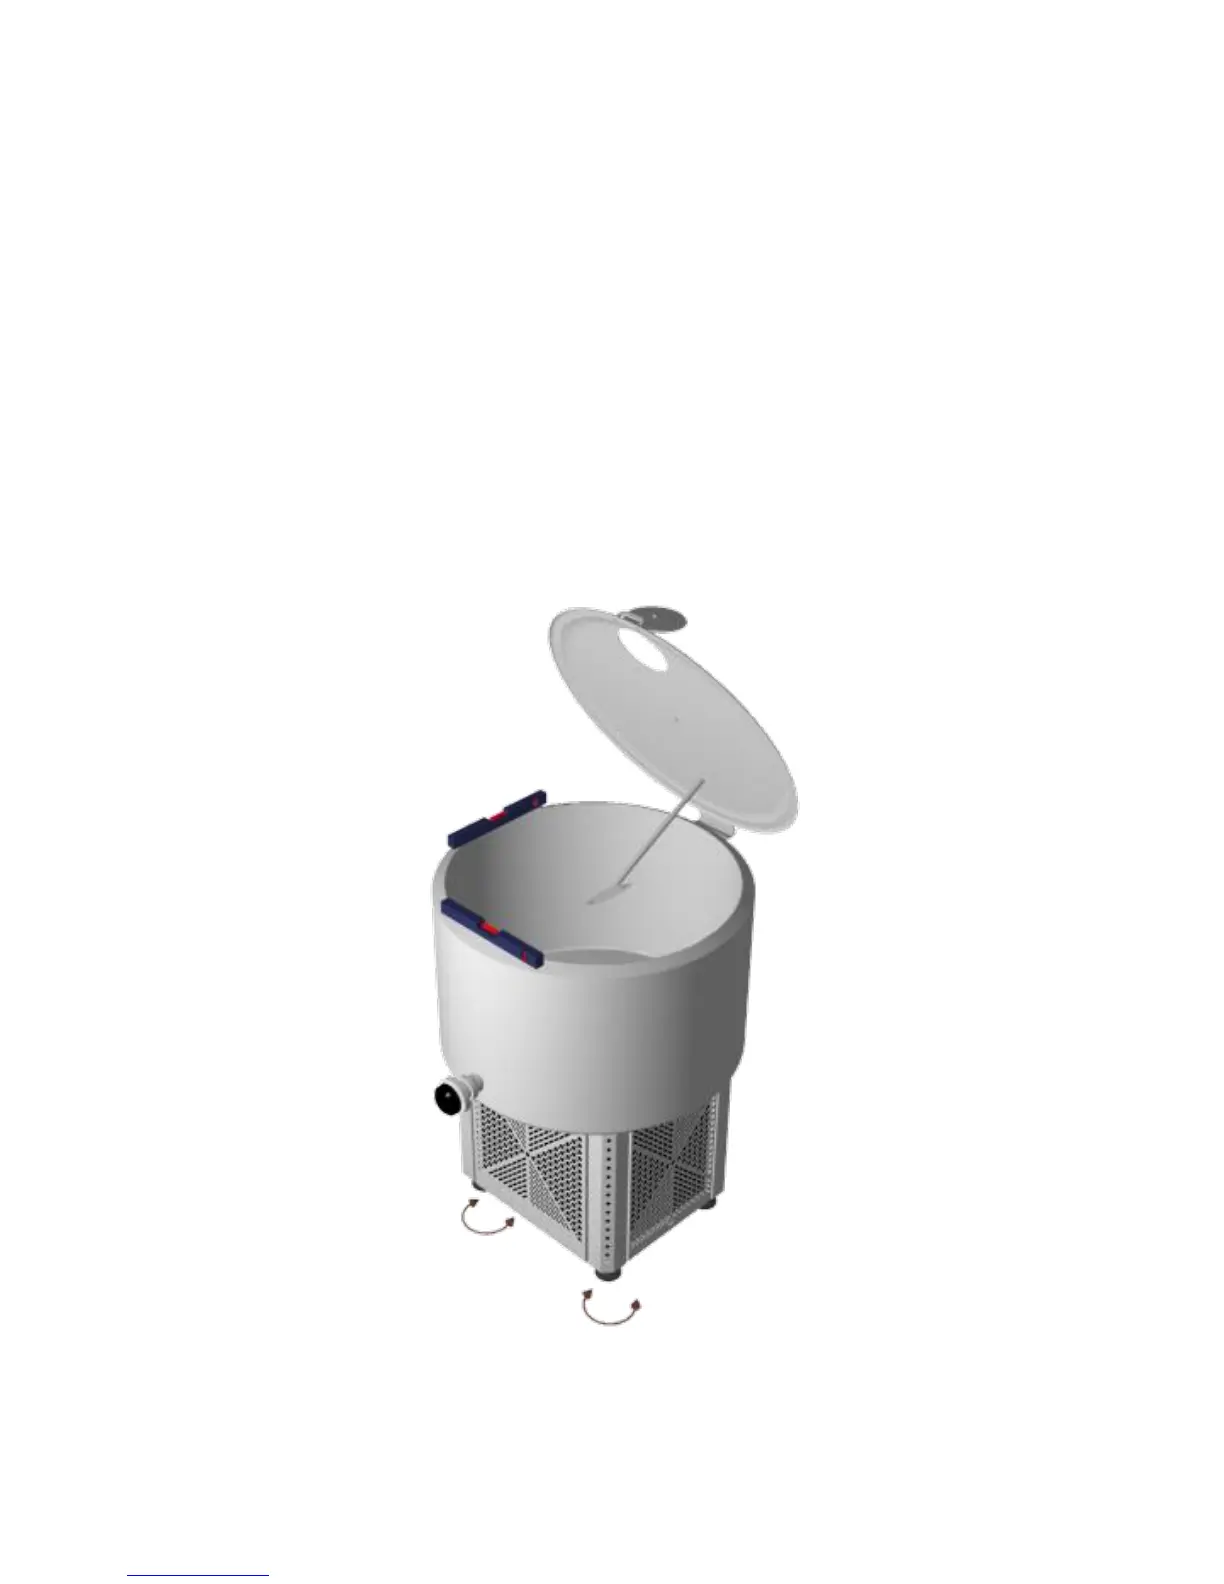
5.2 MILK COOLING TANK LEVELLING
Level the milk cooling tank using a hand spirit level. Open the lid of the tank and place the spirit level on the extremity of the
edge of the tank, as shown in the picture below.
Adjust the footings at the base of the tank until it is successfully leveled in both axes.
It is very important to precisely level the tank so that the volume measurements can be accurate
5.3 ELECTRICAL CONNECTIONS
An authorized electrician must complete or verify the electrical installation before placement of the milk cooling tank.
Tanks can be supplied with a variety of voltage and phase specifications. North American tanks are usually designed to operate
on single phase, 120 Volt, 60 Hz power. Other voltages and phases are available. Each tank is equipped with a label indicating
the proper voltage, current, frequency, and phase requirements.