9. USING THE TANK
9.1 COOLING CONTROLLER
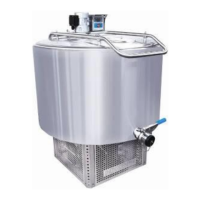
Milkplan open type tanks employ specialized Dixell XR80CX controllers to control milk cooling and preservation processes.
Main characteristics:
User friendly interface
Accurate control
Manual start of agitation
All the parameters are fully configurable
Current temperature always displayed on the screen
Indication LED for cooling and agitation operation
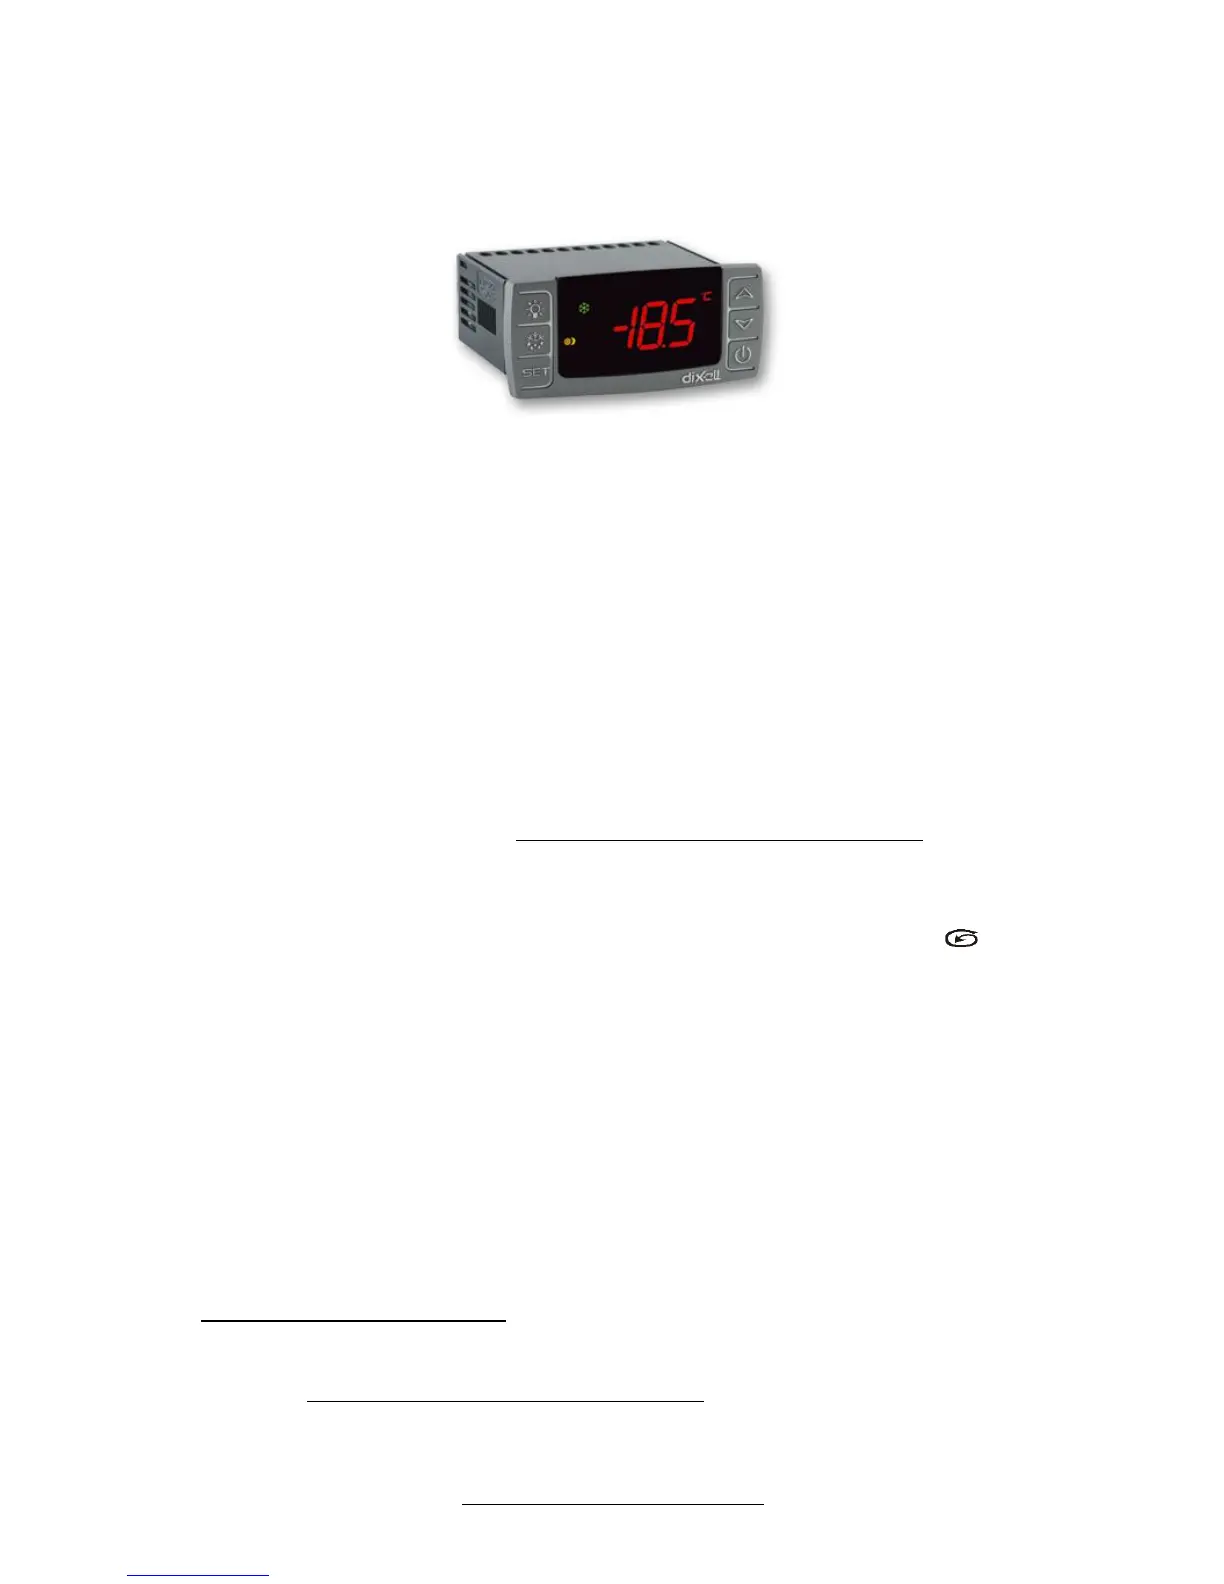
DIXELL XR80CX CONTROLLER
A DIXELL XR80CX controller operates and controls the refrigerating milk tank.
This flexible controller permits automatic operation of the tank with a single ON/OFF switch.
The stirring (agitator) operation is mechanically regulated and requires no user action in order to operate it. The agitator op-
erates at all times when the refrigerating compressor is active. When refrigeration is completed, the compressor stops and the
agitator operates at cycles of 3 minutes rotation and 15 minutes pause. (These intervals are adjustable).
Always remember that you should:
Set the refrigerating milk tank in operation mode as soon as the agitation paddle is covered with milk. Do not turn the tank
off as long as it contains milk.
Turn the milk cooling tank off when it does not contain milk.
Avoid opening the tank lid as long as it is in operation because the agitator stops and there is a risk of rapid ice formation.
To take a milk sample while the agitator is in the 15 minutes non-operating interval, push and hold the button-key to
make it operate. This will allow you to take a homogeneous sample.
During winter and if the temperature falls under 4oC, the milk cooling tank may not start immediately. It is necessary to put
hot milk in the tank and wait a few minutes until the refrigerating unit starts to operate.
9.2 ADJUSTING THE BASIC PARAMETER VALUES OF THE XR80CX
After the milk cooling tank is switched on, a dashed line is displayed on the controller’s screen. Next, the temperature of the
room where the milk cooling tank is installed is displayed.
1. First press the SET key-button together with the (▼) key for at least 7seconds
2. Led Hy is displayed.
3. Repeat step 2 pressing both keys for 7 sec. Led Pr 2 will be displayed. Release the keys and Hy is displayed.
4. Press the SET key until the Hy temperature (2.0οC) is displayed.
5. By pressing the SET key again the LS is displayed.
6. Press the SET key, and then by pressing the () keys you can set the minimum temperature.
7. The temperature is already set to 1.0
ο
C
8. By pressing the SET key, the display blinks three times meaning that the temperature you set has been stored.
9. After this, the led US is displayed. Press the SET key, and then by pressing the () keys you can set the maximum
temperature. The maximum temperature is already set to 5.0οC.
10. By pressing the SET key, the display blinks three times meaning that the temperature you set has been stored.
11. Immediately after, the led Ot is displayed which calibrate the thermostat probe. Push the SET key once, and by press-
ing () set the desirable temperature. Press the SET key again and the display blinks three times meaning that the
temperature set has been stored. The value of parameter is set to –0,5
ο
C