OM-256 476 Page 19
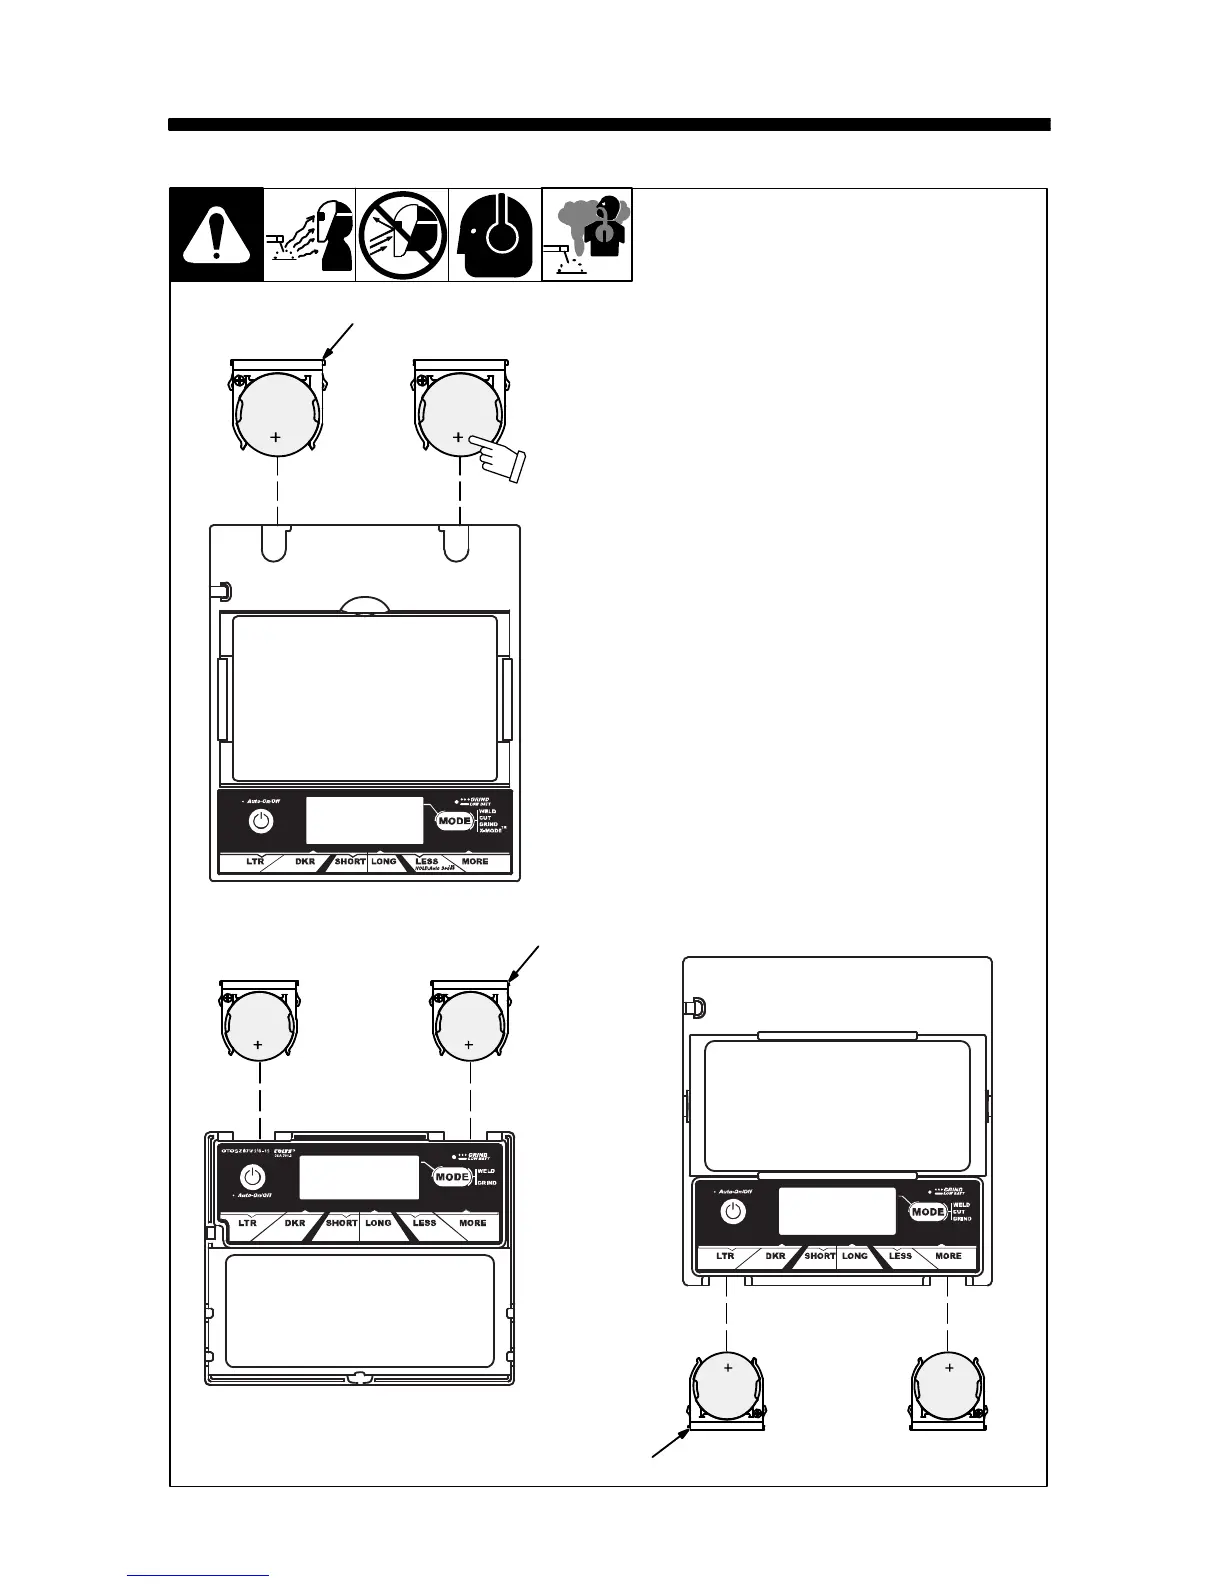
SECTION 6 − REPLACING THE BATTERY
To replace the batteries, remove
the auto-darkening lens
assembly (see Section 5).
1 Battery Tray
After removing the lens assem-
bly, slide the battery holding trays
out and remove the old batteries.
Replace with CR2450 lithium
type batteries (2 required) or
equivalent (Miller Part No.
217043).
Be sure Positive (+) side of
the battery faces up (toward
inside of helmet).
Reinstall the battery trays. To
test, press the On button. The
display screen should turn on.
Reinstall the lens assembly.
Left and right battery trays
are not interchangeable in
the Digital Elite lens as-
sembly. The auto−darkening
helmet will not work if battery
trays are installed on the
wrong sides.
1
Be sure Positive
(+) side of battery
faces up.
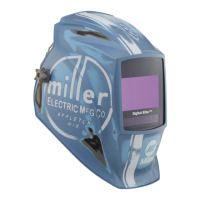
Digital Elite Lens
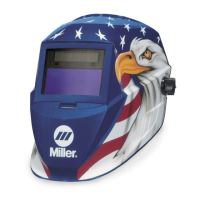
Digital Pro-Hobby Lens
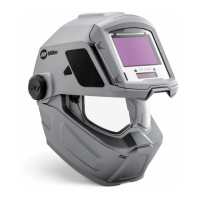
Digital Performance Lens
1
1
 Loading...