EasyManua.ls Logo

Miller GA-17C - Page 9

Miller GA-17C
12 pages
Print Icon
To Next Page IconTo Next Page
To Previous Page IconTo Previous Page
Loading...
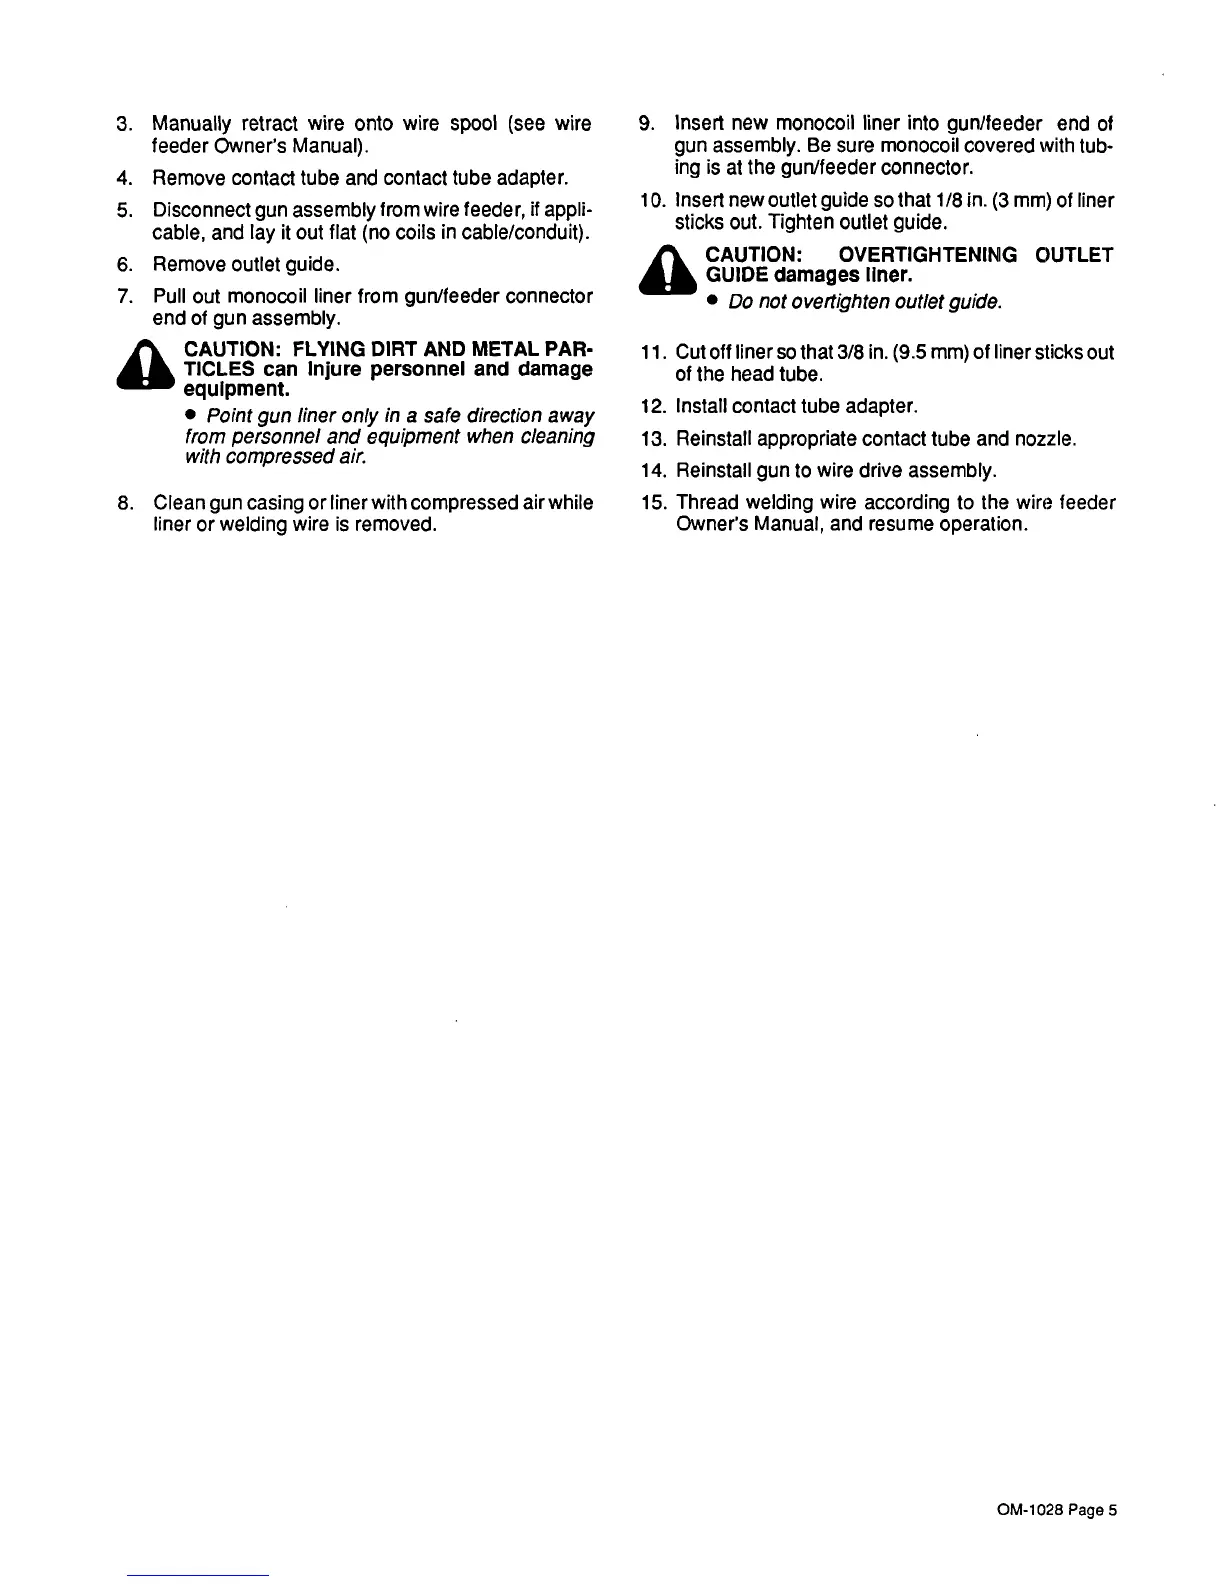
3.
Manually
retract
wire
onto
wire
spool
(see
wire
feeder
Owners
Manual).
4.
Remove
contact
tube
and
contact
tube
adapter.
5.
Disconnect
gun
assembly
from
wire
feeder,
if
appli
cable,
and
lay
it
out
flat
(no
coils
in
cable/conduit).
6.
Remove
outlet
guide.
7.
Pull
Out
monocoil
liner
from
gun/feeder
connector
end
of
gun
assembly.
4A
CAUTION:
FLYING
DIRT
AND
METAL
PAR
TICLES
can
Injure
personnel
and
damage
equipment.
Point
gun
liner
only
in
a
safe
direction
away
from
personnel
and
equipment
when
cleaning
with
compressed
air.
8.
Clean
gun
casing
or
liner
with
compressed
air
while
liner
or
welding
wire
is
removed.
9.
Insert
new
monocoil
liner
into
gun/feeder
end
of
gun
assembly.
Be
sure
monocoil
covered
with
tub
ing
is
at
the
gun/feeder
connector.
10.
Insert
newoutlet
guide
so
that
1/8
in.
(3mm)
of
liner
sticks
out.
Tighten
outlet
guide.
a
CAUTION:
OVERTIGHTENING
OUTLET
GUIDE
damages
liner.
Do
not
overtighten
outlet
guide.
11.
Cut
off
liner
so
that
3/8
in.
(9.5
mm)
of
liner
sticks
out
of
the
head
tube.
12.
install
contact
tube
adapter.
13.
Reinstall
appropriate
contact
tube
and
nozzle.
14.
Reinstall
gun
to
wire
drive
assembly.
15.
Thread
welding
wire
according
to
the
wire
feeder
Owners
Manual,
and
resume
operation.
OM-1028
Page
5