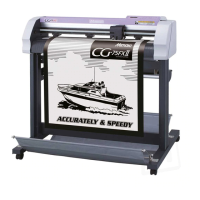
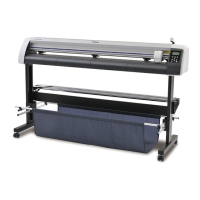
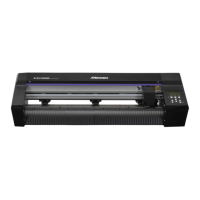
Do you have a question about the MIMAKI CG-160FXII and is the answer not in the manual?
Explains the manual's content and how to use it for easy understanding.
High accuracy mark-detection sensor for automatic reading, compensation, and gradient adjustment.
Newly developed roll stopper for setting wide roll paper without sagging.
Mechanism for two clamp pressure modes to widen applicable sheet size limits.
Cutter holder with a capped tip allowing tip protrusion adjustment.
Ability to cut roll sheets by arranging front loading by installing roll table.
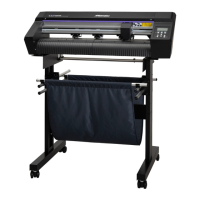
Up to 6 roll tables can be attached to the leg assembly.
Software for finely cutting characters or illustrations edited in Illustrator.
Enables automatic cutting of roll sheets or leaf sheets.
Symbols used in the manual to indicate safety precautions and warnings for operation.
Lists critical actions to avoid, such as disassembling or using in damp places.
Guidelines for selecting a suitable installation environment to prevent damage or malfunction.
Important safety instructions to follow during the operation and use of the device.
Information on safety labels adhered to the device to inform users of possible risks.
Verifies all supplied accessories are present and in good condition before initial setup.
Details the device's parts, their functions, and how they are configured.
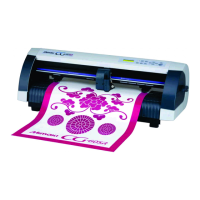
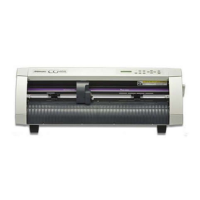
Identification and function of the front-facing components of the cutting plotter.
Identification and function of the rear-facing components of the cutting plotter.
Explains the display panel and all the keys on the operation panel.
Describes the carriage where the tool holder and sensors are attached.
Explains the function and positioning of pinch rollers and grit rollers for sheet feeding.
How to use the scale seal for measuring a leaf sheet.
Instructions for connecting interface and power cables for device operation.
Explains the different operating modes of the device (NOT-READY, LOCAL, REMOTE, FUNCTION).
Outlines the sequence of operations from power-on to cutting completion.
Procedure for attaching various tools like cutters and pens to the plotter.
How to adjust the cutter blade protrusion for optimal cutting performance.
Step-by-step guide for mounting tools into the tool holder.
Step-by-step guide to correctly power on the device and check its status.
Setting up cutting, plotting, and pouncing parameters for different tools.
Details how to set speed, pressure, and offset for cutter tools.
Instructions on how to load various types of sheets (cut, roll) onto the plotter.
Explains how the device detects sheet width and length using various methods.
How to perform a test cut to verify tool configuration and settings.
Procedures for setting the origin and starting the cutting or plotting process.
How to define the starting point (origin) for cutting data.
Explains functions accessible via jog keys and their operating instructions.
Details functions accessed via specific keys and their operation.
Adjusting compensation values for cutting length errors due to sheet thickness.
Describes various functions and their operating procedures.
Procedures to check the registration mark sensor's functionality.
Adjusts the light pointer position to ensure accurate registration mark detection.
Adjusts cutter offset and mark sensor alignment for precise registration mark reading.
Cuts sample data to diagnose and investigate cutting errors.
Configures settings for automatic registration mark detection.
Divides large data that exceeds sheet width for appropriate cutting.
Cuts data in broken lines, leaving parts of the sheet uncut.
Re-arranges cutting data pieces for optimal cutting order.
Configures communication settings for RS-232C interface and USB.
Handles sheets that the sheet sensor cannot detect by disabling the sensor function.
Initializes all settings and parameters to their default values.
Lists common phenomena and their remedies for troubleshooting.
Details error messages, their causes, and recommended corrective actions.
Provides detailed technical specifications for the device models.
Outlines conditions and settings required to achieve optimal repeatability.
Information on cutter blades, including replacement and adjustment procedures.
Step-by-step guide for replacing a dull or damaged cutter blade.
How to adjust the protruding amount of the cutter blade.
A memo sheet for noting sheet types and associated distance correction values.
Visual flowcharts illustrating functions invoked with specific keys.
Flowcharts for functions accessed via specific keys.
Flowcharts for functions accessed via jog keys.
| Type | Cutting Plotter |
|---|---|
| Repeatability | ±0.1 mm |
| Maximum Cutting Speed | 1000 mm/s |
| Maximum Cutting Force | 500 gf |
| Interface | USB |
| Media Thickness | 0.1 - 0.5 mm |
| Media Type | Vinyl, Paper, etc. |
| Power Supply | AC 100-240 V, 50/60 Hz |
| Operating Temperature | 35 °C |
| Operating Humidity | 35 - 75 % RH (Non-condensing) |


