6
2 Introduction to installation
2-1 Installing a USB HID keyboard wired scanner
Note: The default interface of the scanner is Bluetooth. Please change the Data Transfer to USB HID
Keyboard Mode (See
3-4-2 USB HID Keyboard
).
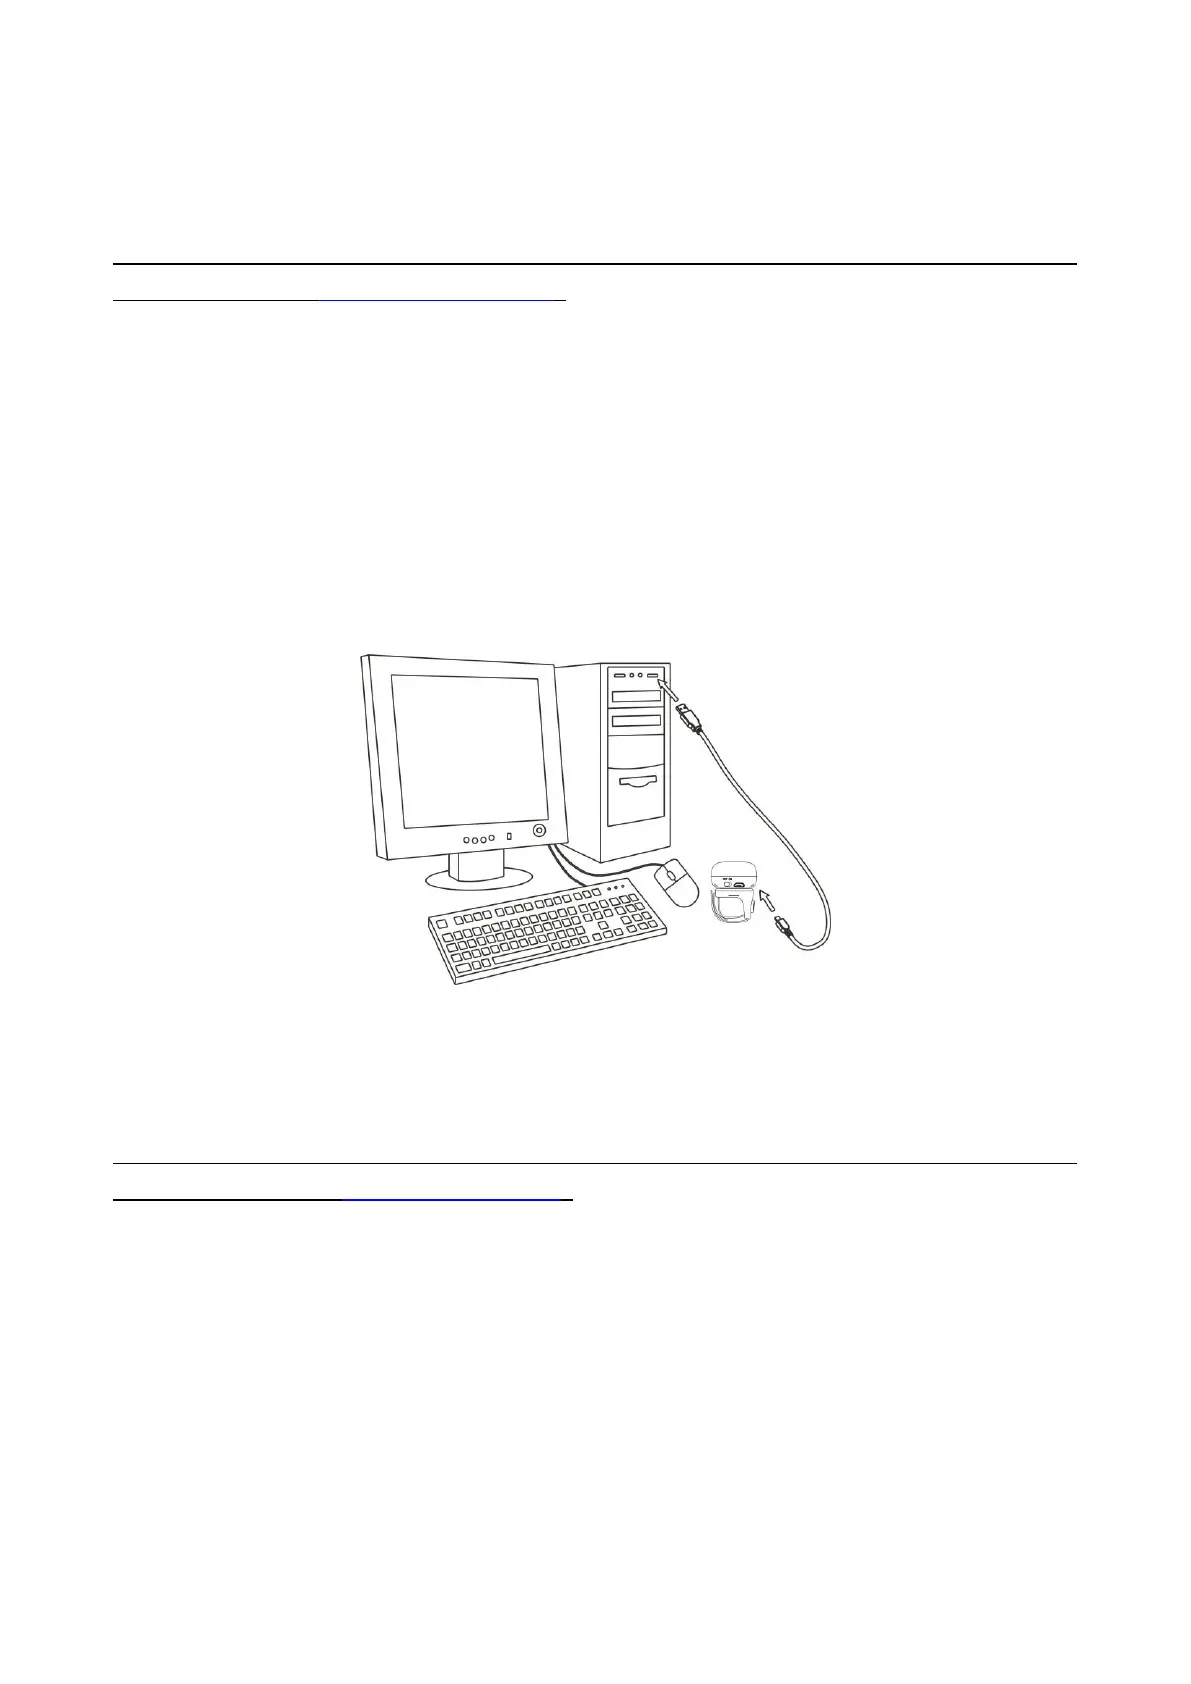
1. Refer to Figure 2-1, plug one end of the USB cable to the scanner. Plug the other end into the USB
port of the computer.
2. For example: Using Microsoft Windows operation system, the system gives message on “new
hardware found – USB HID input device found”, then driver will be installed on request.
3. After successfully installing the new hardware, message will be given: “hardware installed
successfully and ready to use”.
4. If any problem is encountered during the installation process, unplug the USB cable from the
computer and repeat step 1-2.
Figure 2-1 Diagram of connecting the scanner to PC
2-2 Installing a USB virtual COM wired scanner
Note: The default interface of the scanner is BT HID Keyboard. Please change the Data Transfer to USB
Virtual COM Mode (See
3-4-3 USB Virtual COM
).
1. Refer to Figure 2-1, plug one end of the USB cable to the scanner. Plug the other end into the USB
port of the computer.
2. For example: Using Microsoft Windows operation system, the system gives message on “new
hardware found – USB Virtual COM found” for USB virtual COM, then driver will be installed on
request.
3. After successfully installing the new hardware, message will be given: “hardware installed
successfully and ready to use”.
4. If any problem is encountered during the installation process, unplug the USB cable from the
computer and repeat step 1 to step 2.