13
CONTENTS
DISCRIMINATION PATTERNS
Discrimination Segments can be turned on or off to either
detect or ignore targets� All segments that are on will be
heard (accepted), and all segments that are off will not be
heard (rejected)�
The combinations of accepted and rejected segments are
called Discrimination Patterns�
An example Discrimination Pattern showing Accepted segments ( ) and
Rejected segments (
)�
Discrimination Pattern Edit
You can create your own Discrimination Patterns to detect
or ignore specific target types, so you can dig more treasure
and less trash�
The preset Discrimination Patterns for each Search Mode can
be edited� Note that changes to the Coin, Relic, and Jewellery
Modes will return to their preset Discrimination Patterns each
time the detector is powered on�
To avoid losing your changes, use the Store function to save
your settings to the Custom Mode� Read “Store a Custom
Search Mode” on page 13 for more information�
1� In any Search Mode, press the Accept/Reject button
whilst not detecting a target (i�e� no Target ID Number is
displayed)�
The Accept/Reject button
2� ‘Ed’ will appear on the Target ID Number field to indicate
that the Discrimination Pattern is being edited�
'Ed' on the Target ID Number field�
3� Use the Discrimination Pattern Edit arrow buttons to
navigate to the segment you wish to adjust� Selected
segments flash�
The Discrimination Pattern Edit
buttons (Left/Right arrows)
4� Press the Accept/Reject button to toggle the selected
segment on or off�
5� Repeat steps 3 and 4 until you have created your
Discrimination Pattern�
6� The Edit screen will time out after 3 seconds of inactivity�
Store a Custom Search Mode
Any Search Mode (Coin, Relic, or Jewellery), can be stored in
the Custom Search Mode slot� The current detector settings
and discrimination pattern will be saved for quick‑access�
The unique target separation and depth characteristics of
the Search Modes are also saved when the Custom Search
Mode is stored (see “Search Modes” on page 3 for the
attributes of each Search Mode)�
1� Select and Edit the Search Mode you wish to save�
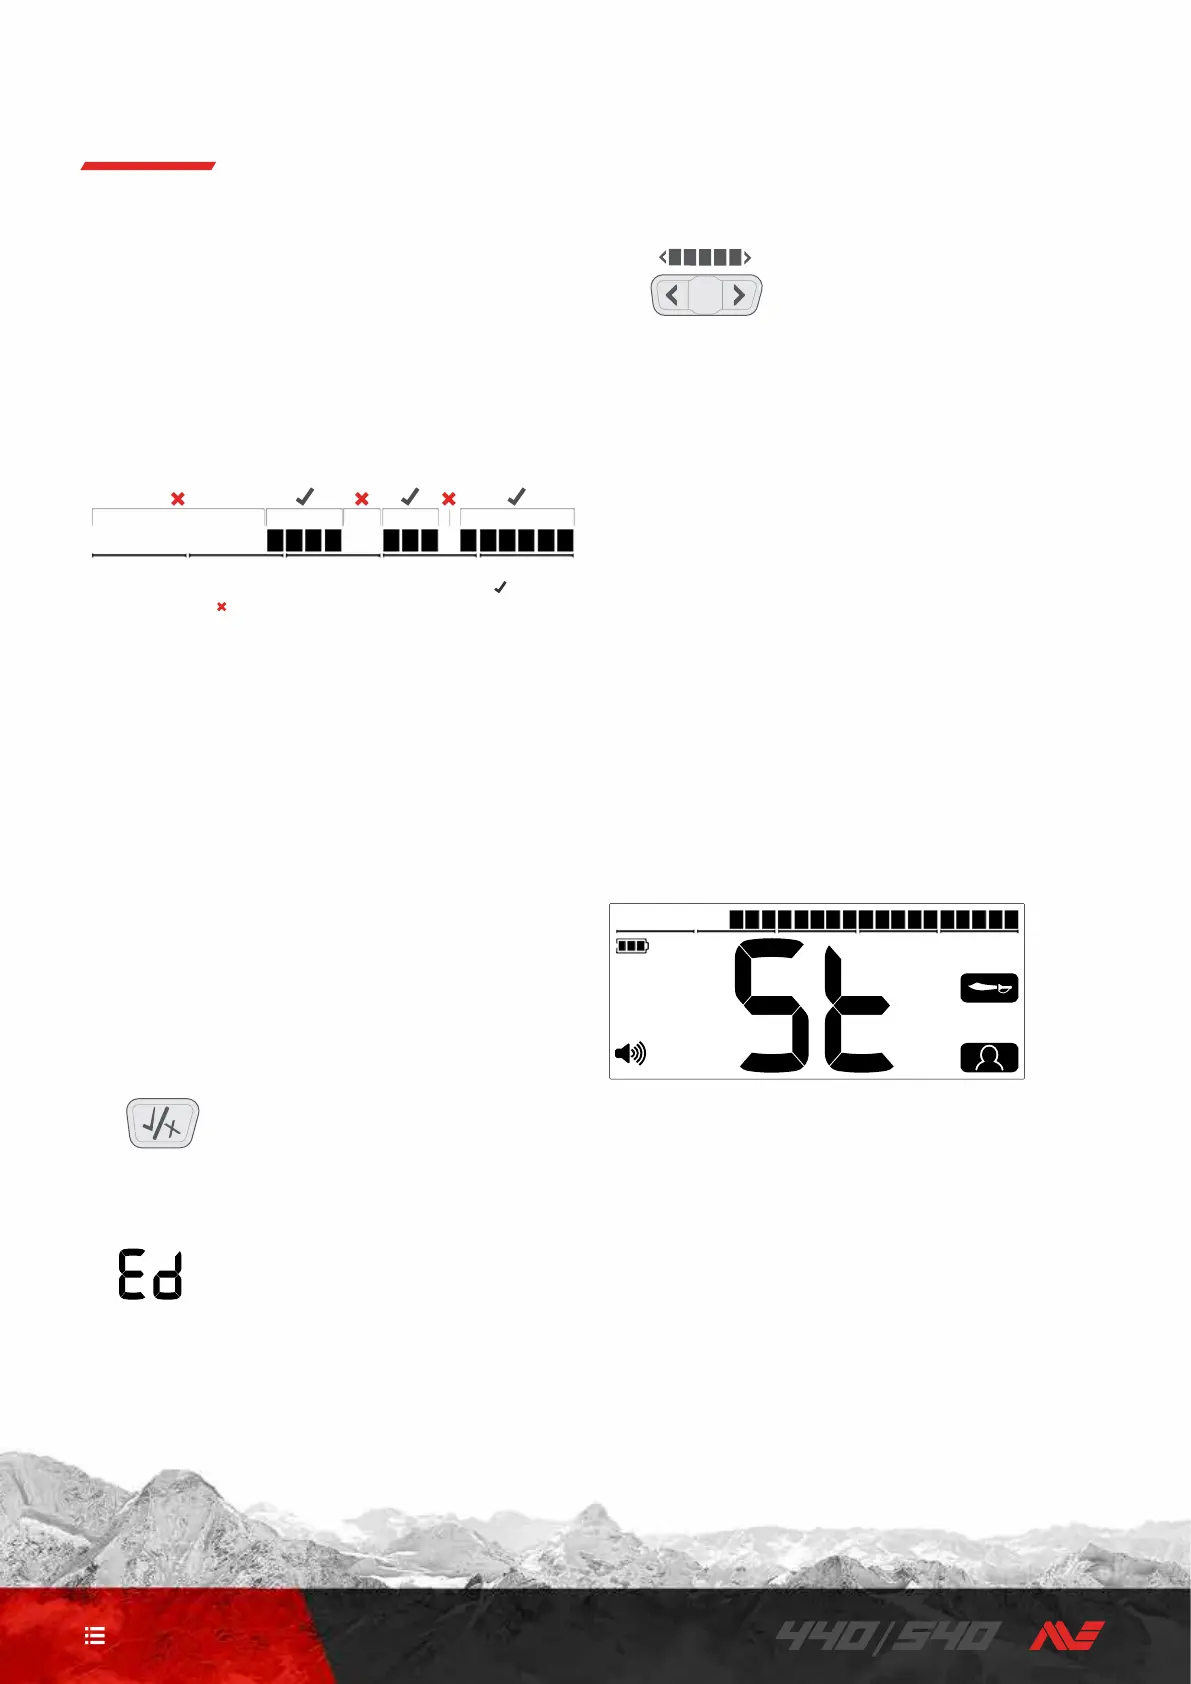
2� Long‑press the Search Mode button (5 seconds)� ‘St’ will
appear on the Target ID Number display, and there will be
a confirmation tone�
‘St’ appears on the Target ID Number Display� The Custom Search
Mode icon and the source Mode icon flash twice�
3� The newly stored Custom Search Mode will now be active,
and can be edited at any time�
Target Identification

 Loading...