121062243-W2-N
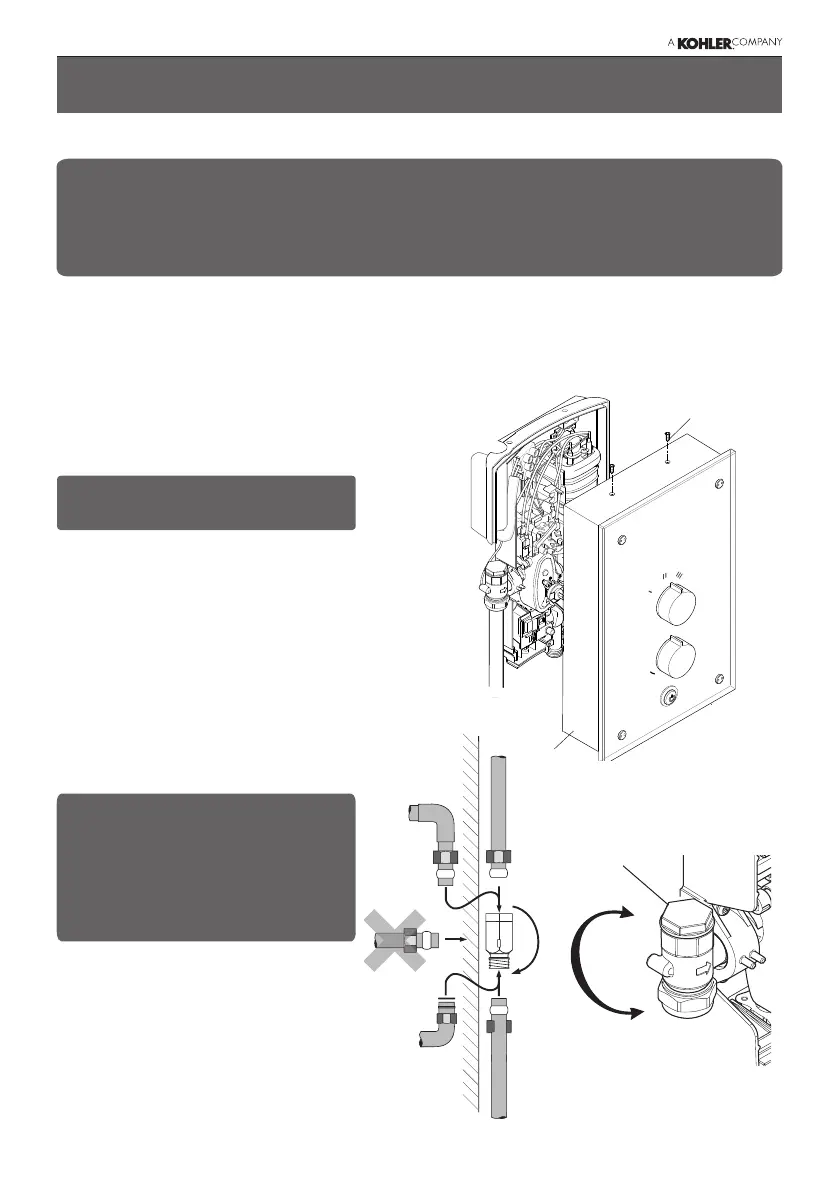
Determine the direction and route
of the incoming water supply:
falling (entering the shower from
the top), or rising (entering the
shower from the bottom).
Note: - DO NOT use an incoming
supply entering the shower directly
from the back. Add an elbow to the
supply pipe and connect it as a
rising or falling supply.
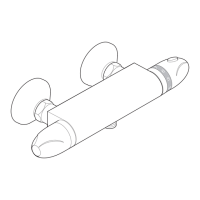
Swivel the inlet connector assembly
tosuit.Removetheinletblanking
cap. Avoid trapping the green earth
bonding wire.
Warning! Turn o the electrical and water supplies before proceeding with
the installation of the shower. The electricity must be turned o at the mains
and the appropriate circuit fuse removed, if applicable.
Note: An installation template is supplied to help you install the shower.
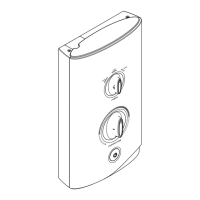
Removethethreecoverretaining
screws, the cover and the service
tunnel.
Caution! Handle the glass
cover assembly with care.
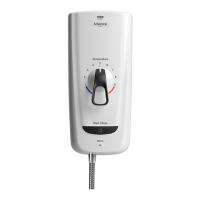
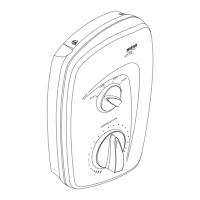
Installation of Mira Azora
Wall xings are not supplied. For solid wall structures a red rawl plug and a
no.8x1½”countersunkbrassorstainlesssteelscrewshouldbeused.Forother
wallstructuressuchaspanelsalternativexingsmayberequired.Aminimumof3
xingscrewsshouldbeused.
Note: - DO NOT use an
incoming supply entering the
shower directly from the back.
Add an elbow to the supply
pipe and connect it as a rising
or falling supply.
Cover
CoverRetaining
Screw
Inlet
Connector
Installation
 Loading...