11
Before tting the Cover, make sure that the appropriate cutouts have been
removed to suit the supply entering the product.
Thoroughly ush the mains-fed cold water supply pipe. The supply must
be clean and free from debris BEFORE connecting the appliance.
To ush the pipework, turn on the water supply and drain a minimum of 10 litres
(2 gallons) of water into a bucket or catchment area. Turn off the water supply.
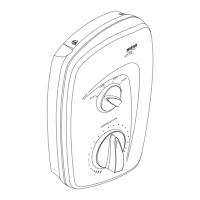
An installation template is supplied to help you install the Mira Azora.
Put the installation template on the wall and mark through the positions of the
xing holes. Ensure the position of these holes do not come in line with any
buried cables or pipework. Make sure that sufcient electrical supply cable is
available for connection to the terminal block.
Drill and plug the top two xing holes. Secure the appliance to the wall with the
screws provided. Drill the bottom xing hole with the product in place. Alternative
xings (not supplied) may be necessary for some wall structures. Avoid drilling
into any supply cable/pipe.
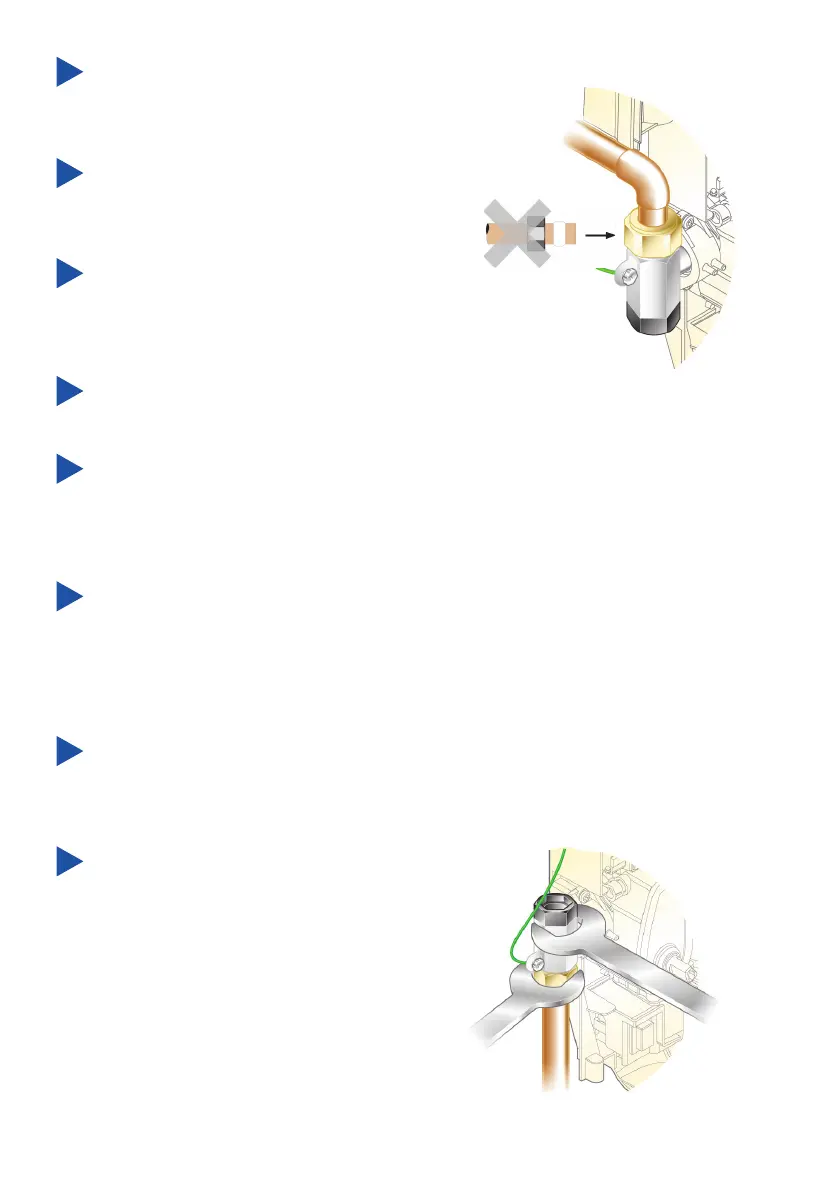
Determine the direction of the inlet
water supply: top (falling), bottom
(rising), or back inlet .
Note! Make sure that the back inlet
does not go directly back into the wall.
Use a soldered elbow.
Swivel the inlet connector assembly
to suit. Remove the inlet blanking
cap. Avoid trapping the green earth
bonding wire.
Install the mains-fed cold water
supply pipe. Do not overtighten.