39
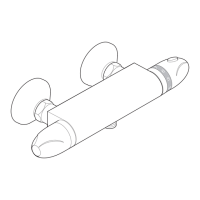
Removal
1. Turn the adjuster ring fully
anticlockwise.
2. Unclip and remove the adjuster ring.
3. Unscrew the spray plate in an
anti-clockwise direction. The 'O' seals
will provide some resistance.
Installation
4. Make sure that the four 'O' seals are
located correctly.
5. Turn the flow divertor fully clockwise.
Caution! Do not over tighten the spray
plate.
6. Carefully screw the spray plate
assembly on to the flow divertor. The
'O' seals will resist the rotation of the
spray plate. There should be a gap
between the edge of the spray plate
assembly and the flow divertor.
7. Make sure that the green bar on the
adjuster ring is uppermost and align
the inner teeth on the adjuster ring with
the teeth on the handset flow divertor.
Clip the adjuster ring into position.
Handset Body
Assembly
Spray Plate
Assembly
'O' Seal
'O' Seal
Adjuster Ring
Spray Plate
Assembly
Flow Divertor
'O' Seal
'O' Seal
Spray Plate
Assembly
Inner Teeth
Teeth
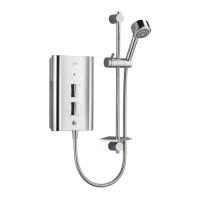
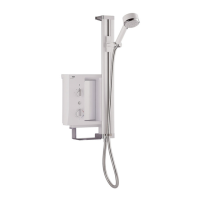
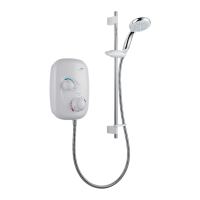
Shower Fittings
Spray Plate Assembly - Removal and Installation
Adjuster Ring
 Loading...