Back
Mixing valve control
Running
Interval
min.sec.
Back
Pump speed
Ref. add
Back
Heat source setting
Standard
Back
Flow sensor
Ref. add
Minimum
Maximum
min min
L
L
32
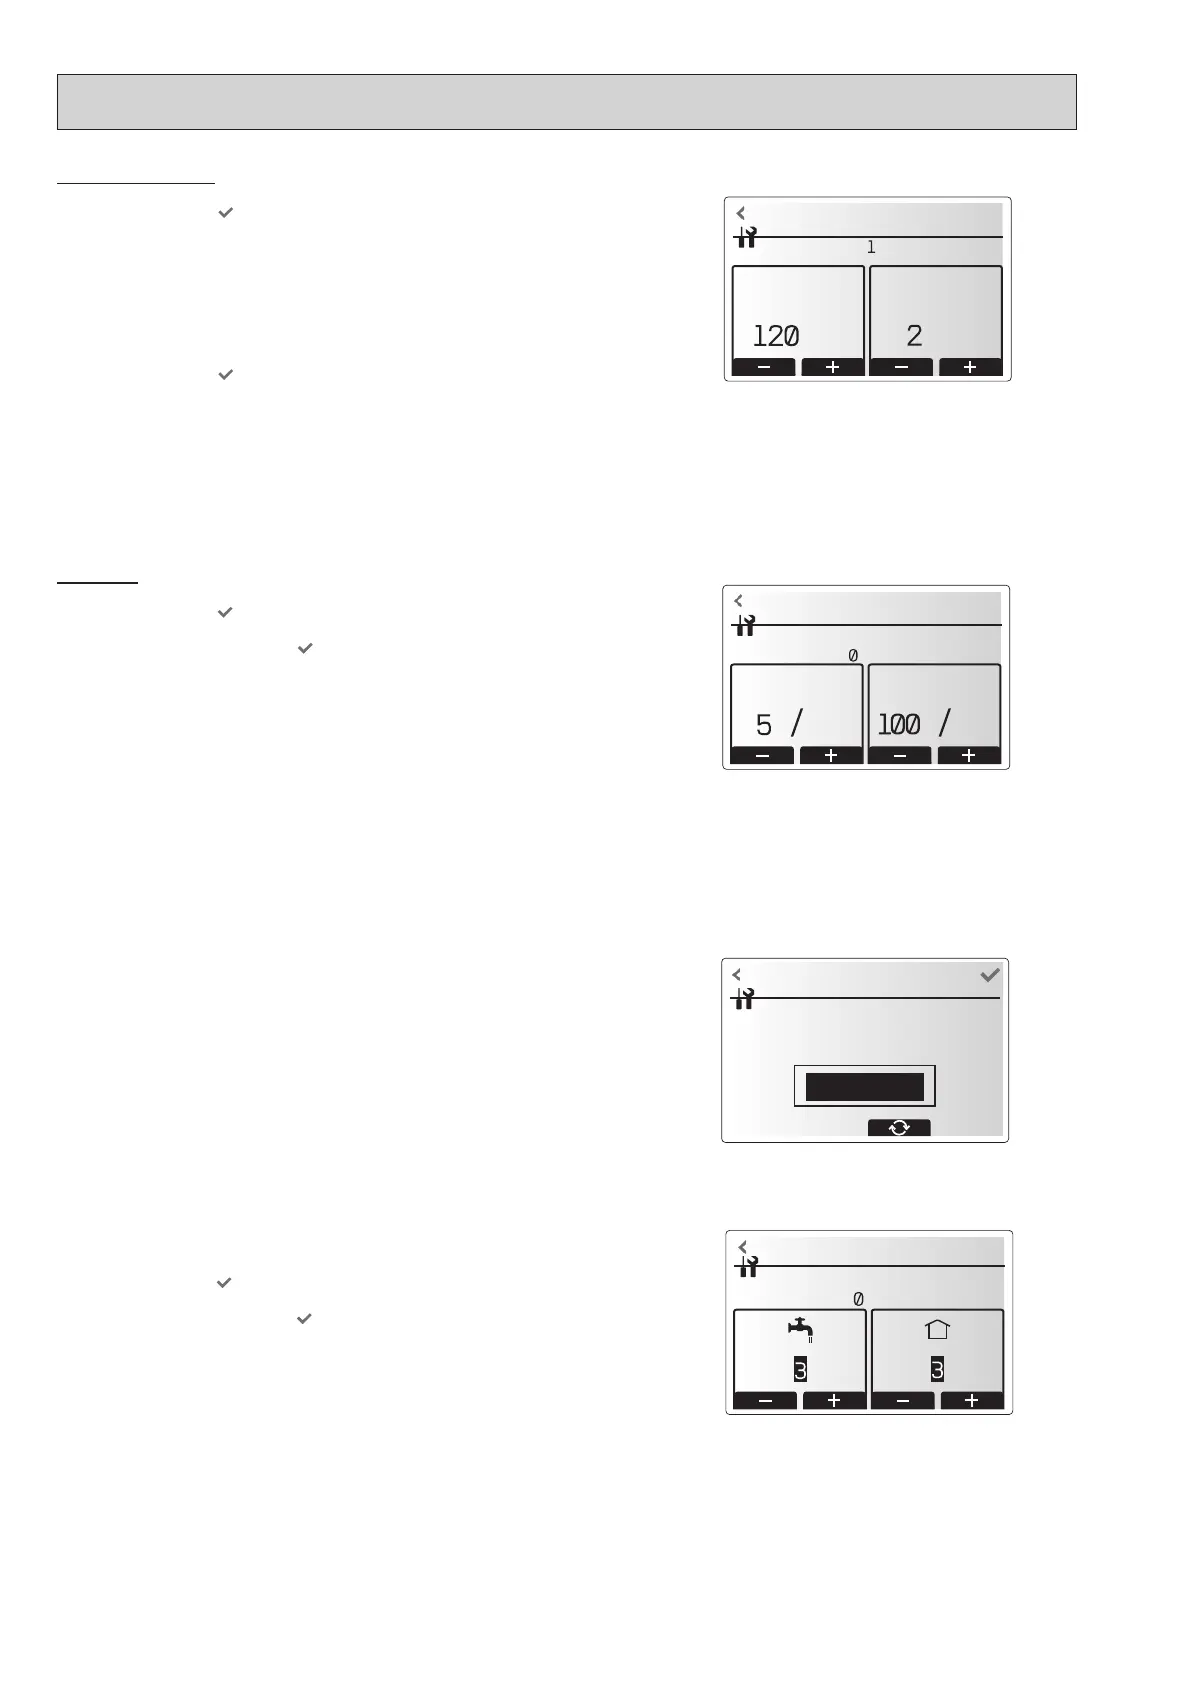
Mixing valve control 1/2
1. From the Auxiliary settings menu, select Mixing valve control 1/2.
2. Touch the conrm icon
.
3. The Mixing valve control screen is displayed.
4. Use the +/- icon to set Running time between 10 to 240 seconds. The Running time equals to a
period from full open of the valve (at a hot water mixing ratio of 100%) to full close (at a cold water
mixing ratio of 100%).
Note: Set the Running time according to the specifications of the actuator of each mixing valve.
1. From the Auxiliary settings menu, select Mixing valve control 1/2.
2. Touch the conrm icon
.
3. The Mixing valve control screen is displayed.
4. Touch the +/- icon to set the interval between 2-zone temperature controls of the mixing valve
between 1 to 30 minutes.
Note: It is recommended to set the interval to 2 minutes that is a default value. With the interval
set longer, it could take longer to warm up a room.
Mixing valve 1 control setting screen
Pump speed setting screen
<Pump speed>
1. From the Service menu, select Pump speed.
2. Touch the conrm icon
.
3. Touch the +/- icon to select a refrigerant address of which you wish to congure or check the
settings, and touch the conrm icon
. *1
4. The Pump speed screen is displayed.
5. Touch the +/- icon to set the pump speed (1 to 5) of DHW operation.
6. Touch the +/- icon to set the pump speed (1 to 5) of space heating(cooling) operation.
*1 For multiple outdoor units control system only.
Heat source setting screen
<Heat source setting>
The default heat source setting is heat pump and all electric heaters present in the system to be
operational. This is referred to as Standard operation on the menu.
Flow sensor
1. From the Auxiliary settings menu, select Flow sensor.
2. Touch the conrm icon
.
3. Touch the +/- icon buttons to select a refrigerant address of which you wish to congure or check the
settings, and touch the conrm icon
. *1
4. The Flow sensor screen is displayed.
5. Touch the +/- icon to set the minimum ow rate of ow sensor between 0 to maximum L/min.
6. Touch the +/- icon to set the maximum ow rate of ow sensor between minimum to 100L/min.
*1 For multiple outdoor units control system only.
Note: Do not change the setting since it is set according to the specification of Flow sensor
attached to the hydrobox.
Flow sensor setting screen
OCH815A
 Loading...