101
WT07627X03
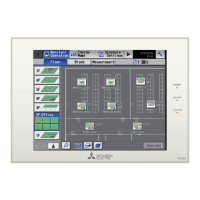
[2] M-NET settings
(1) Enter [0] in “M-NET Address” (unless otherwise specified).
(2) When the local remote controller operation is prohibited on the centralized controller, this setting determines
the scope of its applicability. Select [SC/RC] to prohibit the operation from both the sub system controllers
and the remote controllers. Select [RC Only] to prohibit the operation only from the remote controllers.
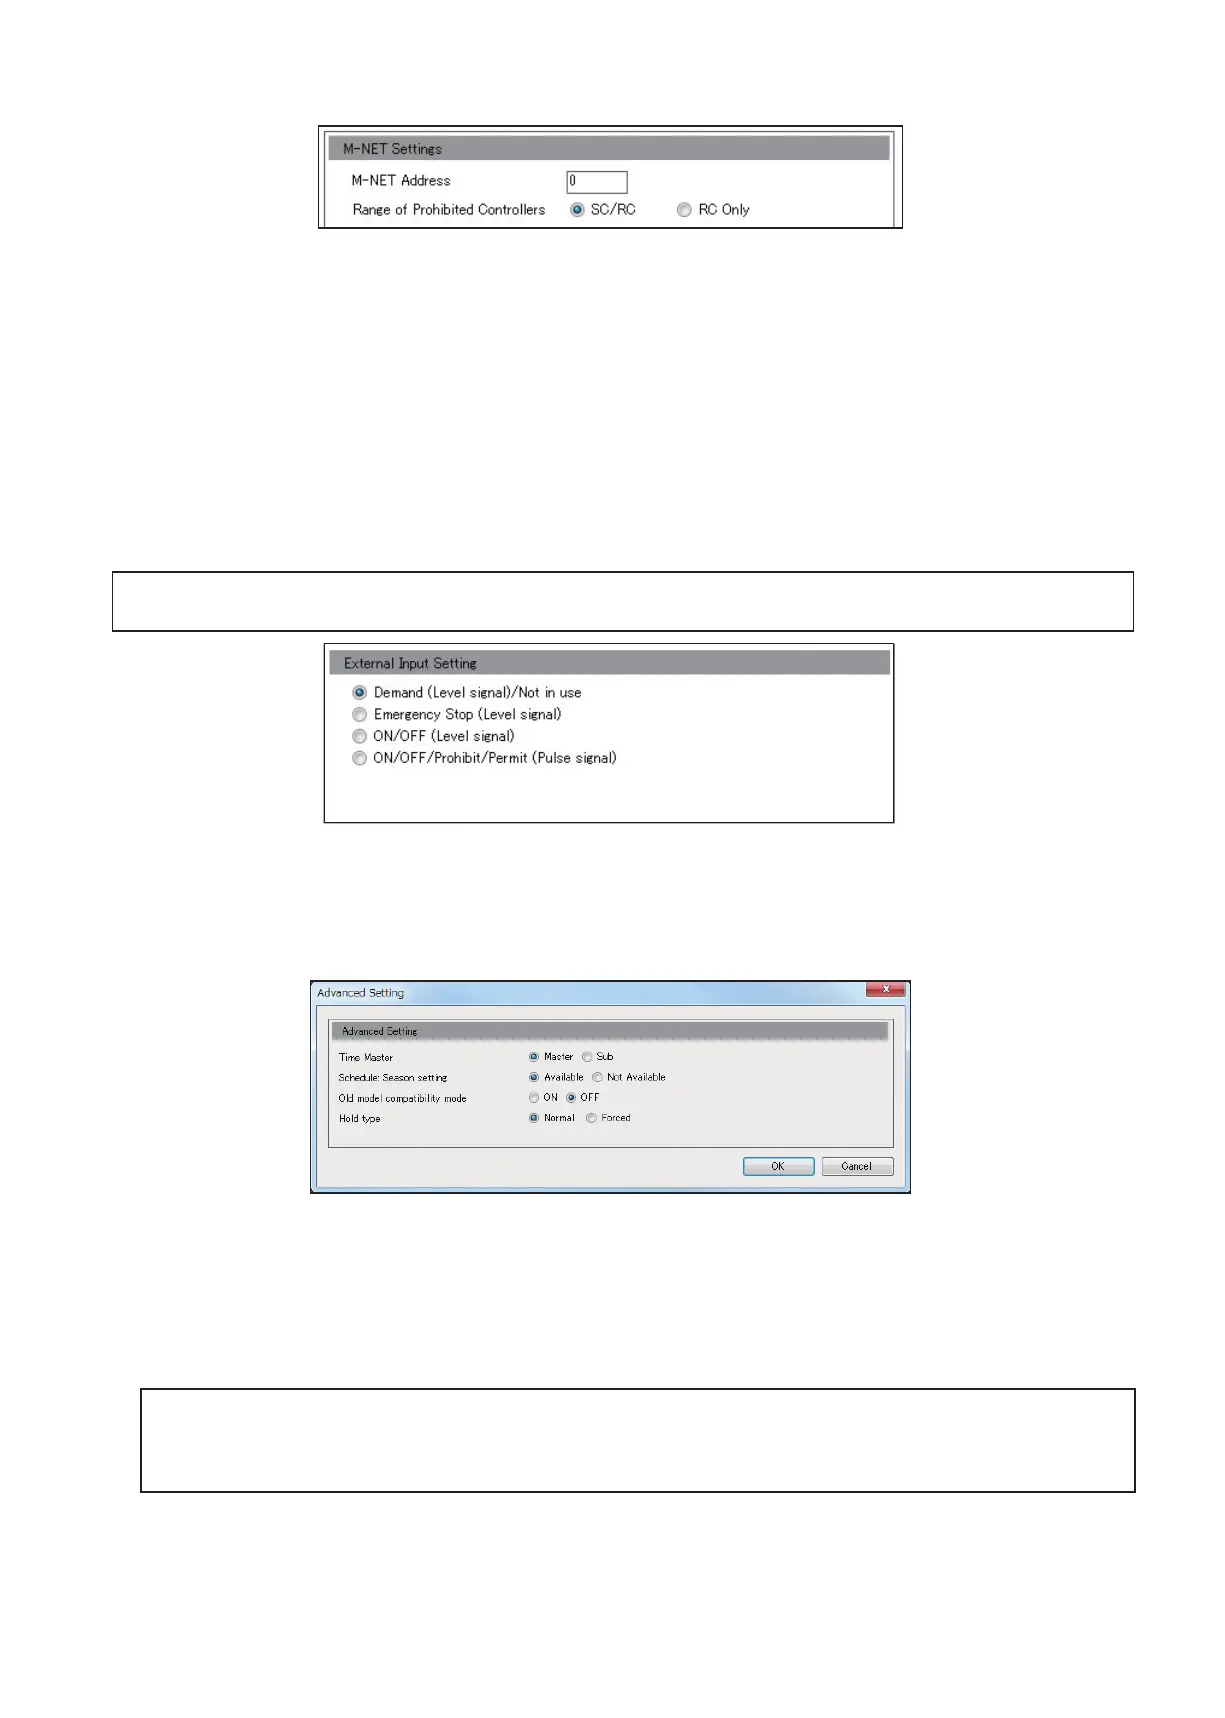
[3] External Input setting
In “External Input Setting” column, set the external contact input function. Using a level signal or pulse signal of the
external contact input function, the air conditioning units can be collectively controlled (e.g., stopped, operated) via
a separately-sold external input/output adapter (PAC-YG10HA-E).
Note: Peak Cut control is performed based on the demand level signal (level 1 to 4) input from the connected demand controller.
Note: A separate license is required to use the Peak Cut function.
Note: The external input setting is required for each AE-200/AE-50/EW-50.
Important
● Refer to the AE-200 Installation Manual for details.
(1) Select one of the following options, referring to the AE-200 Installation Manual: [Demand (Level signal)/Not
in use], [Emergency Stop (Level signal)], [ON/OFF (Level signal)], [ON/OFF/Prohibit/Permit (Pulse signal)].
[4] Advanced Settings
Click [Advanced Setting] to open the advanced settings screen.
(1) Time Master/Sub
(1) In “Time Master”, select [Master] or [Sub]. When using two AE-200 units to operate and monitor the
connected units, set to [Master] on only one AE-200, and set to [Sub] on the other AE-200.
The date and time synchronization is performed from the AE-200 whose “Time Master” setting is set to
[Master] to the AE-200 whose “Time Master” setting is set to [Sub].
Important
● When only one AE-200 unit is connected to the system, leave the default setting [Master] as it is.
● When multiple AE-50/EW-50 units are connected to the system, leave the default setting [Master] as it is on all
AE-50/EW-50 units.
 Loading...