i
. .
3.1.2
ZERO SETTING THE Y-AXIS DISPLAY
To zero set'the Y-axis display, perform the following steps:
1
.
Press the [Yl key.
2.
Press the [ENTER] key.
NOTE:
Pressing the
[Yl key again before pressing the [ENTER] key
aborts the Zero Set function.
f
3.1.3
PRESETTING THE X-AXIS DISPLAY
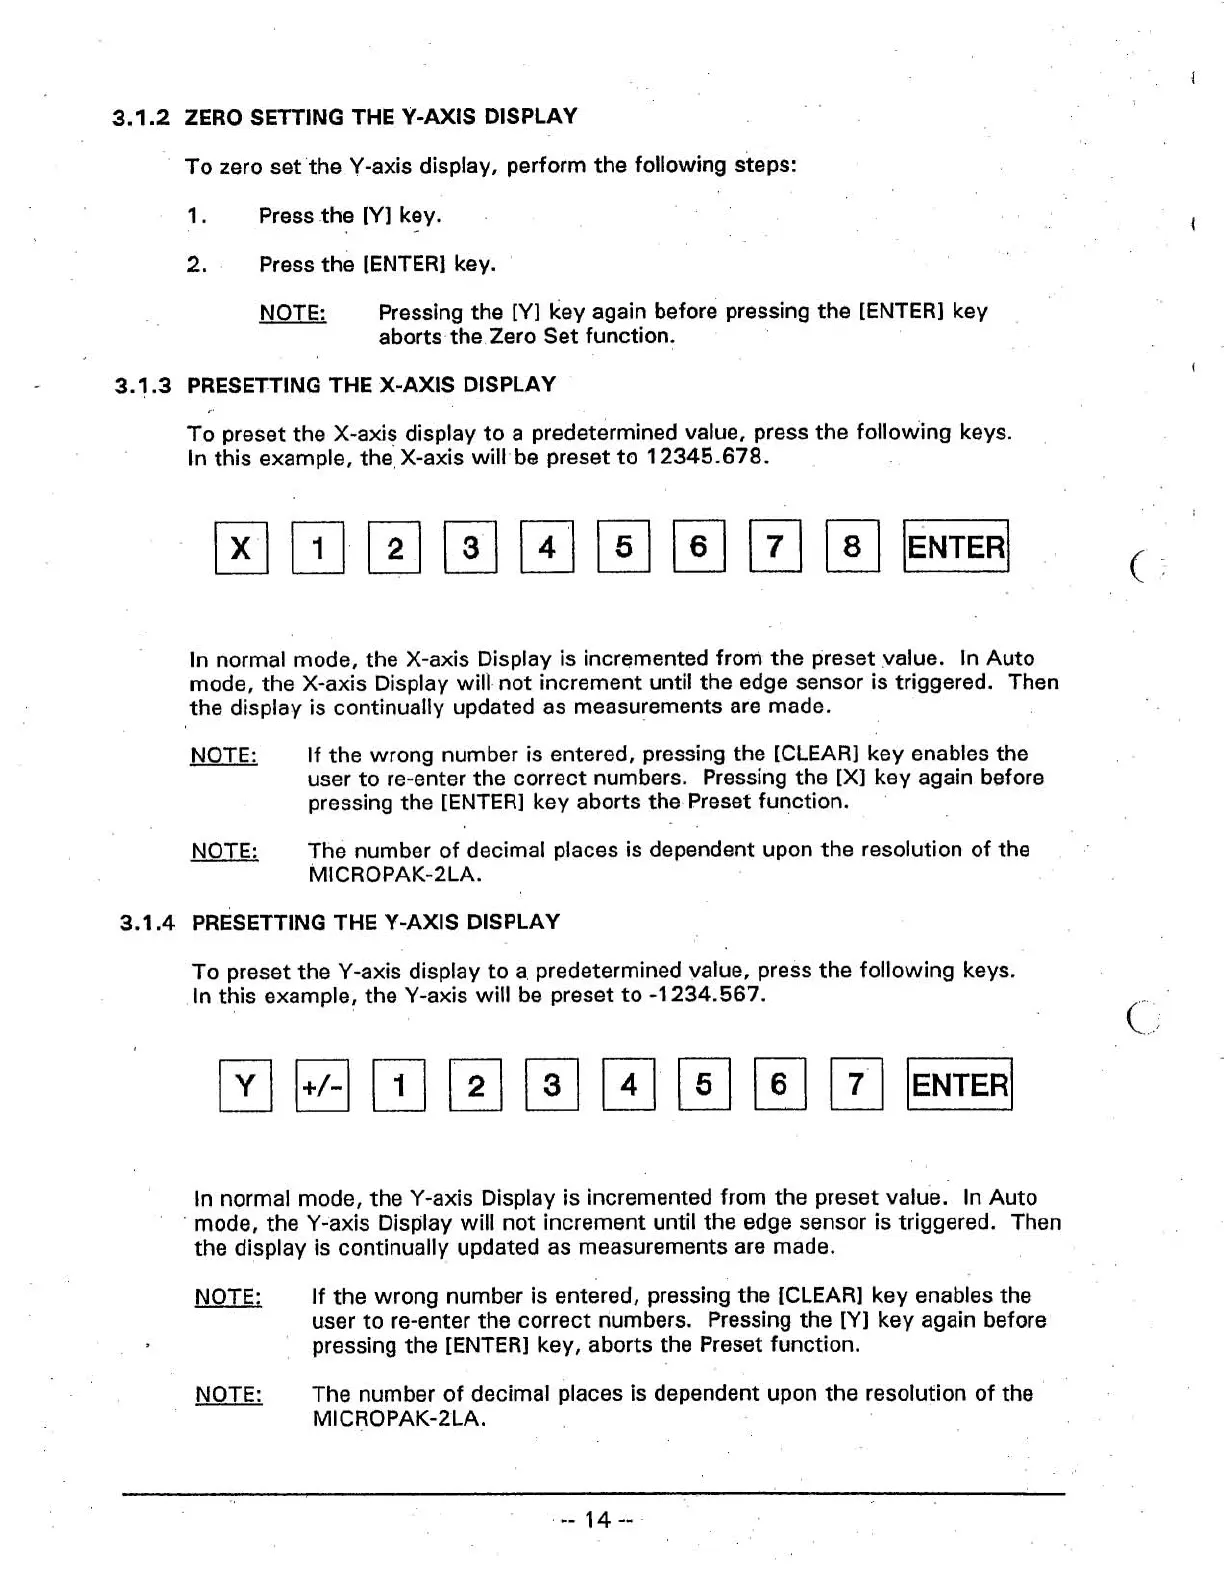
To preset the X-axis display to a predetermined value, press the following keys.
In
this example, the] X-axis will- be preset to
12345.678.
In
normal mode, the X-axis Display is incremented from the preset value.
In
Auto
mode, the X-axis Display will not increment until the edge sensor is triggered. Then
the display is continually updated as measurements are made.
NOTE:
If the wrong number is entered, pressing the [CLEAR] key enables the
user to re-enter the correct numbers. Pressing the
[XI
key again before
pressing the [ENTER] key aborts the. Preset function.
NOTE:
The number of decimal places is dependent upon the resolution of the
MICROPAK-2LA.
3.1.4
PRESETTING
THE
Y-AXIS
DISPLAY
To preset the Y-axis display to a predetermined value, press the following keys.
In this example, the Y-axis will be preset to
-1
234.567.
c,
In normal mode, the Y-axis Display is incremented from the preset value.
In
Auto
mode, the Y-axis Display will not increment until the edge sensor is triggered.
Then
the display is continually updated as measurements are made.
NOTE:
If the wrong number is entered, pressing the [CLEAR] key enables the
user to re-enter the correct numbers.
Pressing the
[Yl key again before
pressing the [ENTER] key, aborts the Preset function.
NOTE:
The number of decimal
places is dependent upon the resolution of the
MICROPAK-2LA.