EasyManua.ls Logo

modway EEI-2714 User Manual

modway EEI-2714
4 pages
To Next Page IconTo Next Page
Page #1 background imageLoading...
Page #1 background image
Customer Service 908-368-1025www.modwayfurniture.com Page 1 of 4
EEI-2714 TABLE
Hardware:
Component:
1
Table Top x1
Thank you for purchasing the MODWAY TABLE
Before you start, here is some helpful advice:
1.We suggest you spend a short time reading through this leaflet and then follow the simple step-by-step
instructions.
2.Owing to the size and weight of the table, we recommend that it is assembled by two adults, on a carpeted or
padded area, in the room that it is intended for. Approximate assembly time: 30 minutes.
3.Please do not use any tools other than those provided or recommended in these instructions.
4.Please do not throw away any of the packaging or the instruction until you have checked all the components and
hardware and the furniture is fully assembled. Please ensure that the packaging is disposed of in a safe,
environmentally friendly way.
5.Assemble all components loosely until advised to tighten. Depending on use, it may be necessary to tighten the
components from time to time, so please save the tools that have been provided.
6.Please keep all fitting out of reach of children.
1
2
Leg x4
2
A
Bolt M8x60mm x 8
D
Open Wrench M5 x 1
2
2
B
Flat Washer M8 x 8
C
Spring Washer M8 x 8
Question and Answer IconNeed help?

Do you have a question about the modway EEI-2714 and is the answer not in the manual?

modway EEI-2714 Specifications

General IconGeneral
Product TypeChair
Product NameEEI-2714
CategoryIndoor Furnishing
StyleModern
Weight Capacity331 lbs
Assembly RequiredYes

Summary

Product Information and Assembly Advice

Pre-Assembly Advice

Guidance on reading instructions, assembly by two adults, using correct tools, and keeping parts safe.

Assembly Steps

Step 1: Attaching Legs

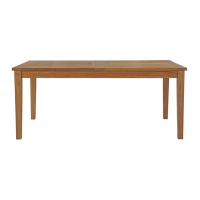
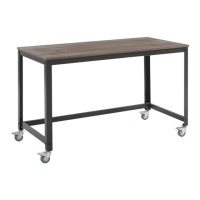
Attach legs to the table top using bolts, washers, and the provided wrench.

Step 2: Turning and Extending

Turn the assembled table upright and extend its length by sliding tabletop halves.

Step 3: Leaf Apron Adjustment

Lift leaf ends and flip up the folded aprons on both sides of the table.

Step 4: Positioning Extended Leaf

Lower the leaf into position and pull the extended tabletop halves together.

Step 5: Final Assembly

Repeat extension steps for the other half of the table top and confirm assembly completion.
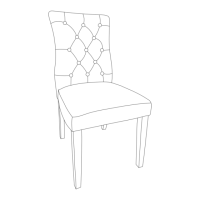
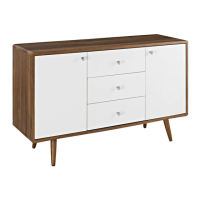
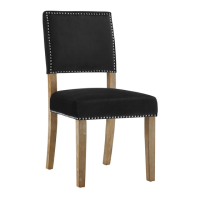
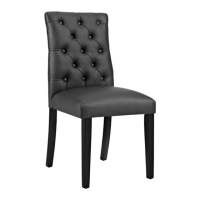
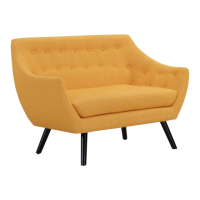
Related product manuals